Soil propagation is a method of growing new plants from cuttings by placing them directly into soil or a soil-like medium. This technique is commonly used to propagate a variety of plants, such as herbs, shrubs, perennials, and even some trees. The goal is for the cutting to develop roots while embedded in the soil.
Benefits of Soil Propagation:
Easier transition for the plant since it’s already in soil.
Ideal for plants that don’t root well in water or prefer direct soil contact.
Provides better anchorage for the cutting as roots grow.
This method works well for many species, but success depends on factors like the plant type, cutting health, and growing conditions.
Which Houseplants can I try this with?
Though the list is not limited to just houseplants, here are a few indoor plants that grow well at home using this technique:
Pothos: Very easy to propagate in soil from stem cuttings.
Spider Plant: Offsets or “babies” root well in soil.
Coleus: Grows rapidly from stem cuttings in moist soil.
Philodendron: Cutting pieces from this plant can root quickly in soil.
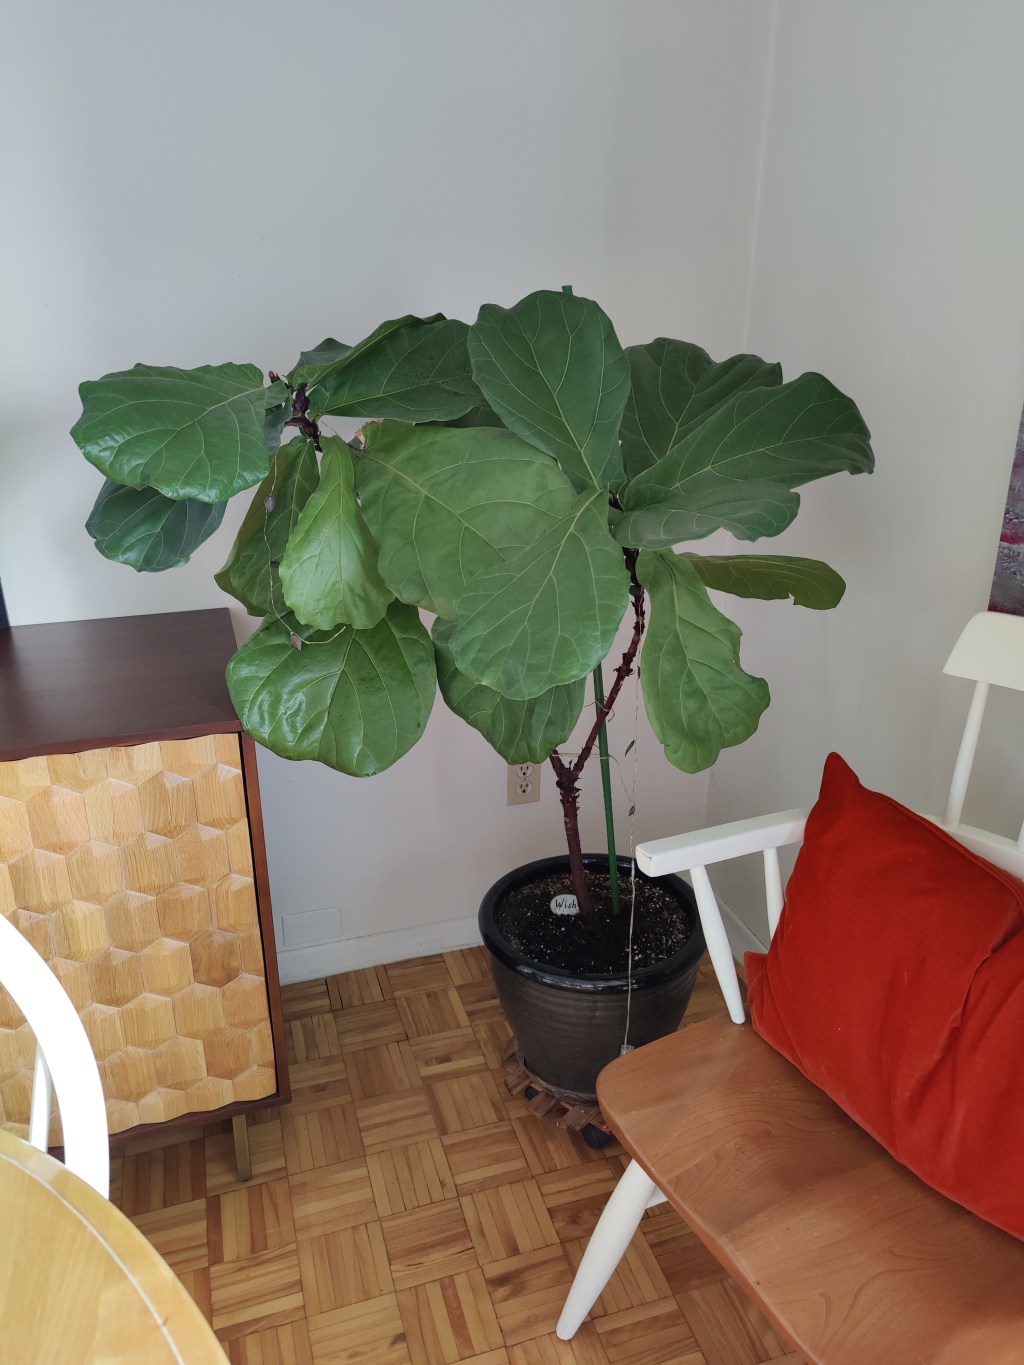
This list is certainly not extensive. I have also been successful with using this technique on my fiddle leaf figtree. The tree was growing crooked so this is what I did:
I clipped a few leaves down and in between nodes of the main plant
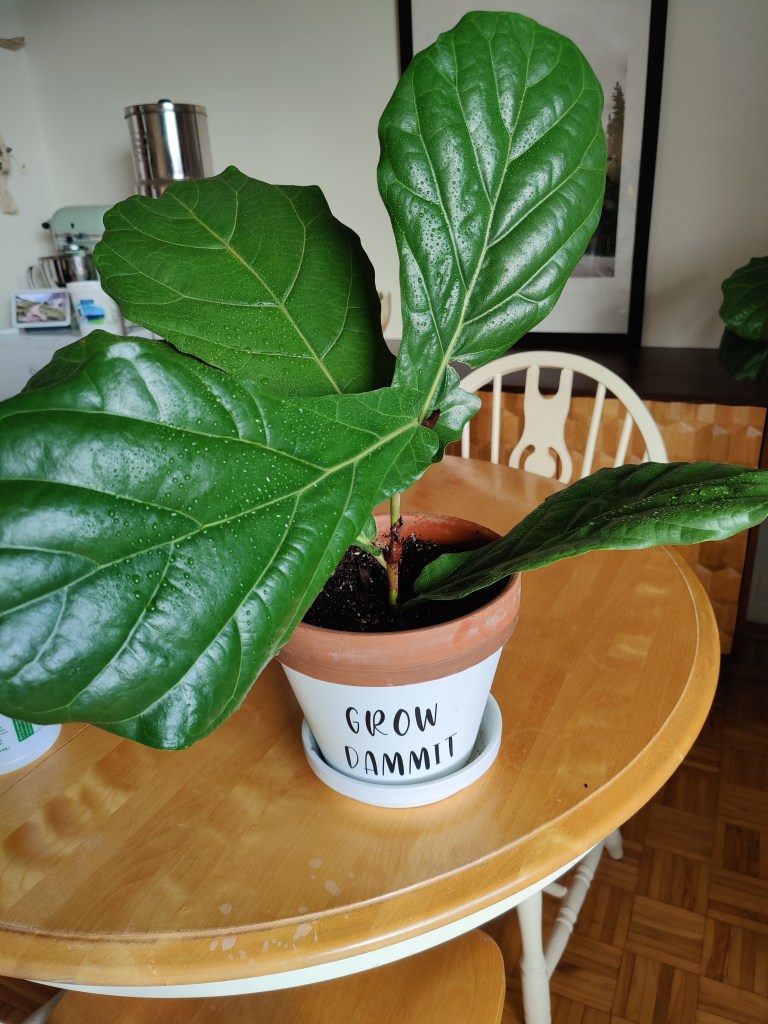
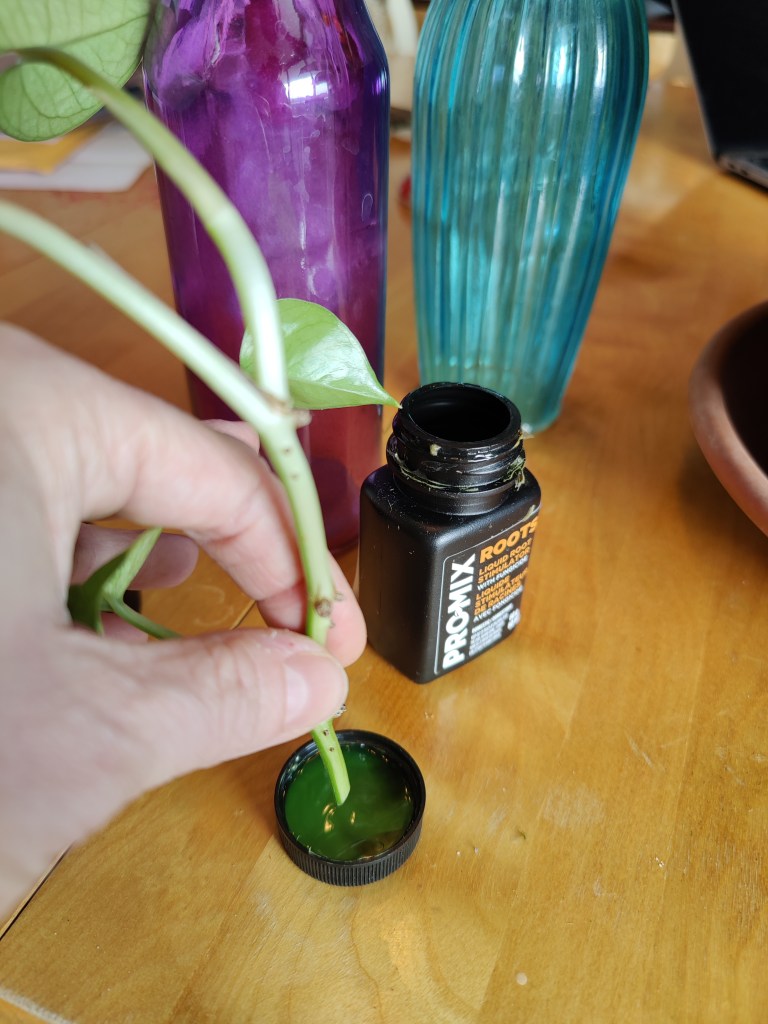
Once I had my cutting, I dipped it into rooting compound to support root growth.
I planted the cutting into a new pot with soil (mixed with perlite) and covered it with a clear plastic bag. This imitates greenhouse conditions.
I made sure to mist the leaves daily for the first few weeks. Having adequate humidity was important while the cutting was setting roots.
Lastly I positioned the cutting in indirect sunlight.
Both the propagated cutting and the tree are thriving. In fact, a new leaf just sprouted on the original tree. Until next time.
When asked by a colleague to share a cutting of one of my houseplants with her, it dawned on me that I should write a post on plant propagation. Plant propagation is an exciting and rewarding way to grow your green thumb. It offers an opportunity to expand your plant collection, share greenery with friends, and better understand the life cycles of your favourite plants. In this post, we’ll explore what propagation is and dive into one of the easiest and most popular methods: water propagation.
What Is Propagation?
Propagation is the process of creating new plants from existing ones. It’s a good way to multiply your plant collection for free! Propagation can be done in several ways, depending on the plant species and its natural growth habits. The most common methods include:
Seeds: Growing new plants from seeds, often the result of pollination.
Cuttings: Taking a piece of a plant (such as a stem, leaf, or root) and encouraging it to grow into a new plant.
Division: Splitting a mature plant into smaller sections, each with its own roots.
Layering: Encouraging roots to grow on a branch or stem while it’s still attached to the parent plant.
Grafting and Budding: Joining parts of two plants to create one new plant, often used in fruit trees and roses.
Among these methods, stem cuttings are particularly popular for houseplants, and water propagation is one of the easiest ways to get started.
What Is Water Propagation?
Water propagation is a technique that involves rooting plant cuttings in water. It’s an approachable method for beginners because it’s simple, requires minimal tools, and allows you to watch the roots grow in real-time. Many popular houseplants, such as pothos, philodendrons, and spider plants, thrive in water propagation.
How to Propagate Plants in Water
Ready to give it a try? Here’s a step-by-step guide to water propagation:
Materials Needed:
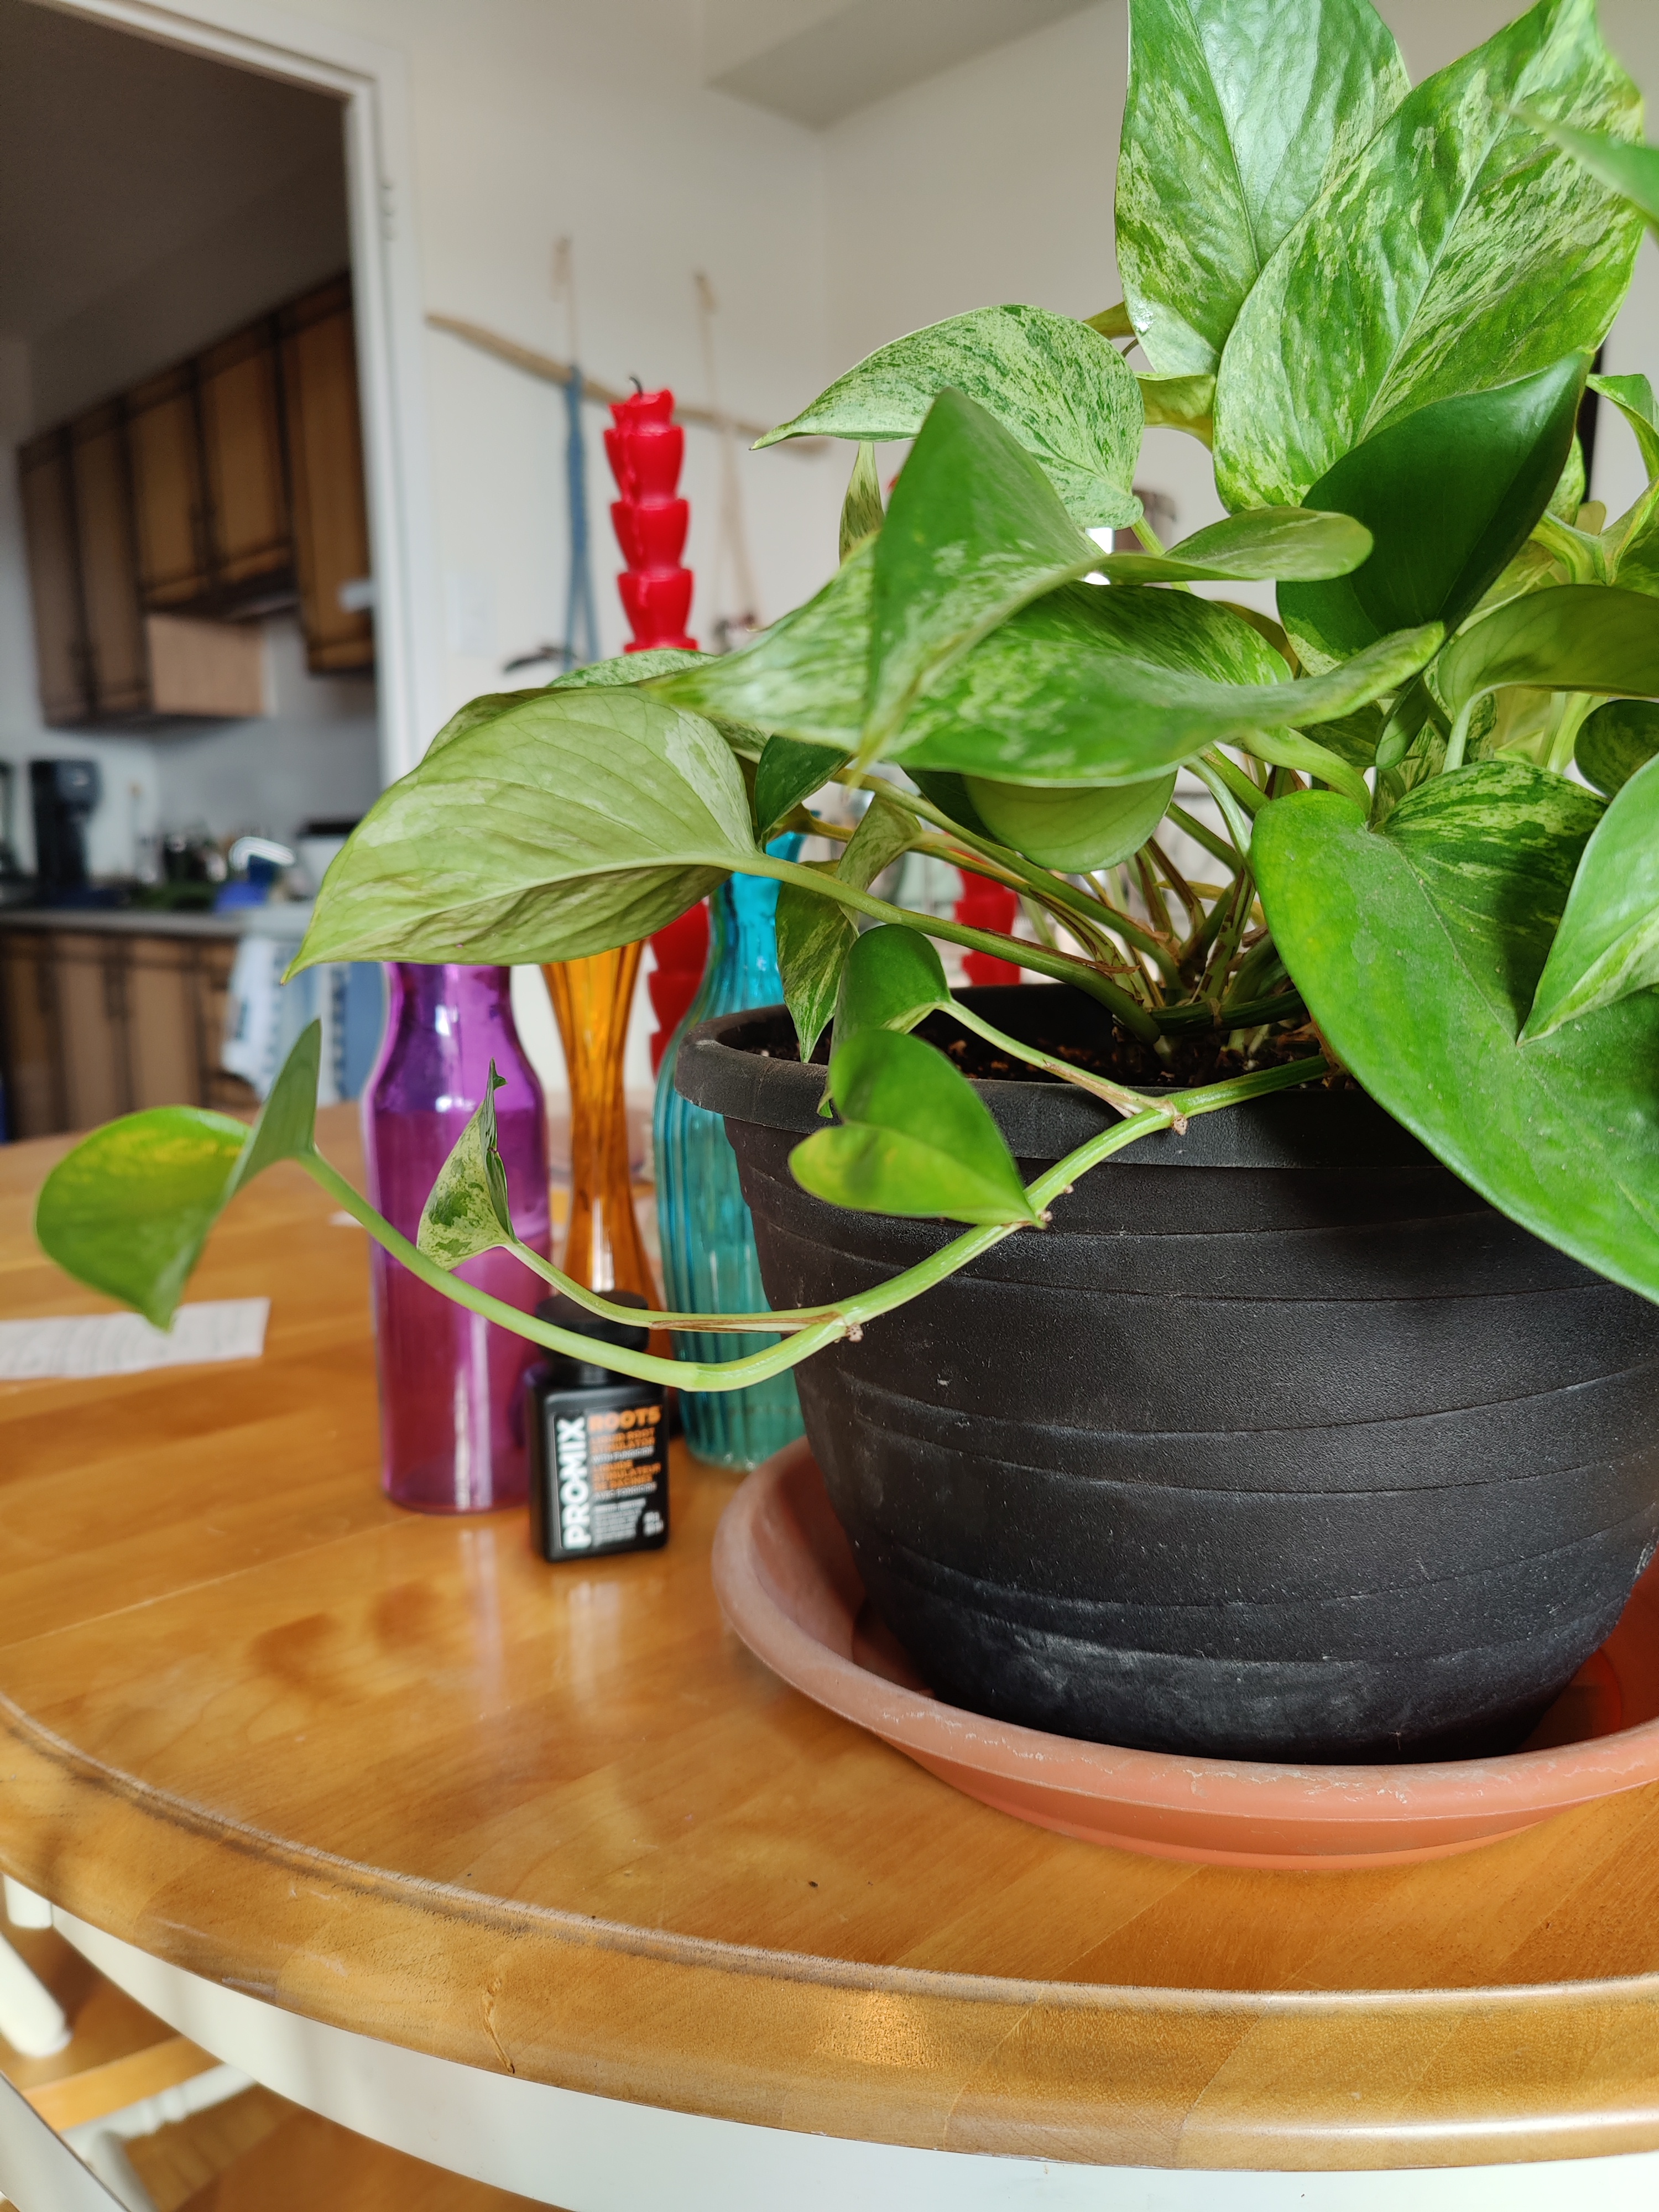
A healthy houseplant (I am using a pothos plant)
Clean scissors or pruning shears
A glass or jar of water
Optional: rooting hormone (not essential)
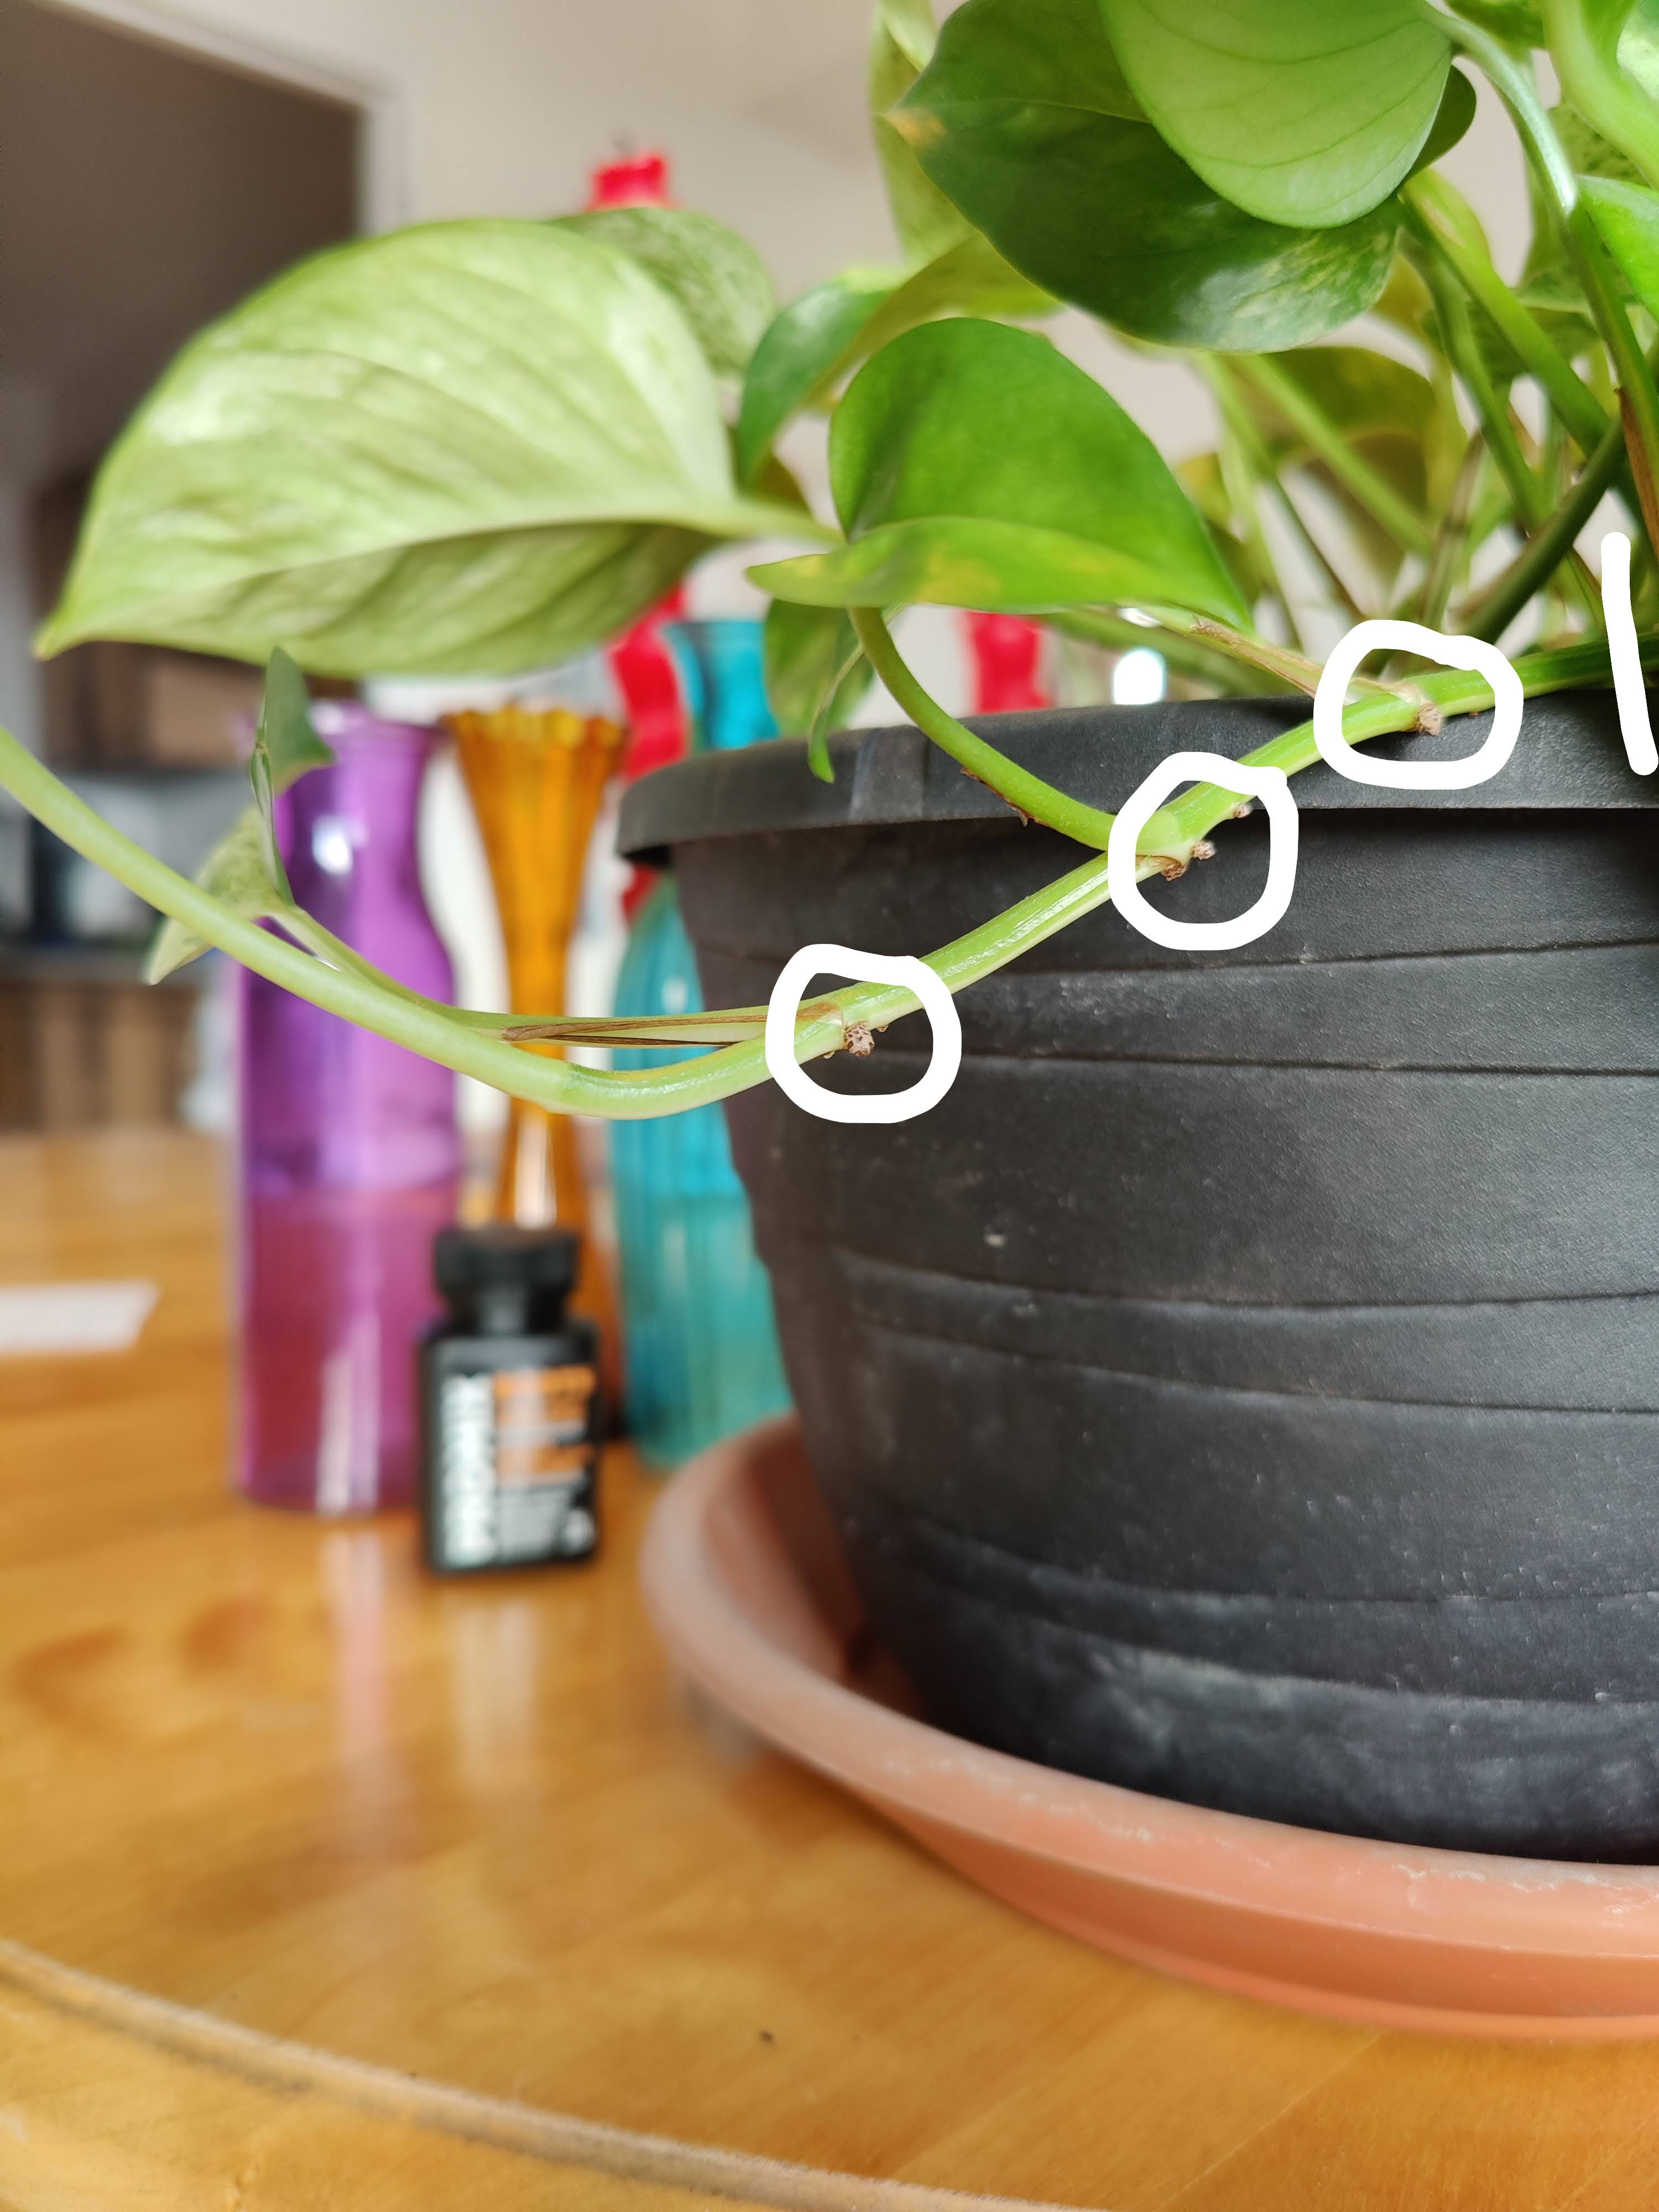
I’ve circled the nodes and drew a line where I cut the stem.
Select a Healthy Vine: Look for a vine with several healthy leaves and visible nodes (the small bumps along the vine where leaves and roots grow).
Cut the Stem: Use clean scissors to cut a 4–6 inch section of the vine. Ensure the cutting has at least 2–3 nodes (the more nodes, the better the chances of propagation).
Prepare the Cutting: Remove the leaves from the bottom 1–2 nodes. These nodes should be submerged in water for roots to grow. Optional: Dip the cut end into rooting hormone to encourage root growth.
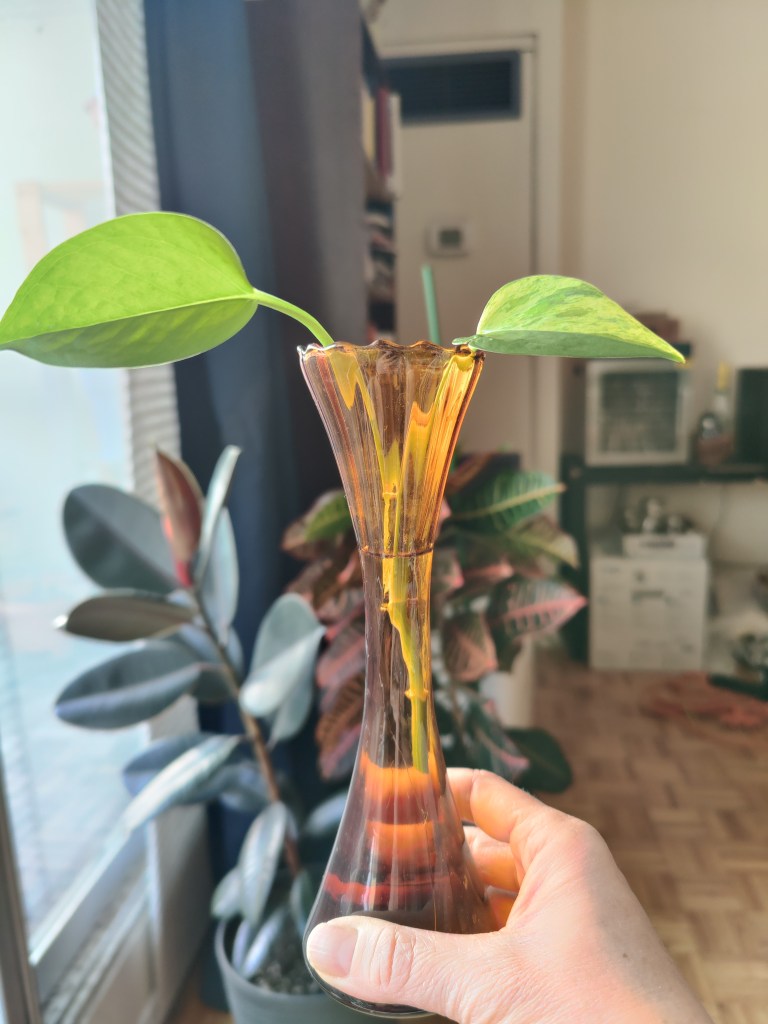
Place in Water: Place the cutting in a jar or glass of clean, room-temperature water. Ensure the nodes are fully submerged, but leaves remain above water to prevent rotting. Use a clear container to monitor root development.
Provide Ideal Conditions: Put the jar in a bright, indirect light location. Avoid direct sunlight, which can damage the cutting. Change the water every 3–5 days to keep it fresh and oxygenated.
Wait for Roots: Roots should start to appear within 1–2 weeks. Wait until the roots are at least 2–3 inches long before planting the cutting in soil (usually takes 4–6 weeks).
Transferring to Soil
Once the roots are well-developed, your new plant is ready to be potted. Choose a pot with drainage holes and fill it with well-draining soil. Plant the rooted cutting gently, water it, and place it in a bright spot to continue growing.
Plants That Thrive in Water Propagation
While many plants can be propagated in water, here are some common favorites:
Pothos
Philodendrons
Spider plants
Monstera
Tradescantia
Begonias
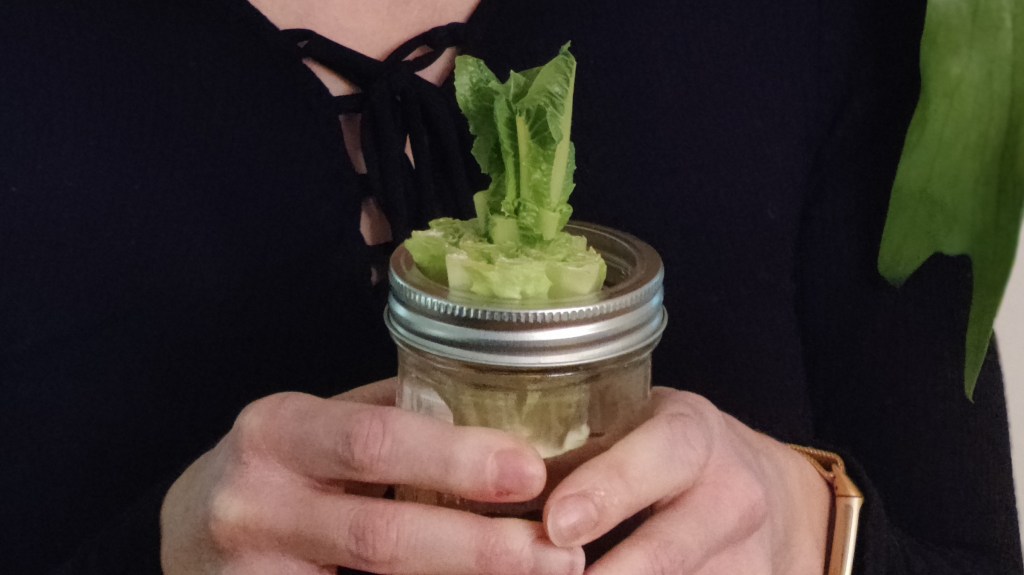
I have also had success propagating pineapple tops and lettuce.
Final Thoughts
Water propagation is a fun, rewarding way to grow your plant collection and connect with nature. Watching roots form and new growth emerge is a magical process that deepens your appreciation for the resilience and beauty of plants. So grab your scissors and a glass of water, and start propagating today! Your plants—and your future self—will thank you.
While winter in Zone 4 (with average temperatures ranging from -20°F to -30°F) can feel like an endless stretch of cold and snow, it’s actually the perfect time to plan your garden for the upcoming spring and summer.
Whether you’re a seasoned gardener or a beginner, thoughtful preparation during the off-season can make all the difference in creating a successful, thriving garden. Let’s dive into how to plan your garden while the snow falls outside your window.
1. Reflect on the Past Season
Before diving into new plans, take a moment to reflect on the previous growing season. What worked well in your garden, and what didn’t? Did you encounter any challenges with pests, soil health, or weather? Analyzing what you’ve already experienced will help guide your decisions for next season.
Review Your Garden Journal: If you’ve kept a garden journal, this is the time to read through it. Look at what crops thrived and which ones struggled. Make note of any diseases, pest issues, or extreme weather conditions that impacted your garden. For instance, radishes, peas, zucchinis and select flowers thrived in my garden this past growing season. Turnips, chives and sage did not.
Evaluate Your Space: Did your garden feel cramped? Were certain plants not getting enough sunlight? Use this time to consider how you might rearrange or expand your garden layout.
2. Study Your Hardiness Zone 4 Climate
In Zone 4, your growing season is relatively short, typically lasting from late May to mid-September, with an average first frost date around mid-September and the last frost date around late May. Understanding this timeline is crucial for planning the right crops and choosing the best planting dates.
Know Your Frost Dates: Start by marking your average first and last frost dates in your garden planner or journal. These dates will serve as your guide for when to start seeds indoors, when to plant outdoors, and when to harvest.
Plan for Cold-Hardy Plants: Zone 4 is known for its cold winters, but there are still plenty of hardy plants that can withstand the chill. Focus on vegetables and flowers that thrive in cool temperatures. Some good options include:
Vegetables: Kale, spinach, carrots, peas, and cabbage.
Flowers: Pansies, snapdragons, and columbine.
Herbs: Thyme, rosemary (in a sheltered spot), and parsley.
Winter is the perfect time to get creative with your garden layout. Take advantage of your time indoors to plan your garden’s design and structure. Having a clear layout before the growing season begins will save you time and energy once spring arrives.
Sketch Your Garden: Draw a simple map of your garden on paper or use an online garden planner tool. I just use a pen and paper. Think about sun exposure, wind direction, and drainage. Remember that certain crops need more sunlight than others, so plan to place sun-loving plants (like tomatoes and peppers) in areas with the most exposure.
Consider Vertical Gardening: If you have limited space, consider incorporating vertical gardening techniques, such as trellises, raised beds, and hanging baskets. These methods will maximize your growing area, especially when dealing with smaller spaces.
Add Permanent Features: If you’re planning to add structures like raised garden beds, cold frames, or greenhouses, winter is the time to plan these additions. Think about how these features will fit into your garden layout and the impact they’ll have on your overall design.
4. Start Seed Shopping and Ordering
With the winter chill keeping you indoors, it’s the perfect time to plan your seed order. Many gardeners, myself included, begin browsing seed catalogs in the winter months to choose what they want to grow in the coming year.
Choose Cold-Hardy Varieties: Look for vegetable and flower varieties specifically labeled for cold climates. Many seed companies offer cultivars that are bred to withstand shorter growing seasons and colder temperatures.
Order Seeds Earlyand attend Seed Swaps: Don’t wait until the last minute! Seed supplies can run out quickly, especially for popular varieties. Ordering early ensures you get the varieties you want before they sell out. Attend local “Seedy Saturday” events in your community. These are local weekend activities where you can share or swap seeds with other like-minded gardeners.
Plan Your Seed Starting Schedule: Depending on your first and last frost dates, you can plan when to start seeds indoors. Most Zone 4 gardeners start seeds indoors in late winter (about 6-8 weeks before the last frost) for plants like tomatoes, peppers, and herbs.
5. Prepare Your Soil
Winter may seem like an unlikely time to think about soil, but it’s the ideal time to plan for the upcoming growing season. Preparing your soil now can make a huge difference when it’s time to plant.
Test Your Soil: If you haven’t tested your soil in a few years, winter is the perfect time to do so. You can mail a soil sample to a local extension office or use a DIY soil test kit. Testing will give you an idea of your soil’s pH, nutrient levels, and any amendments that may be needed.
Plan for Amendments: Based on your soil test, plan which amendments you’ll need to add in the spring. You might need compost, organic matter, or specific fertilizers to improve soil health and fertility. Soil in my veggie garden is clay-like and I’ve learned that a thin layer of compost has been quite helpful.
Build Soil Health with Cover Crops: If you have garden beds that aren’t being used in the winter, consider planting cover crops like winter rye or clover. These crops will protect the soil, prevent erosion, and add organic matter back into the soil once you till them under in spring.
6. Organize Your Garden Tools and Supplies
Before the snow melts and you can start digging in the soil, take time to clean and organize your gardening tools. A well-maintained set of tools will make your work much easier when you finally get to planting.
Sharpen Tools: Sharpen shovels, hoes, and pruners so they’re ready for use when spring arrives. (I have to admit that I am the worst at this).
Check for Repairs: Inspect hoses, watering cans, and sprinklers for leaks or damage and make necessary repairs.
Inventory Seeds and Supplies: Check your seed packets, pots, and fertilizers to see if you need to restock any supplies. Having everything in place early means you’ll be ready to go as soon as the ground thaws.
While the snow may be falling outside, the winter months in Zone 4 are an ideal time to plan for the upcoming growing season. By reflecting on the past year, choosing the right plants, preparing your soil, and ordering seeds, you’ll set yourself up for a successful and productive garden. Winter gardening planning isn’t just about staying busy indoors—it’s about creating a strategy that ensures your garden thrives in the short, but rewarding, growing season ahead.
Take the time now to dream, plan, and prepare—and when spring arrives, you’ll be ready to get your hands in the soil and watch your garden grow.