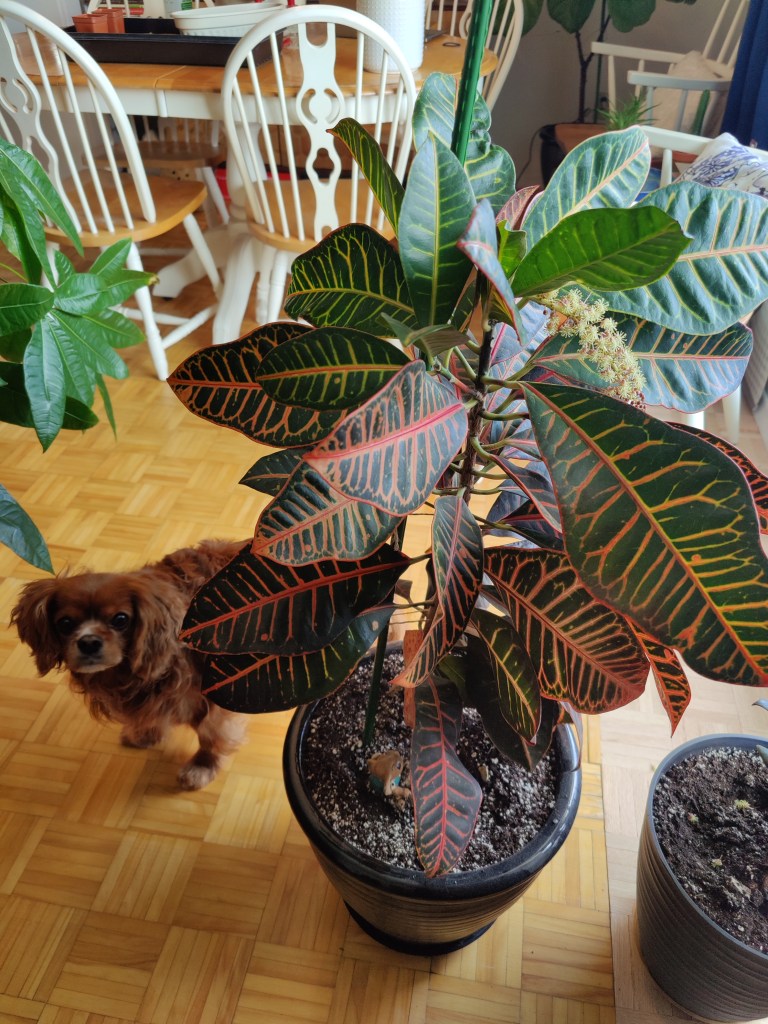
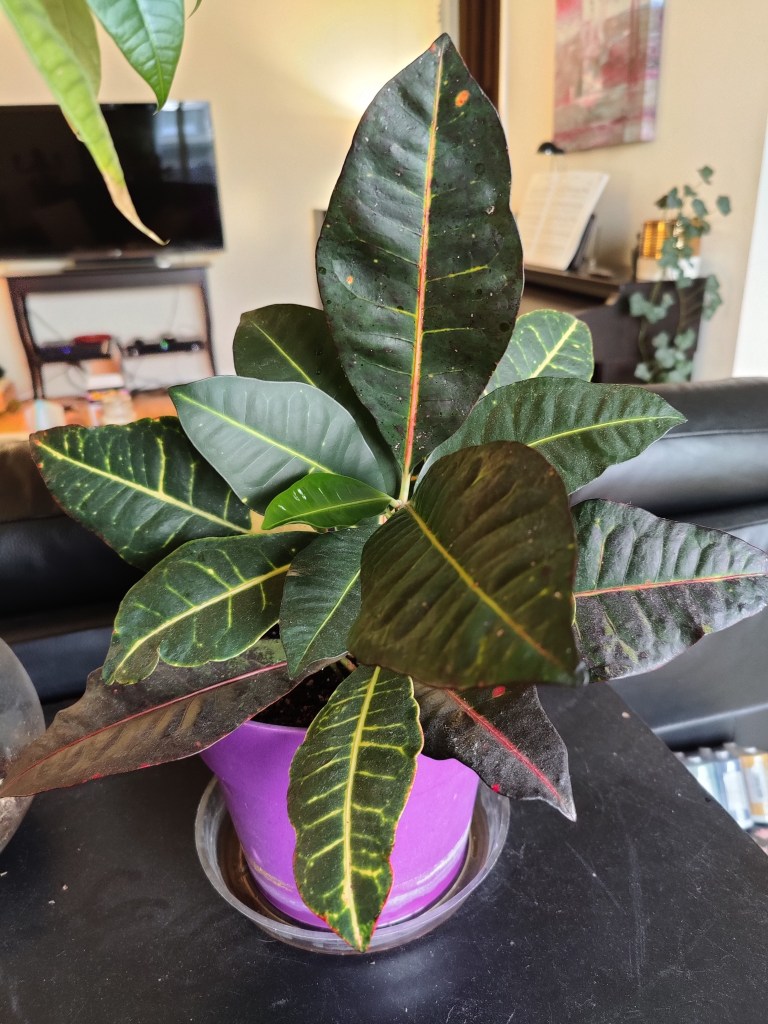
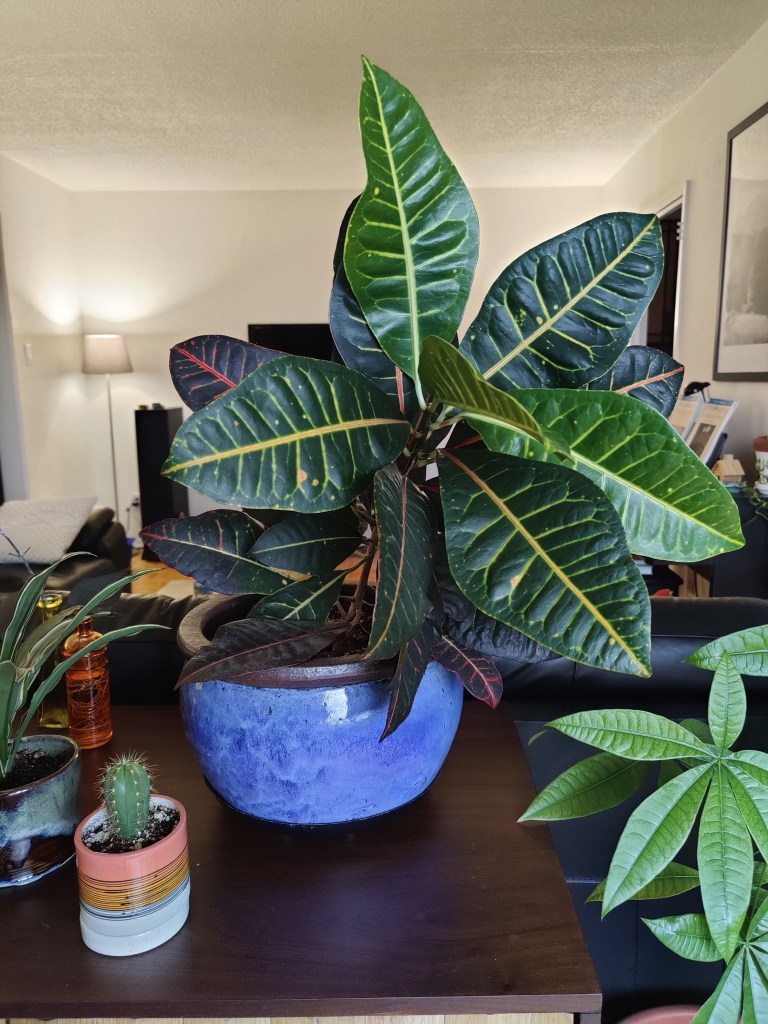
I purchased a croton as a birthday gift to myself in March 2020. The exciting news is that today, exactly 5 years later, my croton is flowering. A cause for celebration, as I’ve read that this particular plant rarely flowers when grown indoors as a tropical houseplant.
To celebrate the life of my 5-year old croton and this rare occasion, I’ve tapped into my inner poet to write a piece about the budding life (pun intended) of this dear houseplant.
And yes, to your delight or dismay, it has come to the point of this gardening journal we’re I’m personifying my plants. Good luck readers.
An Ode to My Croton
My dearest croton, bold and bright, gold and red streaks, what a true delight. Your painted leaves, nimble and free, With fiery moves that I love to see.
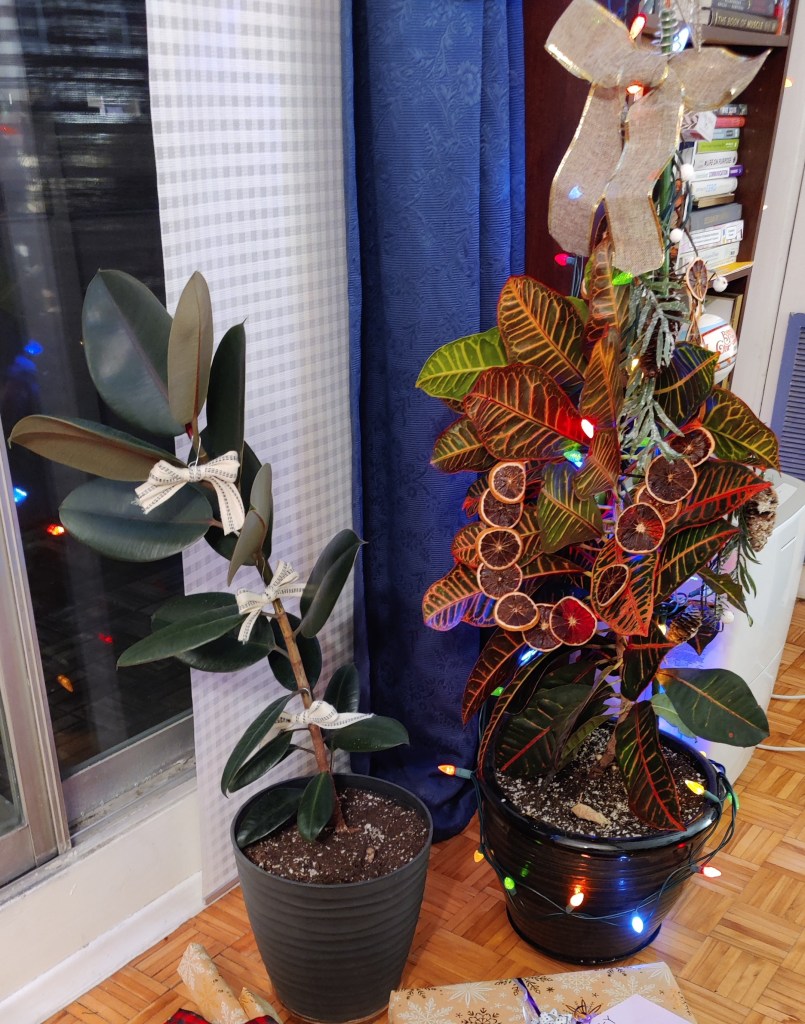
As you grow each vein so true, You are a tapestry in sunlit hue. You stand with pride, night and day, At times, dressed oh so tacky on display.
And when you bloom—its rare and sweet, A lovely gift, if but a moment’s treat. How you’ve grown, with colours so deep, An aging soul, in my heart you’ll keep.
Now, the real question is: Can I do anything with these little flowers? I welcome your insights and ideas in the comments.
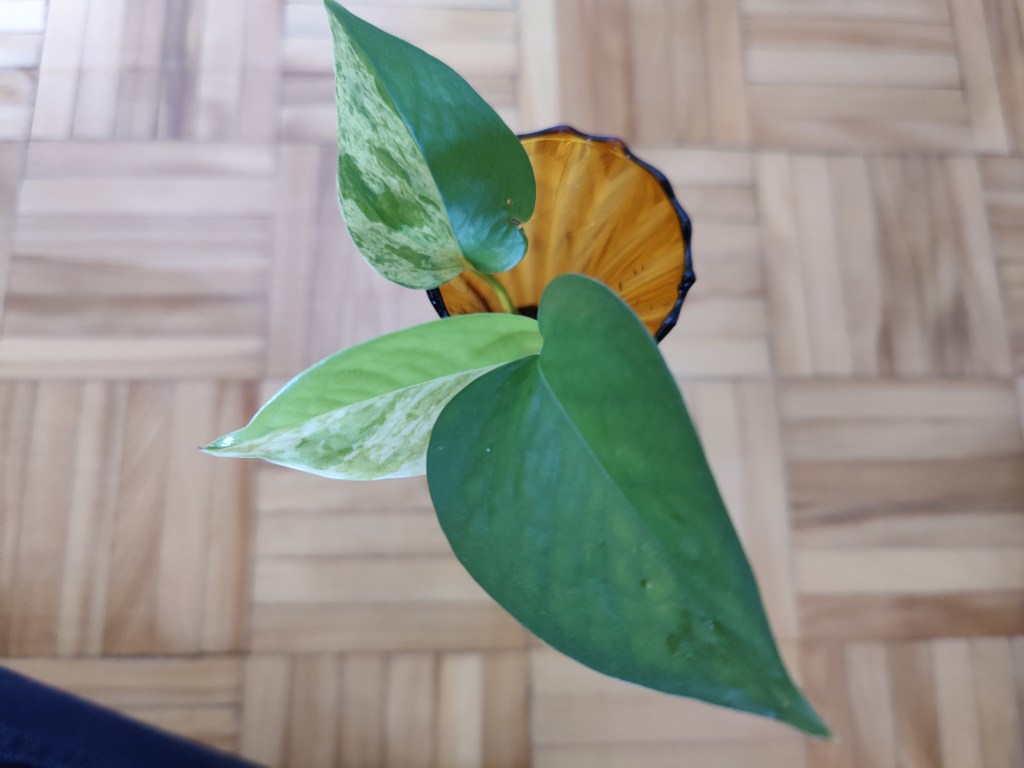
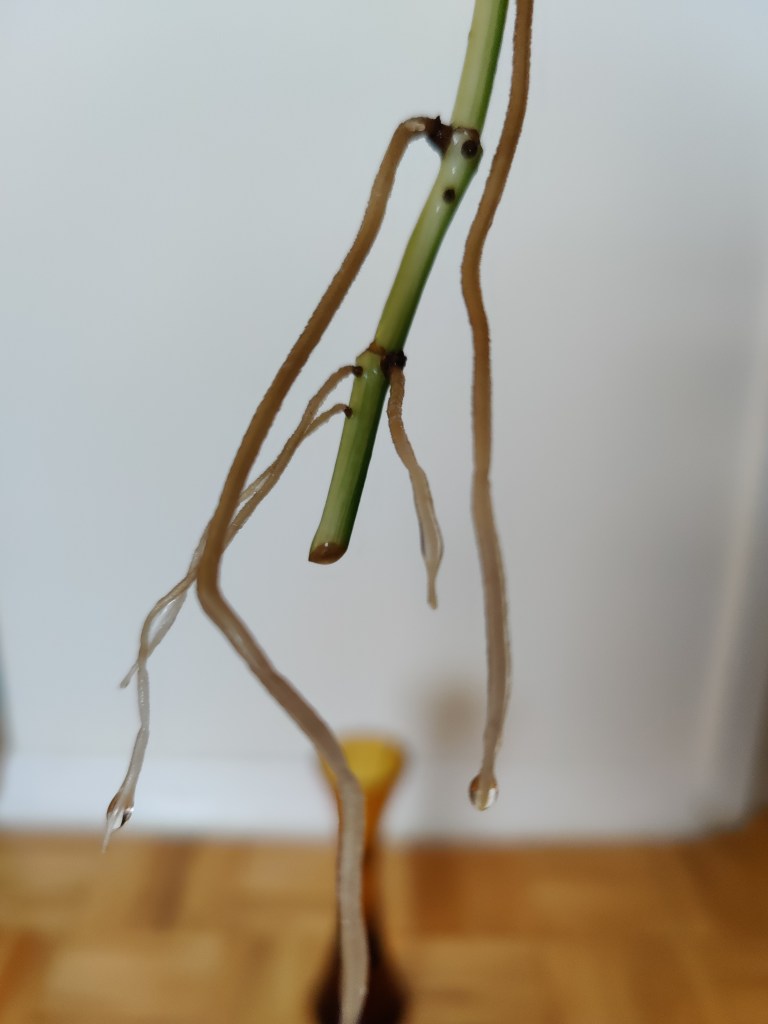
It’s been a month (and a half, oops!) since I started propagating my pothos cutting in water, and I’m happy to share some exciting progress! The roots developed beautifully, showing strong, healthy growth of about 5 inches. I kept the cutting in a well-lit spot with indirect sunlight and changed the water every few days to prevent stagnation.
Normally, I would suggest transplanting the cutting to soil when root growth is about 1 to 2 inches long. I found that the rooting compound I applied to the base of the cutting stimulated its growth. So much so, that a new leaf made an entrance a few weeks into the experiment.
For those just starting with water propagation, my biggest tip is patience—some roots take longer to appear, but as long as the stem remains firm and the leaves stay green, the cutting is alive and growing.
For me, it was time to finally transplant this plant baby into its permanent home. Here are the steps to take:
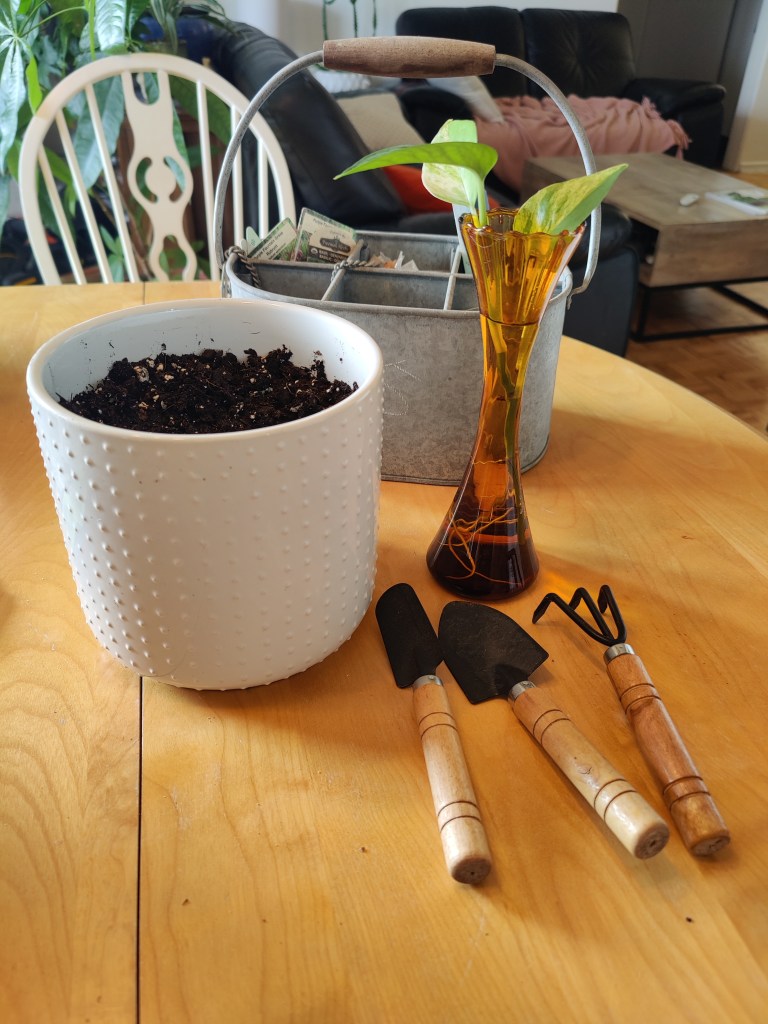
Step 1: Collect all of your tools and supplies
My supplies included:
a small pot containing room temperature soil mixed with perlite1 (I recommend selecting a pot with drainage holes at the base as it promises healthier growth and adequate drainage; yet, this pot is what I have available right now)
a spade or other tool to dig a hole for your cutting (a spoon or your own hands also will work)
glass of water
the pothos cutting
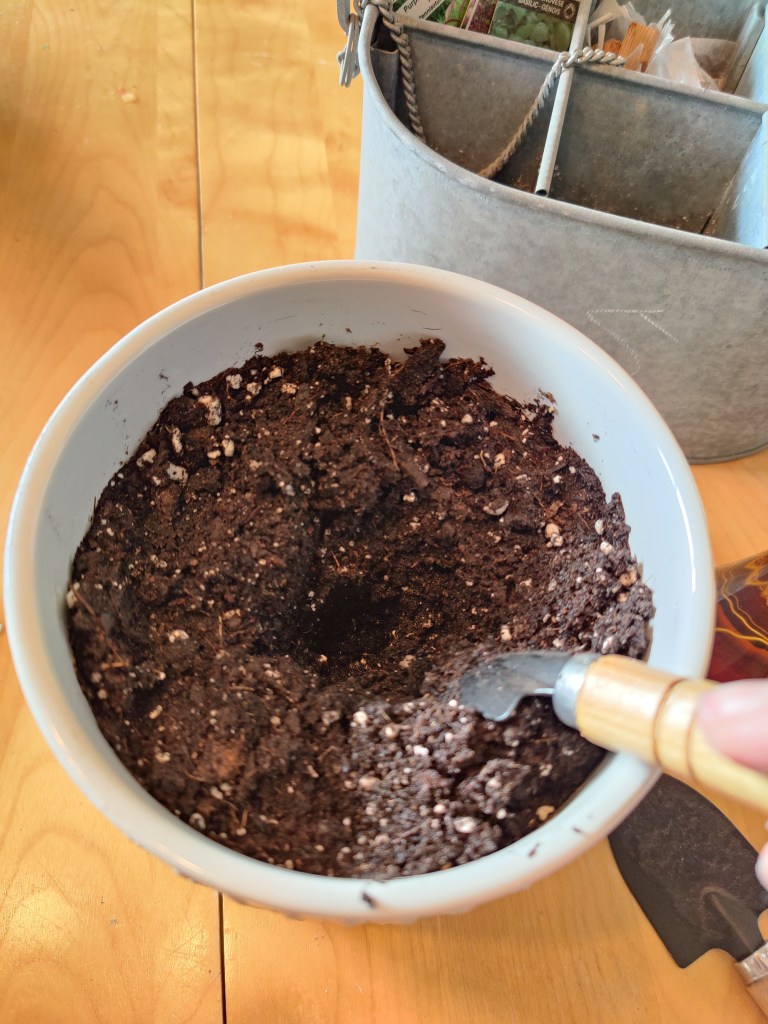
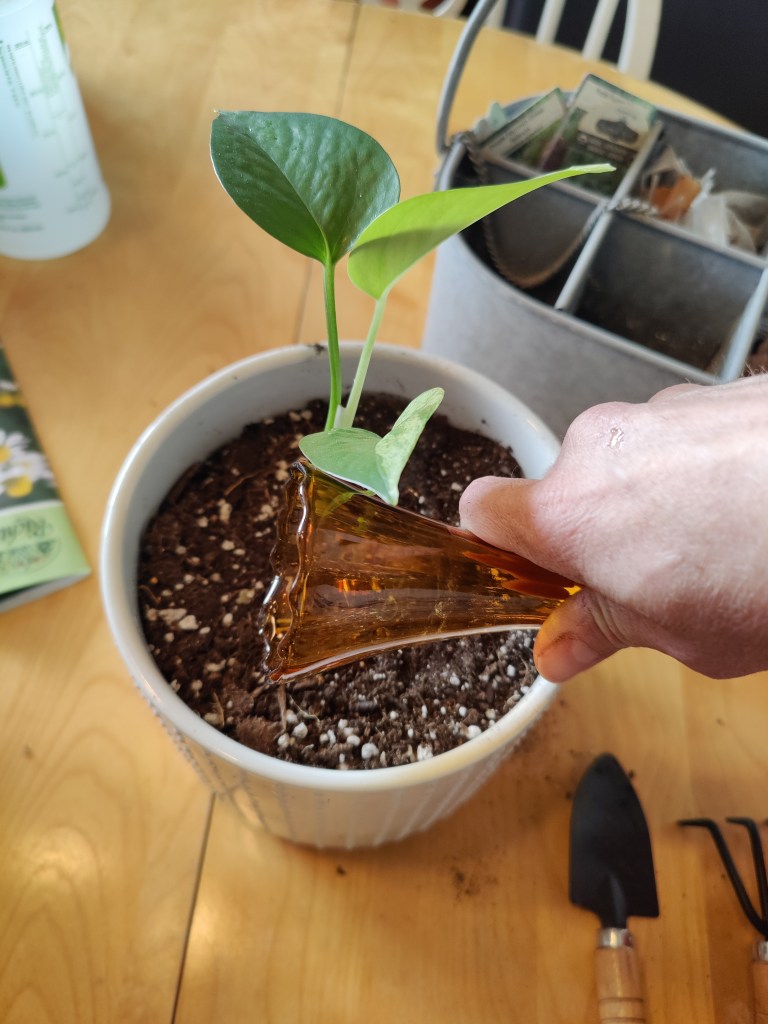
Step 2: Water your soil before transplanting
To give the plant a helping hand, generously water the soil so that it is damp to touch.
Hot tip: Grab a handful of soil—it should feel damp, hold its shape, and not release excess water when squeezed.
Step 3: Dig a hole and gently tuck in your cutting
Using my miniature spade, I dug a hole that was big enough for the roots to fit comfortably. Imagine you are tucking your plant into a cozy bed.
As the roots were quite lengthy, I had to dig deep, and I found myself adding extra soil to the surface of my pot. Using my fingers, I pressed down around the base of the plant to reduce the number of air pockets in the soil. This action stimulates healthy growth.
Step 4: Water again generously
Again, water the soil generously to set the plant in place. I used the remaining water from my propagation vase plus a quarter cup of water from a nearby spray bottle.
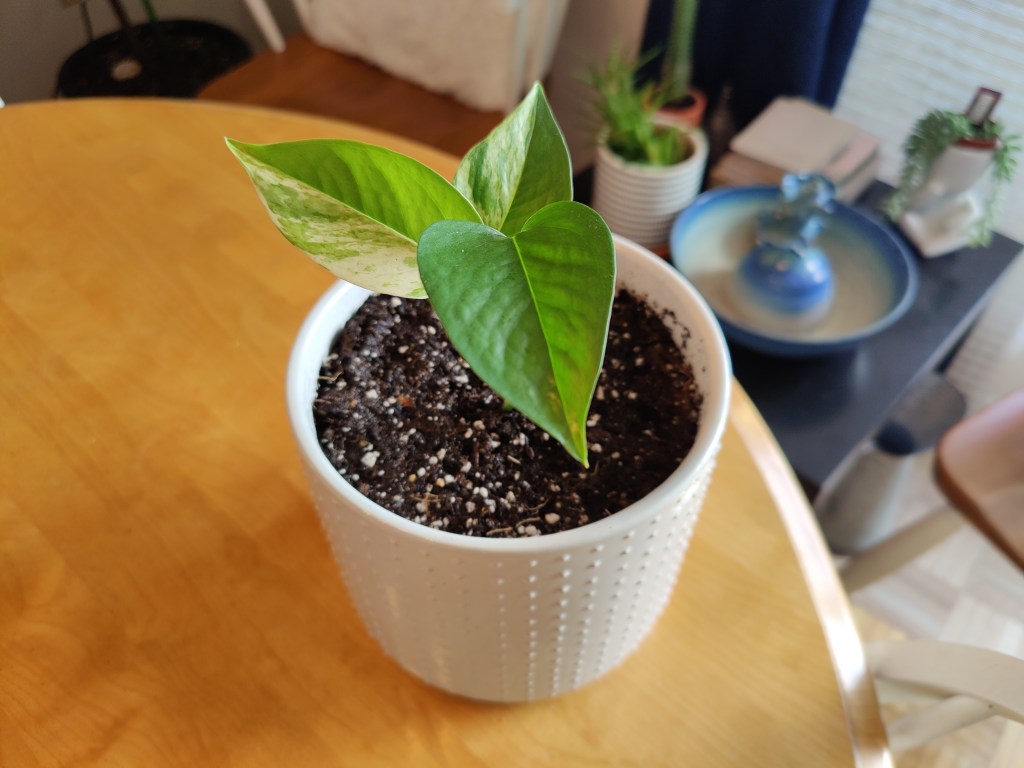
Step 5: Place your plant in a well-lit area
Voila! The hard part is done. I placed my new plant about three feet from my south-facing window to start. Since my pot has no drainage holes, I’ll check on it weekly and plan to water it every two weeks. If needed, I’ll make any adjustments to my new plant baby’s living conditions after a week or so.
I’ve decided to name this plant Snoop Dogg, as per my sister’s recommendation. If you’ve had experience with transitioning pothos from water to soil, I’d love to hear your thoughts in the comments!
perlite is a lightweight material that allows for extra aeration, which in turn helps your plant grow strong and healthy ↩︎
I’ve written prior posts about water and soil propagation, but now I will try my hand at succulent propagation. I’ve read that to be successful with multiplying your succulents, you need the original piece of the plant to callous over, or dry out. I have tried this unsuccessfully in the past, so wish me luck!
Here are the steps I will take:
Select a healthy leaf: Choose a plump, healthy leaf and gently twist it off the stem. Ensure the base of the leaf is intact.
Let it callous over: Place the leaf in a dry area out of direct sunlight for a few days to a week to allow the cut end to form a callous. This prevents rotting.
Place on soil: Lay the leaf on top of well-draining succulent soil. Do not bury it.
Mist occasionally: Mist the soil lightly every few days to keep it slightly moist. Roots and a tiny plantlet will emerge from the cut end in a few weeks.
Transplant when ready: Once the new plant is established and the original leaf dries up, transfer it to its own pot.
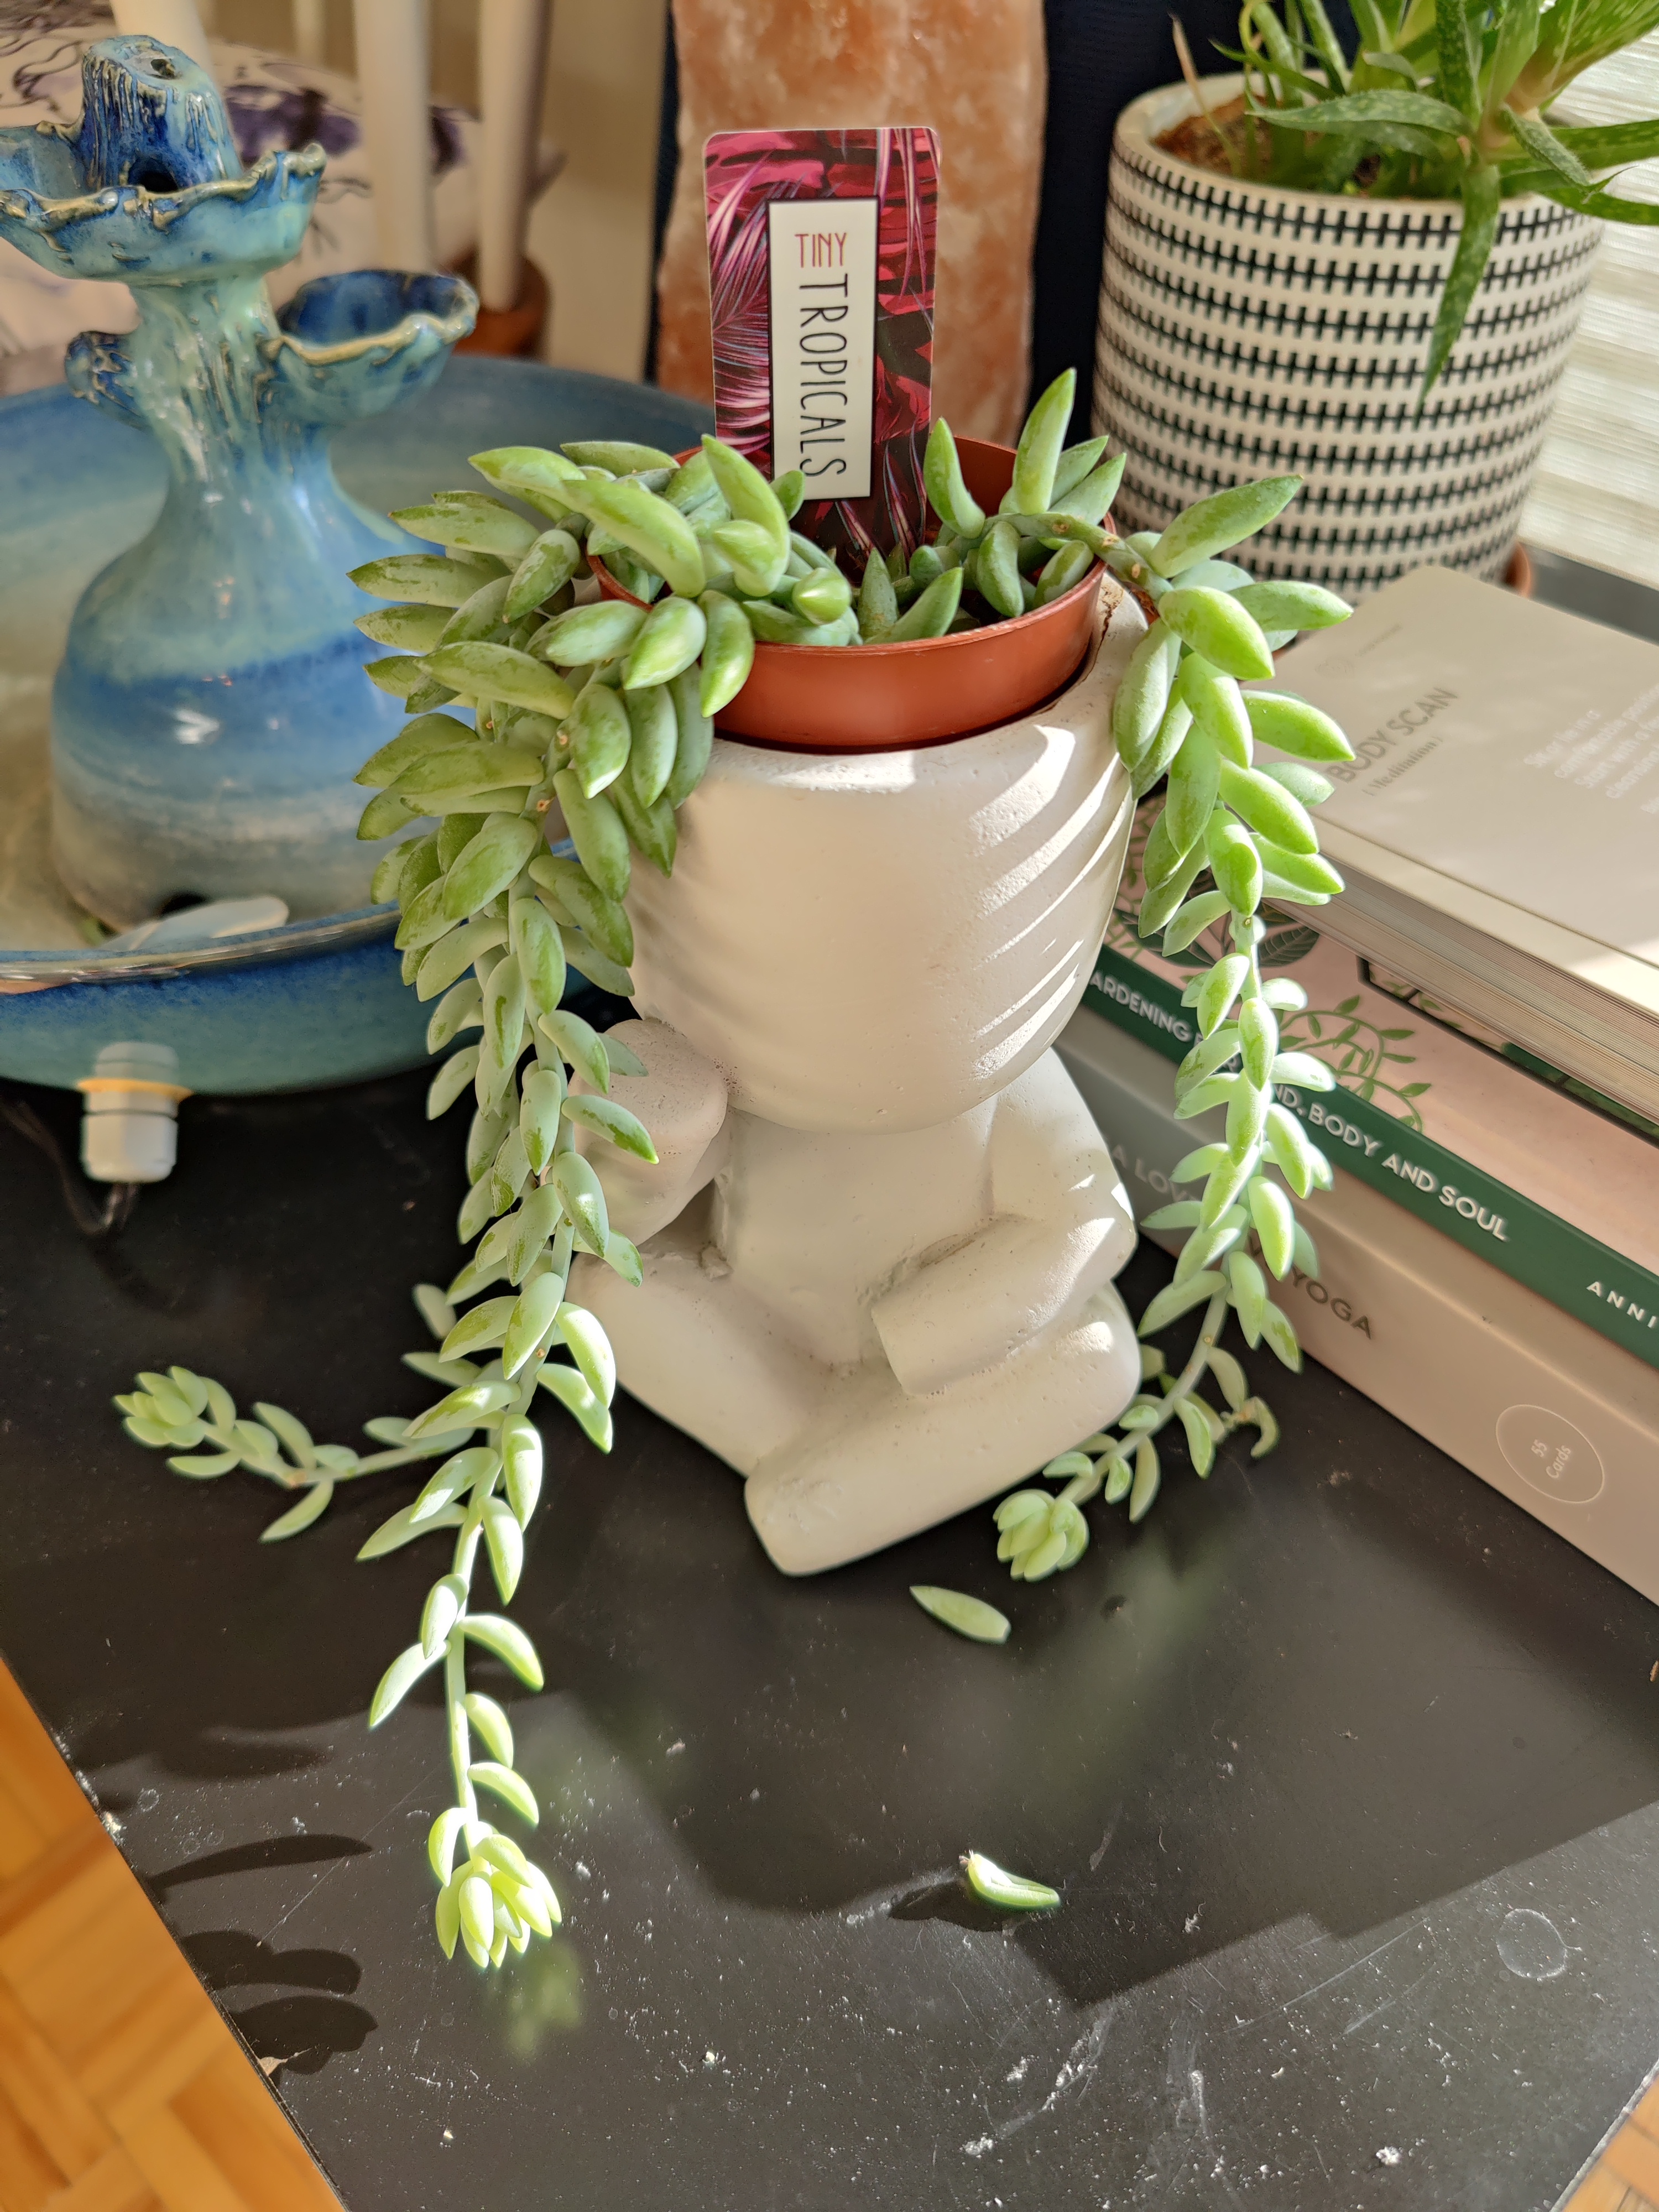
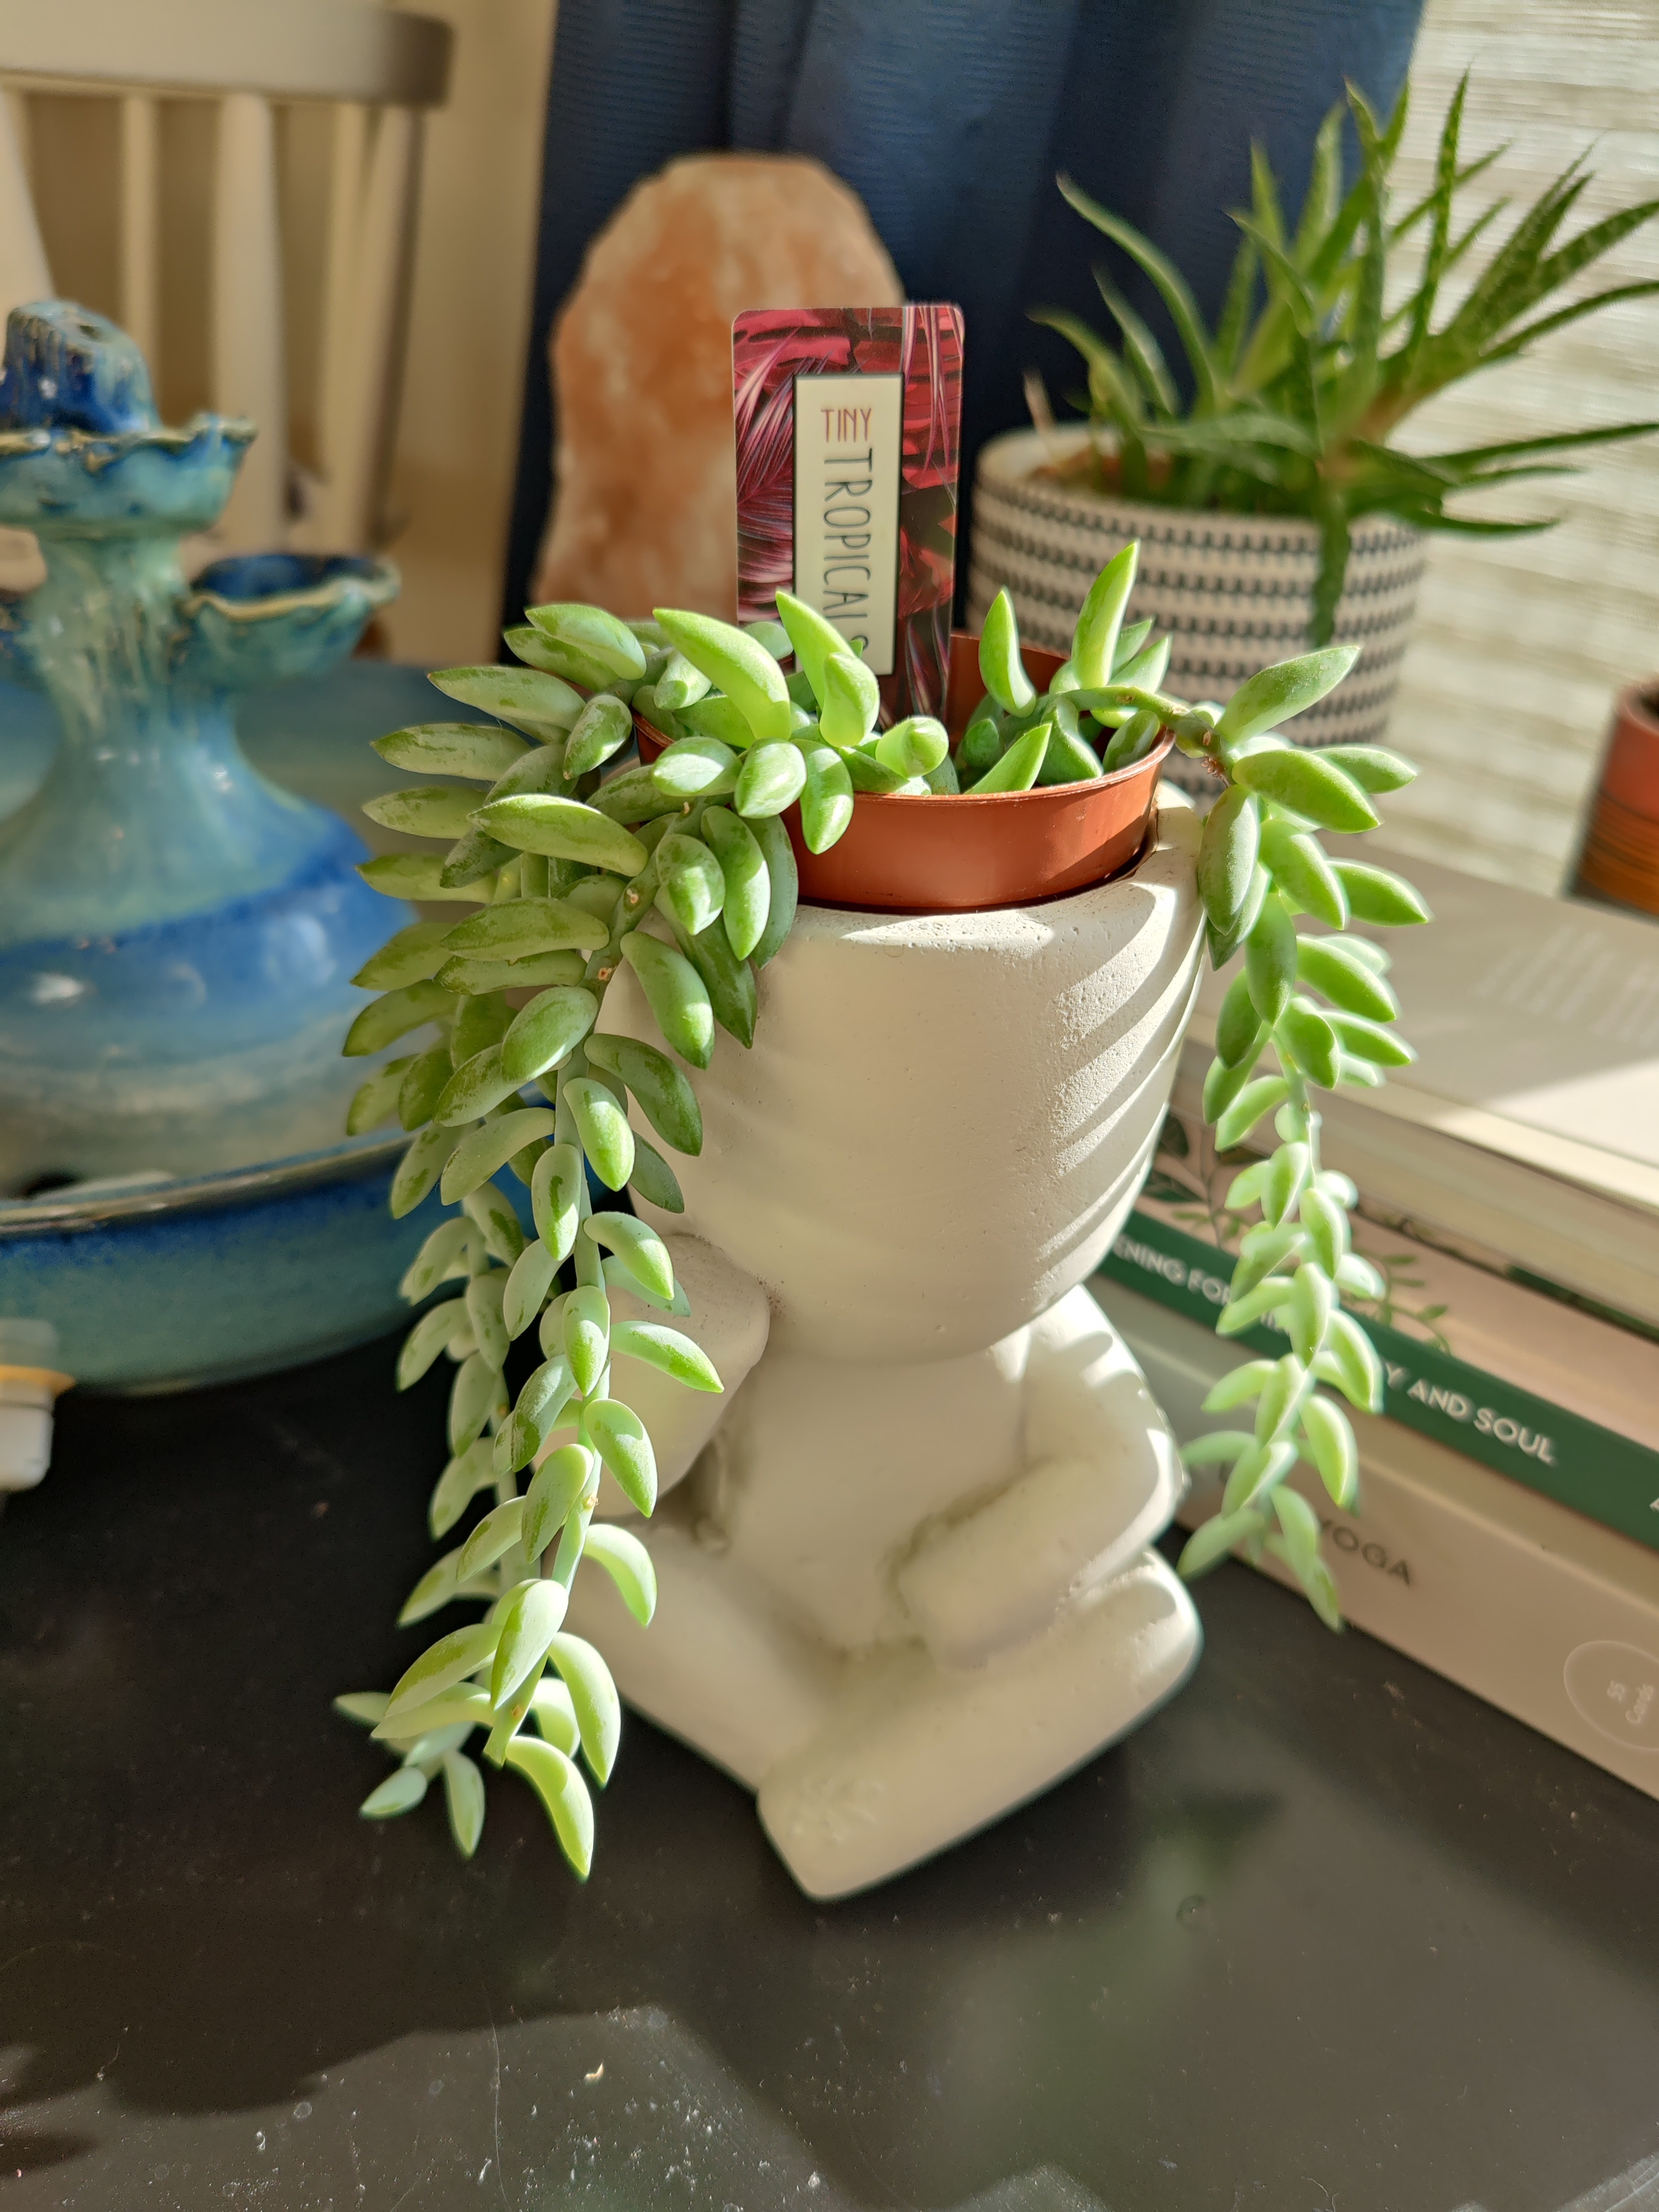
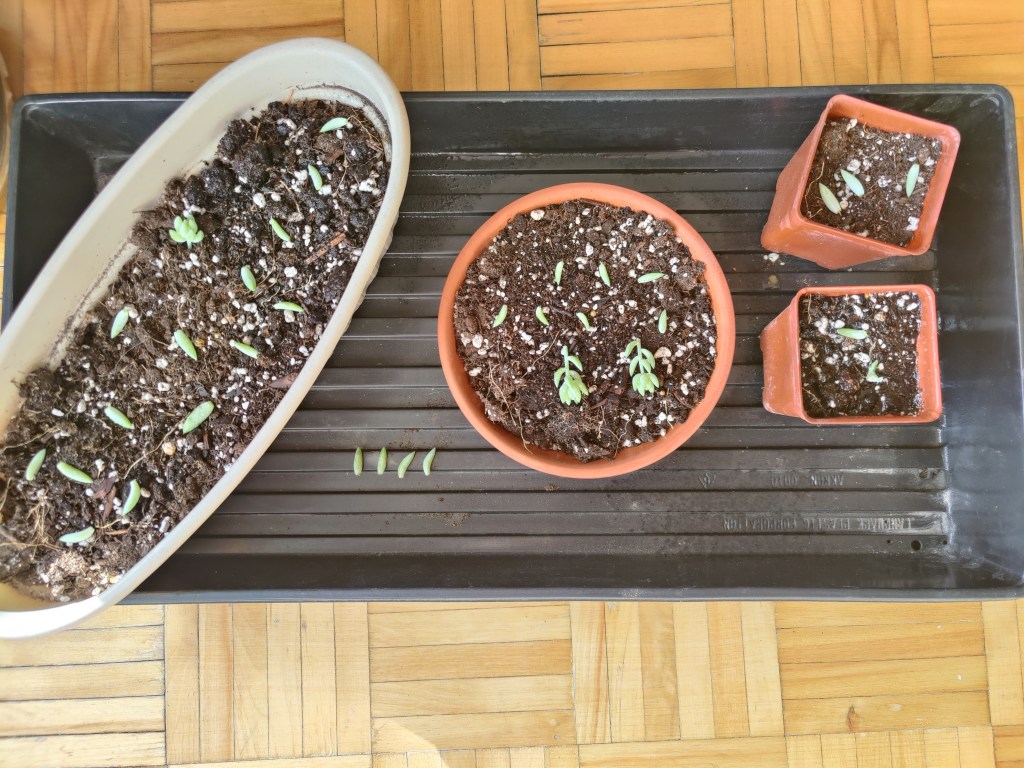
I’ve started with the succulent that I gifted my partner, as it needs a haircut. Whether or not this experiment works out, I will share the results.
The original succulent – before and after its haircut. You can see that some leaves dropped already and were beginning to callous over.A leaf that has calloused and has started sprouting roots. It should be ready to place on top of soil.My experimental setup. Placed a few leaves on soil and a few were left air drying.
Soil propagation is a method of growing new plants from cuttings by placing them directly into soil or a soil-like medium. This technique is commonly used to propagate a variety of plants, such as herbs, shrubs, perennials, and even some trees. The goal is for the cutting to develop roots while embedded in the soil.
Benefits of Soil Propagation:
Easier transition for the plant since it’s already in soil.
Ideal for plants that don’t root well in water or prefer direct soil contact.
Provides better anchorage for the cutting as roots grow.
This method works well for many species, but success depends on factors like the plant type, cutting health, and growing conditions.
Which Houseplants can I try this with?
Though the list is not limited to just houseplants, here are a few indoor plants that grow well at home using this technique:
Pothos: Very easy to propagate in soil from stem cuttings.
Spider Plant: Offsets or “babies” root well in soil.
Coleus: Grows rapidly from stem cuttings in moist soil.
Philodendron: Cutting pieces from this plant can root quickly in soil.
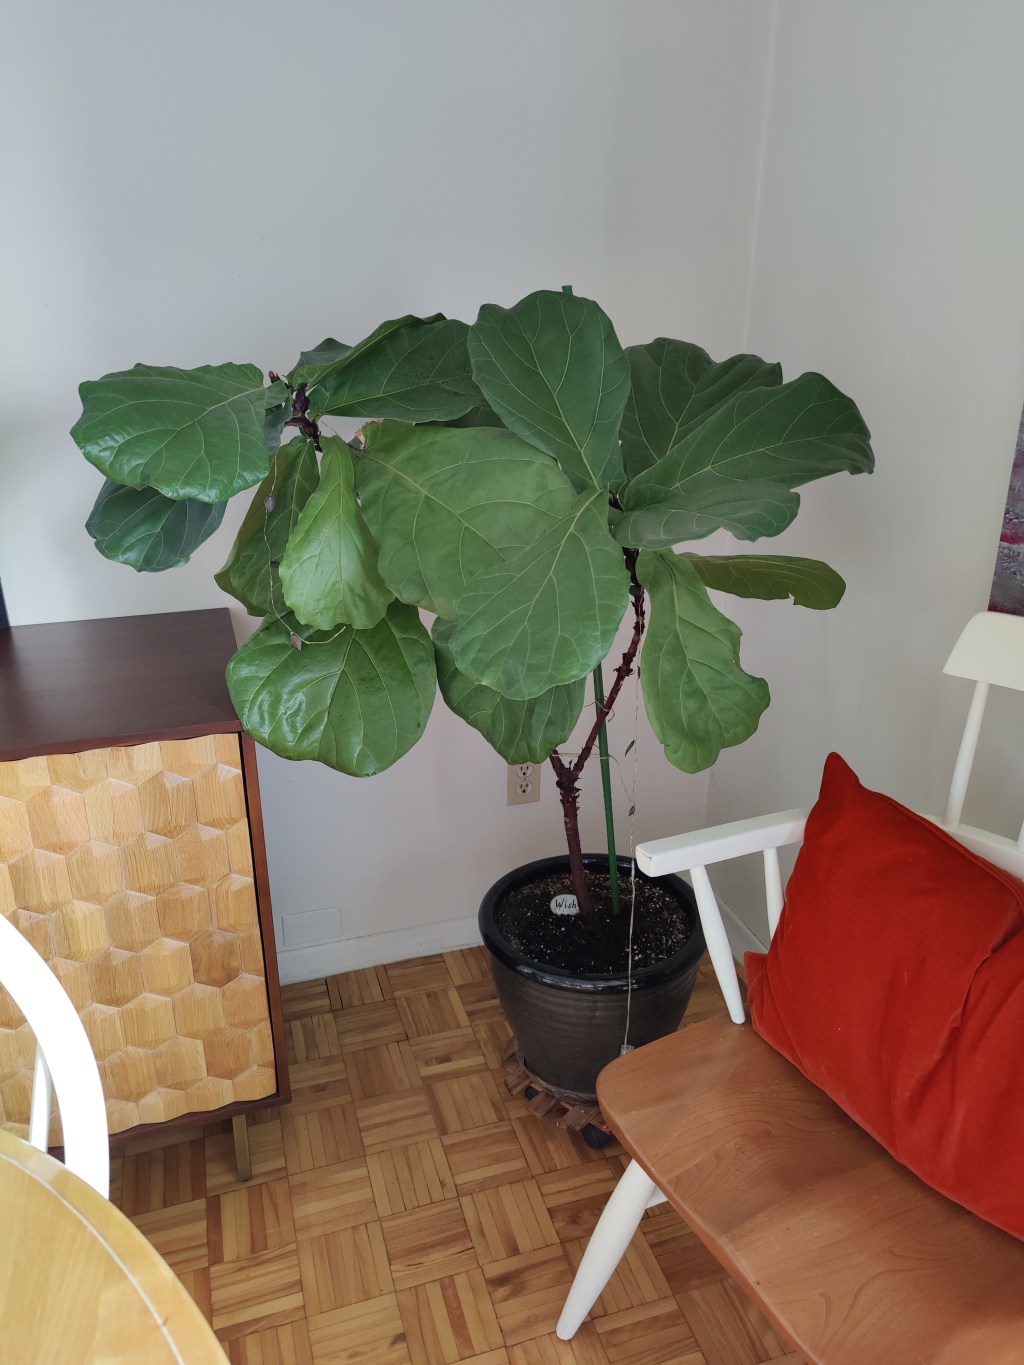
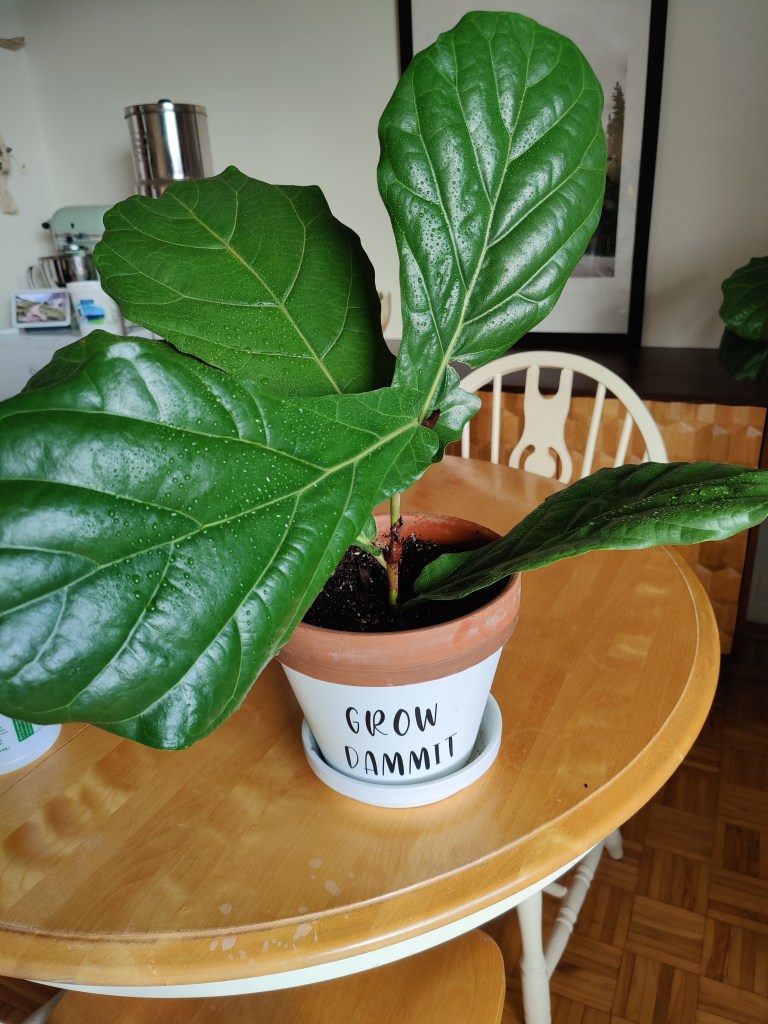
This list is certainly not extensive. I have also been successful with using this technique on my fiddle leaf figtree. The tree was growing crooked so this is what I did:
I clipped a few leaves down and in between nodes of the main plant
Once I had my cutting, I dipped it into rooting compound to support root growth.
I planted the cutting into a new pot with soil (mixed with perlite) and covered it with a clear plastic bag. This imitates greenhouse conditions.
I made sure to mist the leaves daily for the first few weeks. Having adequate humidity was important while the cutting was setting roots.
Lastly I positioned the cutting in indirect sunlight.
Both the propagated cutting and the tree are thriving. In fact, a new leaf just sprouted on the original tree. Until next time.
When asked by a colleague to share a cutting of one of my houseplants with her, it dawned on me that I should write a post on plant propagation. Plant propagation is an exciting and rewarding way to grow your green thumb. It offers an opportunity to expand your plant collection, share greenery with friends, and better understand the life cycles of your favourite plants. In this post, we’ll explore what propagation is and dive into one of the easiest and most popular methods: water propagation.
What Is Propagation?
Propagation is the process of creating new plants from existing ones. It’s a good way to multiply your plant collection for free! Propagation can be done in several ways, depending on the plant species and its natural growth habits. The most common methods include:
Seeds: Growing new plants from seeds, often the result of pollination.
Cuttings: Taking a piece of a plant (such as a stem, leaf, or root) and encouraging it to grow into a new plant.
Division: Splitting a mature plant into smaller sections, each with its own roots.
Layering: Encouraging roots to grow on a branch or stem while it’s still attached to the parent plant.
Grafting and Budding: Joining parts of two plants to create one new plant, often used in fruit trees and roses.
Among these methods, stem cuttings are particularly popular for houseplants, and water propagation is one of the easiest ways to get started.
What Is Water Propagation?
Water propagation is a technique that involves rooting plant cuttings in water. It’s an approachable method for beginners because it’s simple, requires minimal tools, and allows you to watch the roots grow in real-time. Many popular houseplants, such as pothos, philodendrons, and spider plants, thrive in water propagation.
How to Propagate Plants in Water
Ready to give it a try? Here’s a step-by-step guide to water propagation:
Materials Needed:
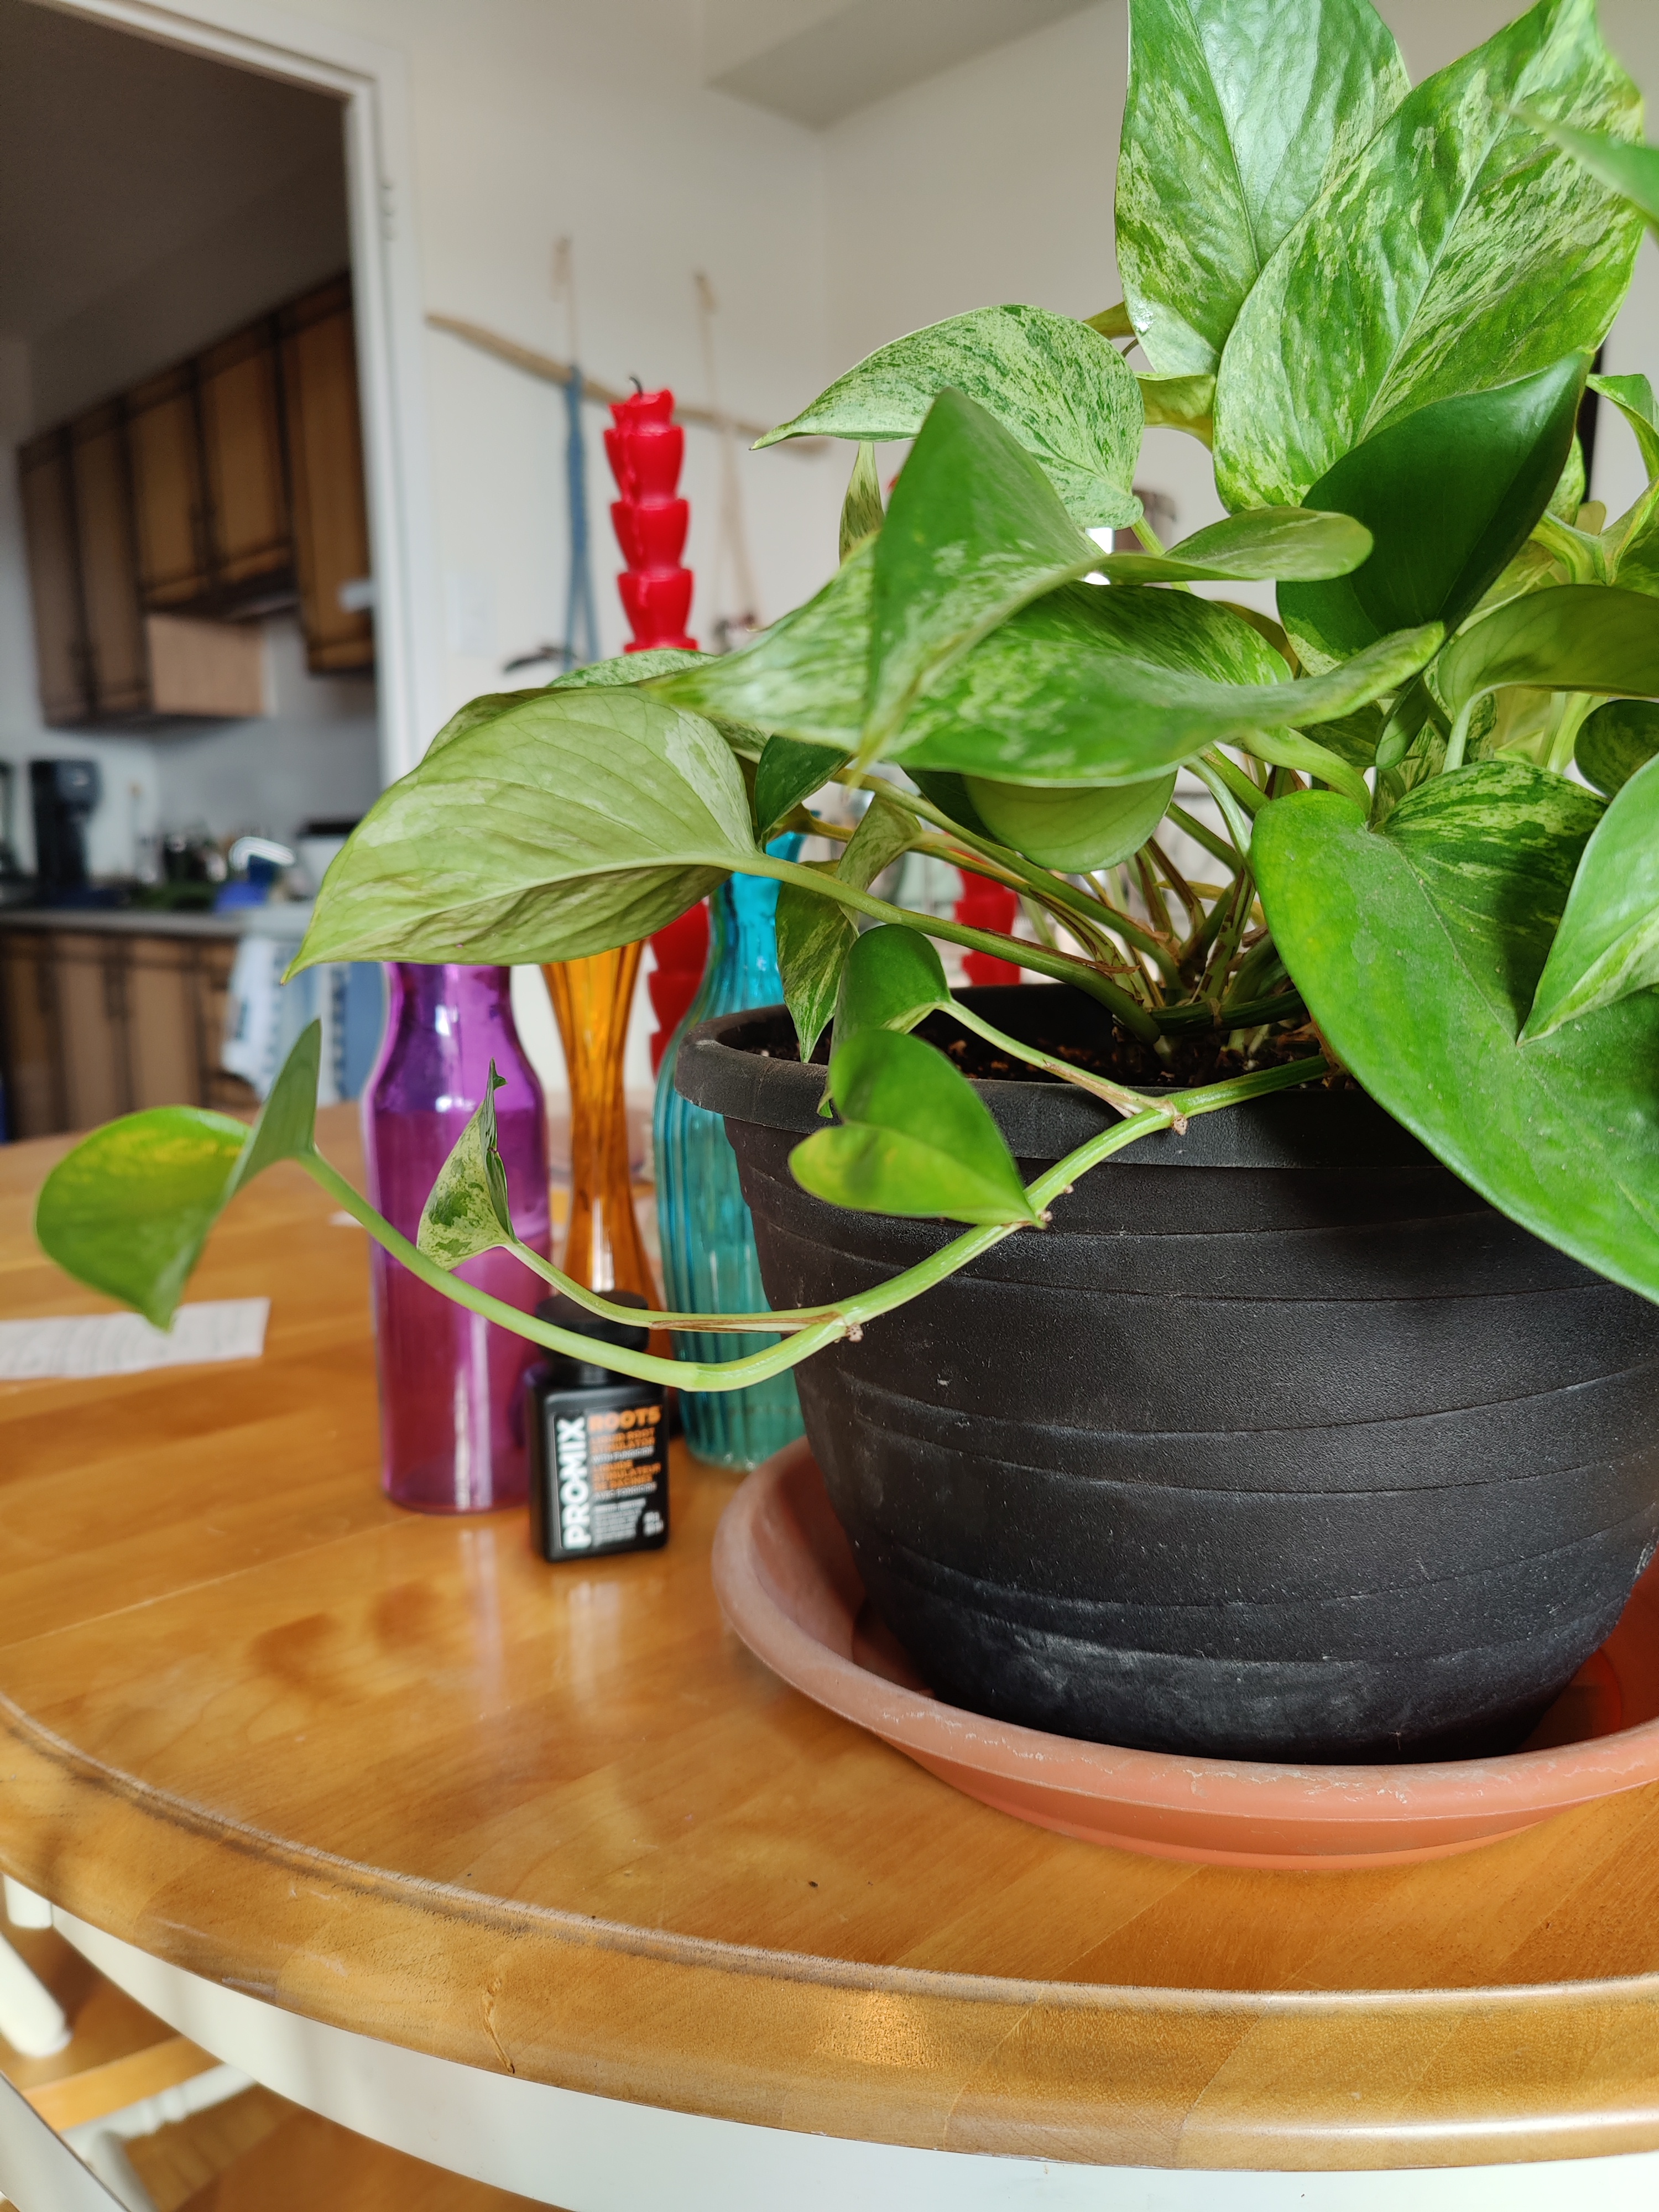
A healthy houseplant (I am using a pothos plant)
Clean scissors or pruning shears
A glass or jar of water
Optional: rooting hormone (not essential)
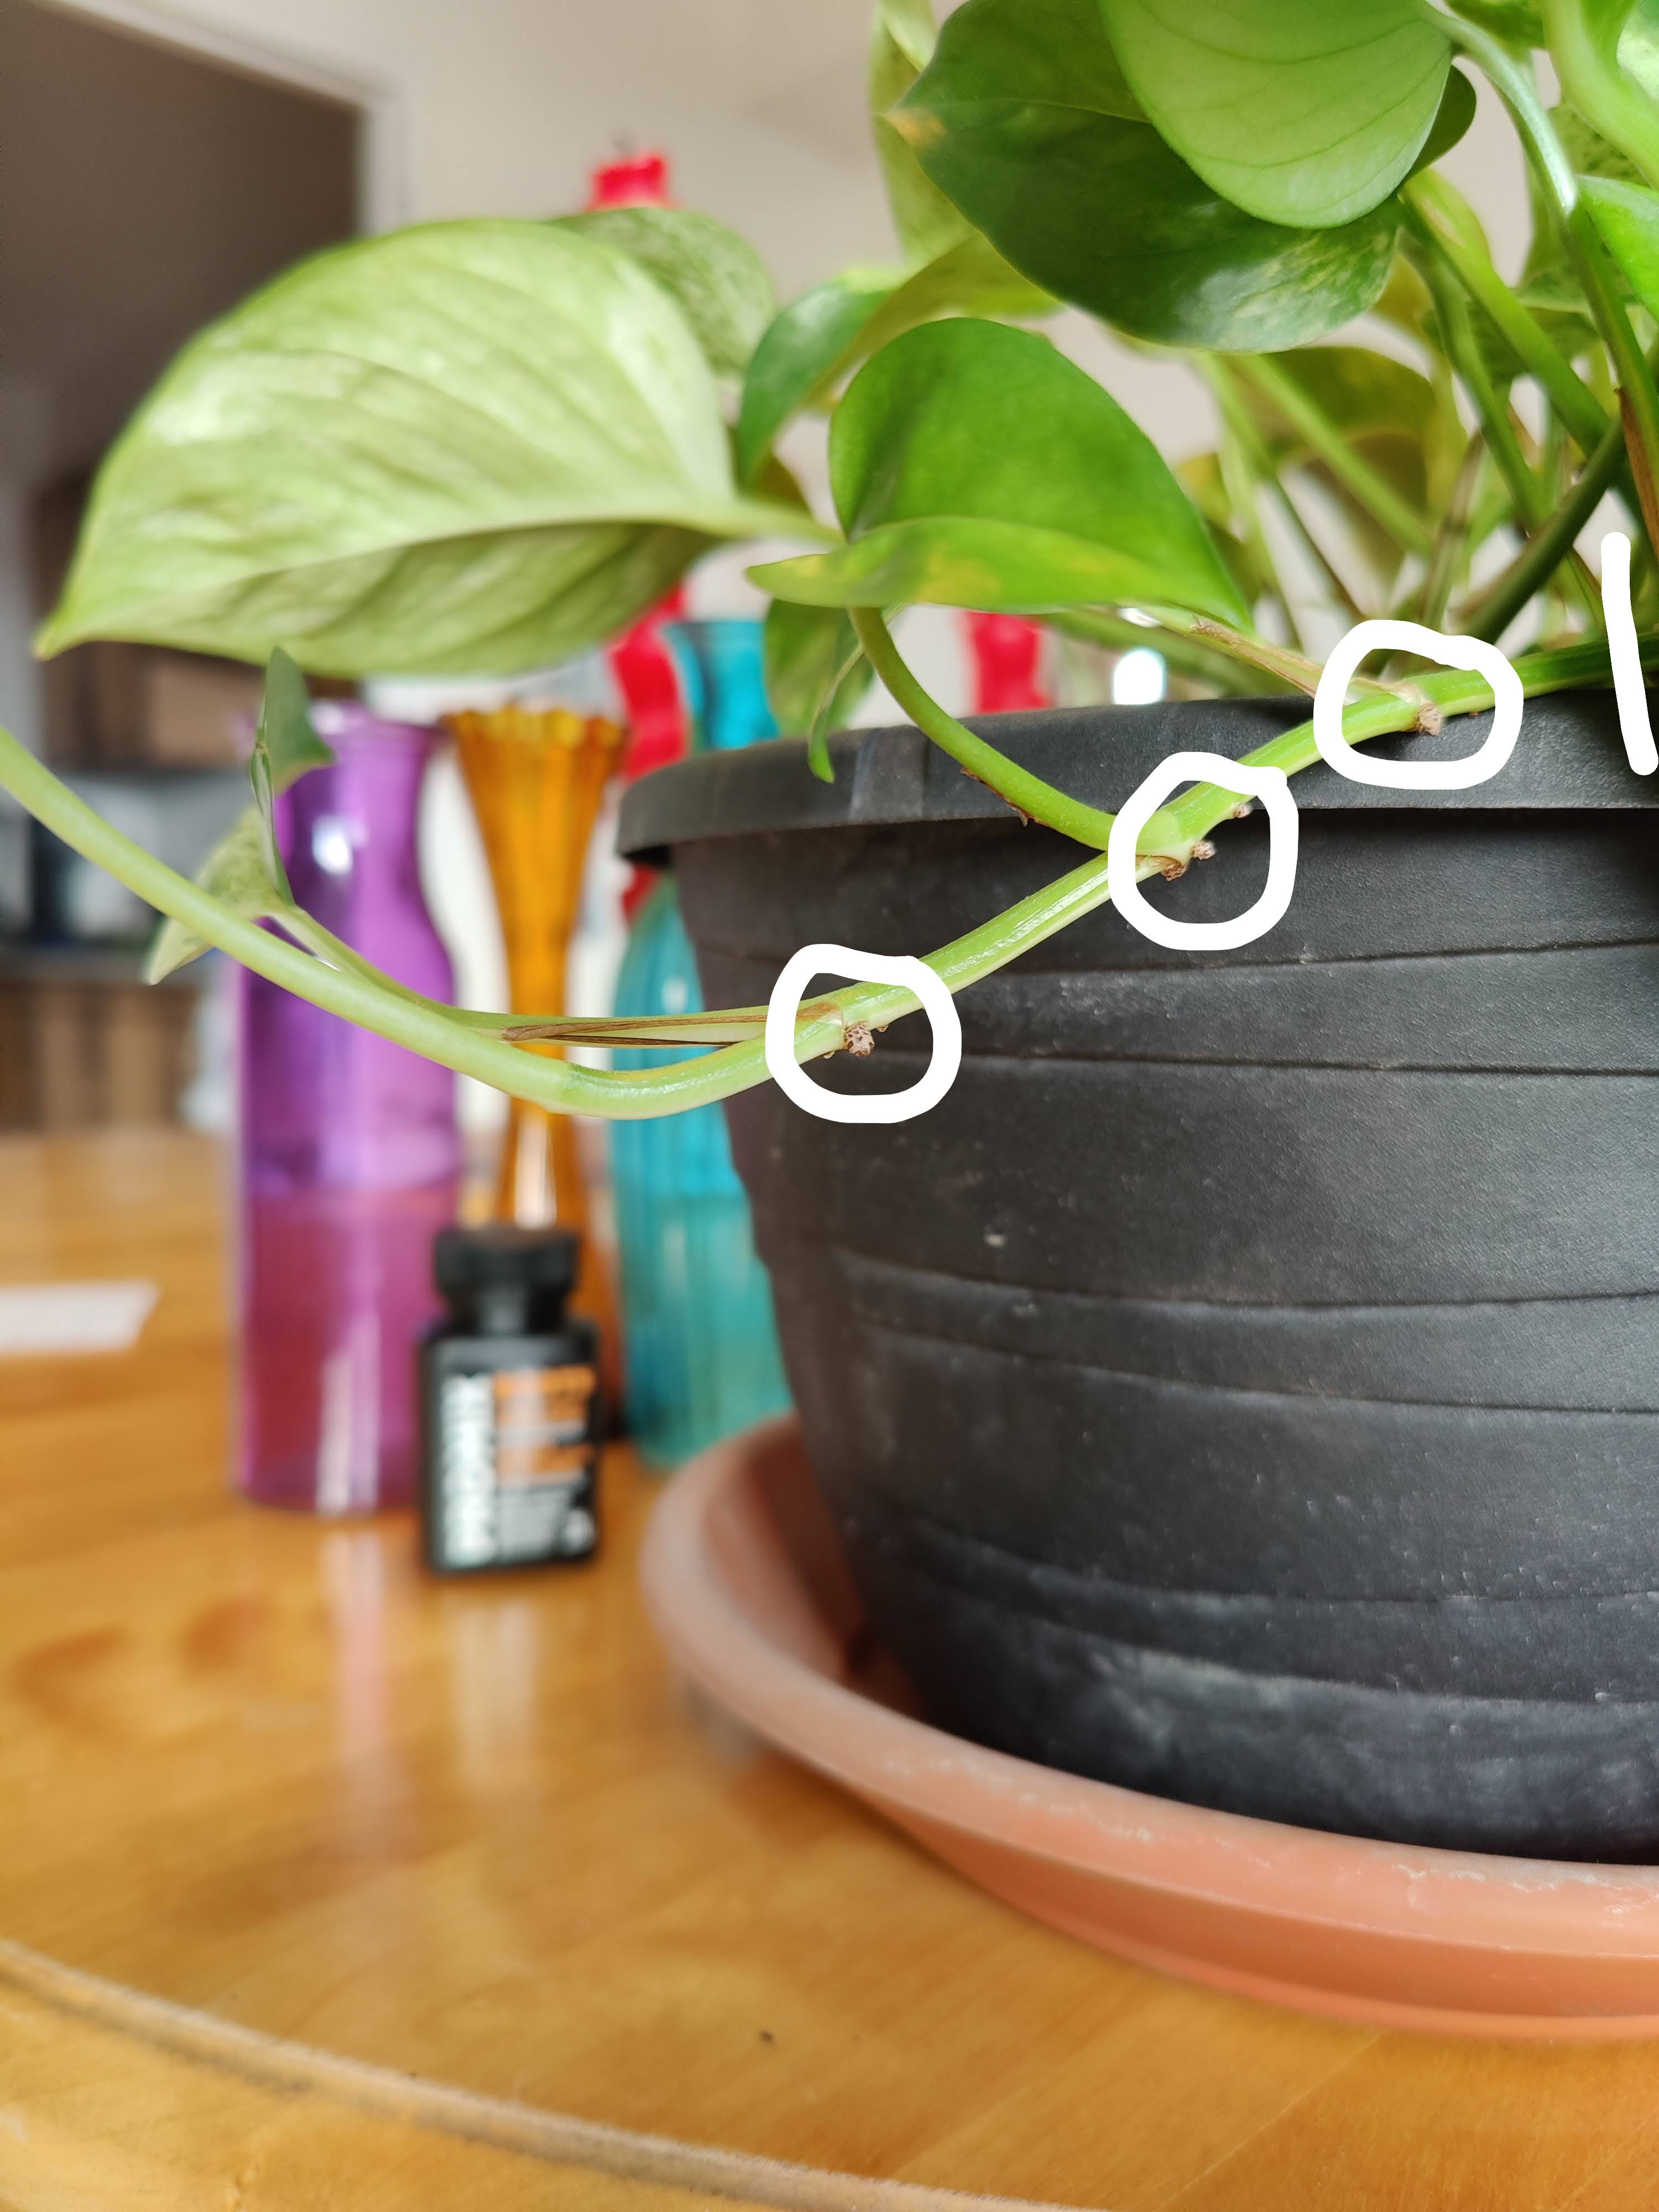
I’ve circled the nodes and drew a line where I cut the stem.
Select a Healthy Vine: Look for a vine with several healthy leaves and visible nodes (the small bumps along the vine where leaves and roots grow).
Cut the Stem: Use clean scissors to cut a 4–6 inch section of the vine. Ensure the cutting has at least 2–3 nodes (the more nodes, the better the chances of propagation).
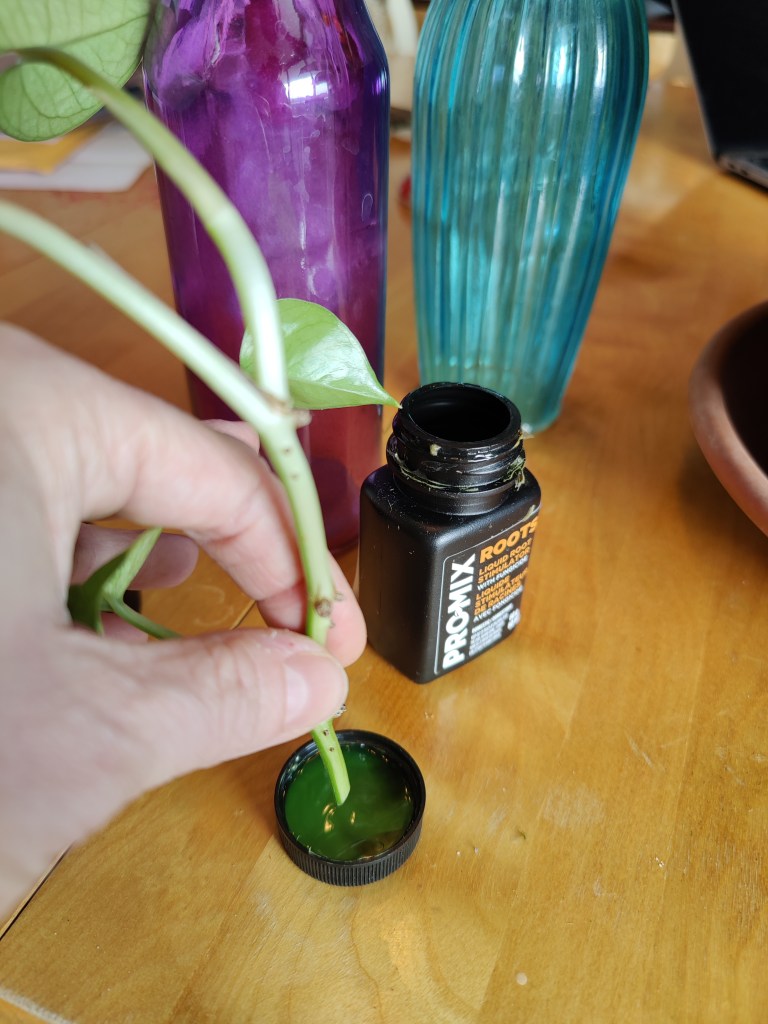
Prepare the Cutting: Remove the leaves from the bottom 1–2 nodes. These nodes should be submerged in water for roots to grow. Optional: Dip the cut end into rooting hormone to encourage root growth.
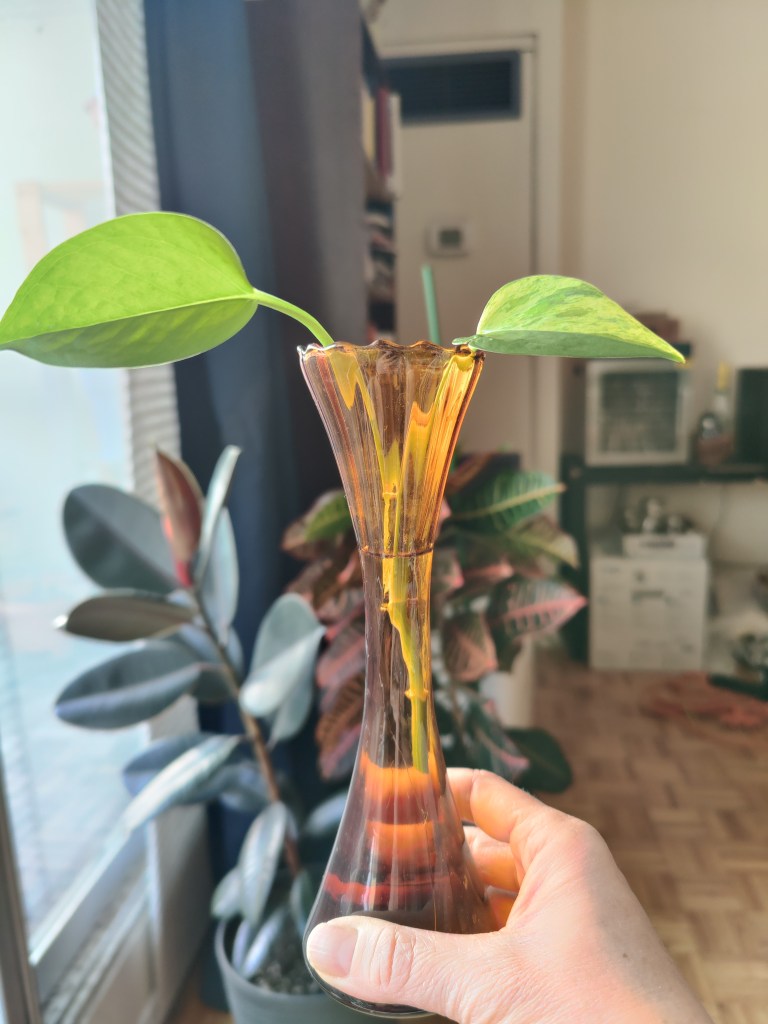
Place in Water: Place the cutting in a jar or glass of clean, room-temperature water. Ensure the nodes are fully submerged, but leaves remain above water to prevent rotting. Use a clear container to monitor root development.
Provide Ideal Conditions: Put the jar in a bright, indirect light location. Avoid direct sunlight, which can damage the cutting. Change the water every 3–5 days to keep it fresh and oxygenated.
Wait for Roots: Roots should start to appear within 1–2 weeks. Wait until the roots are at least 2–3 inches long before planting the cutting in soil (usually takes 4–6 weeks).
Transferring to Soil
Once the roots are well-developed, your new plant is ready to be potted. Choose a pot with drainage holes and fill it with well-draining soil. Plant the rooted cutting gently, water it, and place it in a bright spot to continue growing.
Plants That Thrive in Water Propagation
While many plants can be propagated in water, here are some common favorites:
Pothos
Philodendrons
Spider plants
Monstera
Tradescantia
Begonias
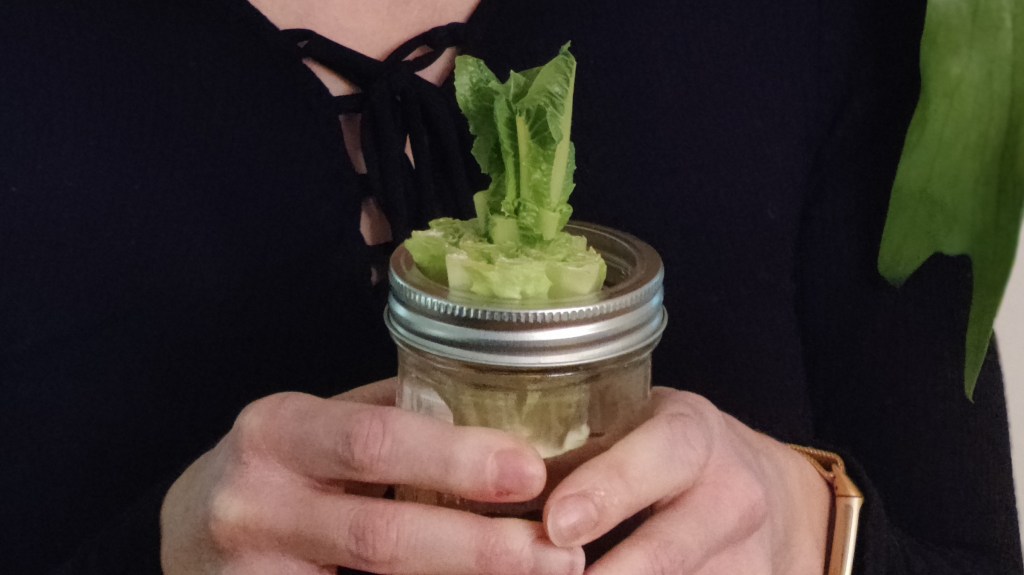
I have also had success propagating pineapple tops and lettuce.
Final Thoughts
Water propagation is a fun, rewarding way to grow your plant collection and connect with nature. Watching roots form and new growth emerge is a magical process that deepens your appreciation for the resilience and beauty of plants. So grab your scissors and a glass of water, and start propagating today! Your plants—and your future self—will thank you.