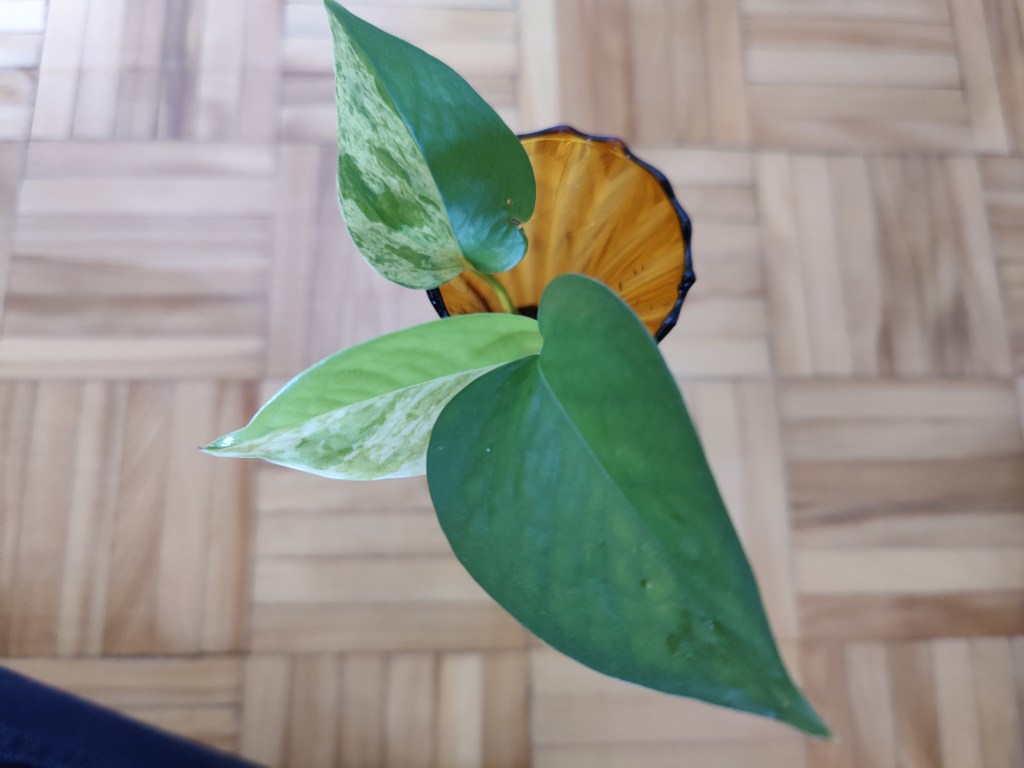
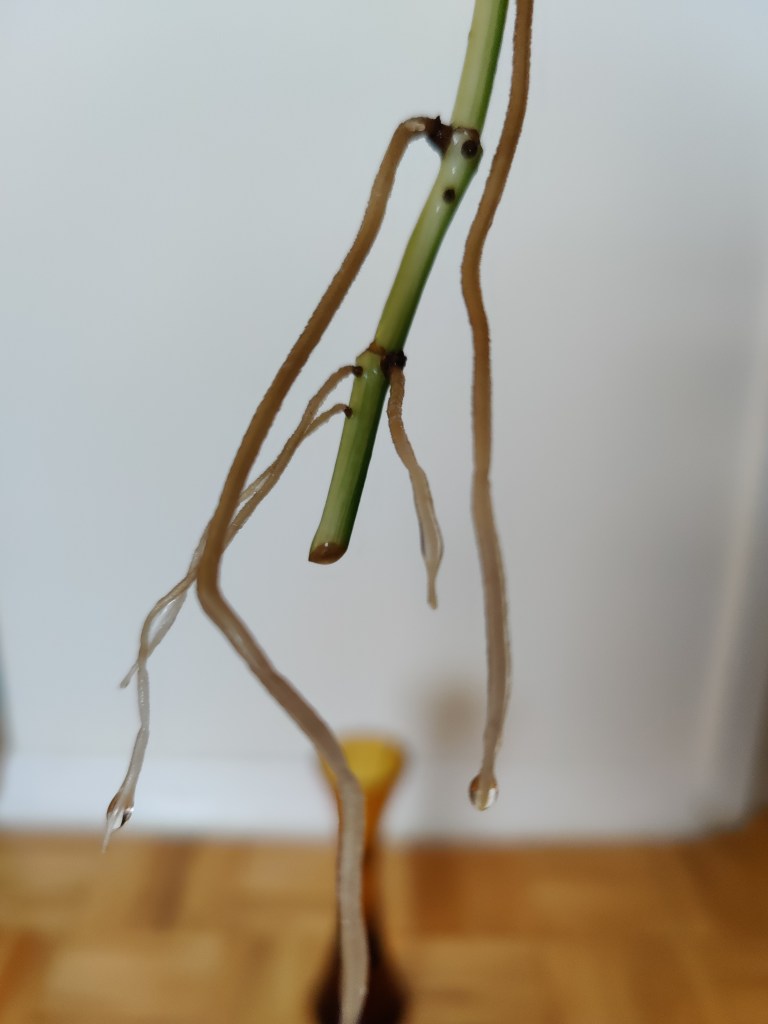
It’s been a month (and a half, oops!) since I started propagating my pothos cutting in water, and I’m happy to share some exciting progress! The roots developed beautifully, showing strong, healthy growth of about 5 inches. I kept the cutting in a well-lit spot with indirect sunlight and changed the water every few days to prevent stagnation.
Normally, I would suggest transplanting the cutting to soil when root growth is about 1 to 2 inches long. I found that the rooting compound I applied to the base of the cutting stimulated its growth. So much so, that a new leaf made an entrance a few weeks into the experiment.
For those just starting with water propagation, my biggest tip is patience—some roots take longer to appear, but as long as the stem remains firm and the leaves stay green, the cutting is alive and growing.
For me, it was time to finally transplant this plant baby into its permanent home. Here are the steps to take:
Step 1: Collect all of your tools and supplies
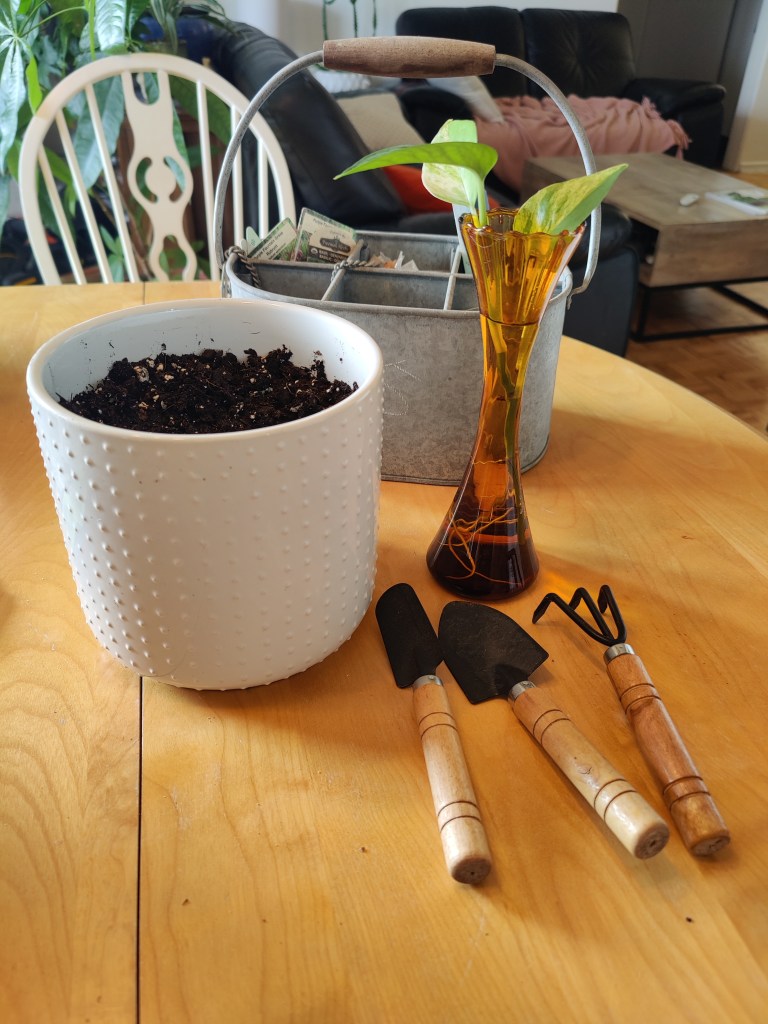
My supplies included:
- a small pot containing room temperature soil mixed with perlite1
(I recommend selecting a pot with drainage holes at the base as it promises healthier growth and adequate drainage; yet, this pot is what I have available right now) - a spade or other tool to dig a hole for your cutting
(a spoon or your own hands also will work) - glass of water
- the pothos cutting
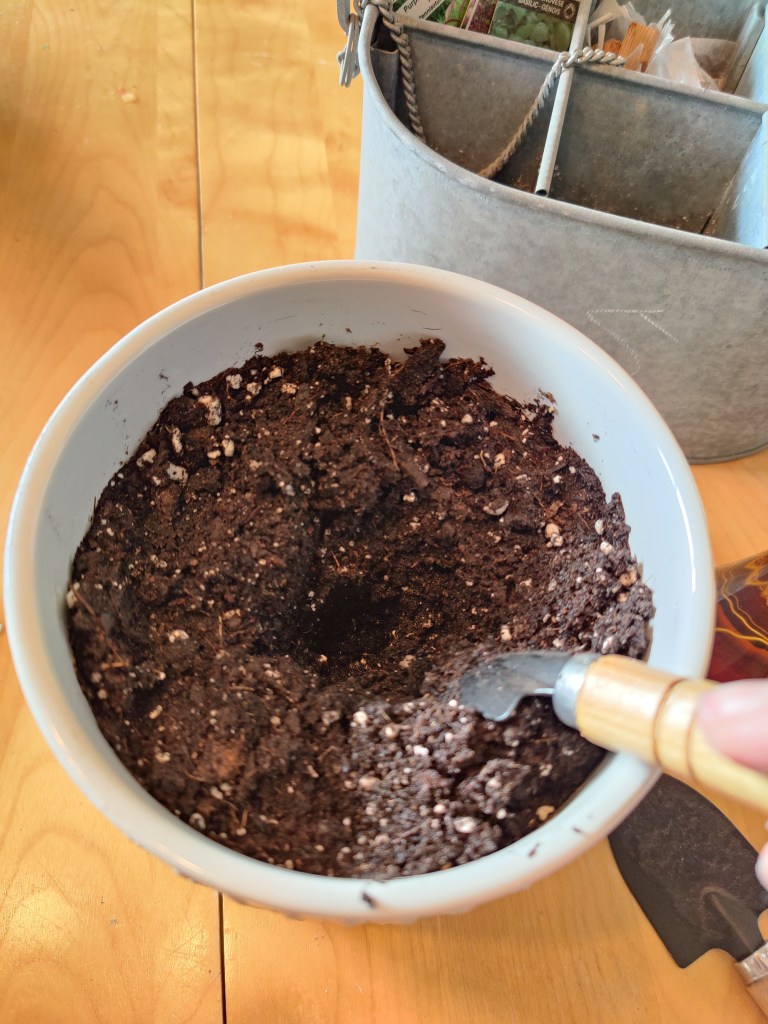
Step 2: Water your soil before transplanting
To give the plant a helping hand, generously water the soil so that it is damp to touch.
Hot tip: Grab a handful of soil—it should feel damp, hold its shape, and not release excess water when squeezed.
Step 3: Dig a hole and gently tuck in your cutting
Using my miniature spade, I dug a hole that was big enough for the roots to fit comfortably. Imagine you are tucking your plant into a cozy bed.
As the roots were quite lengthy, I had to dig deep, and I found myself adding extra soil to the surface of my pot. Using my fingers, I pressed down around the base of the plant to reduce the number of air pockets in the soil. This action stimulates healthy growth.
Step 4: Water again generously
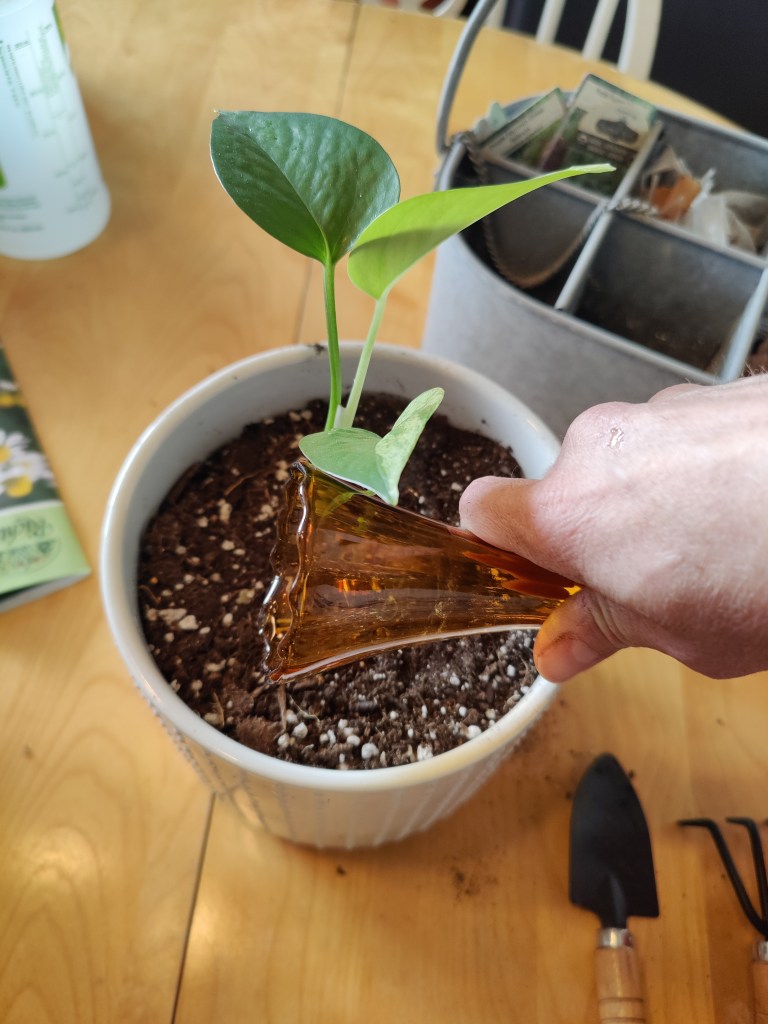
Again, water the soil generously to set the plant in place. I used the remaining water from my propagation vase plus a quarter cup of water from a nearby spray bottle.
Step 5: Place your plant in a well-lit area
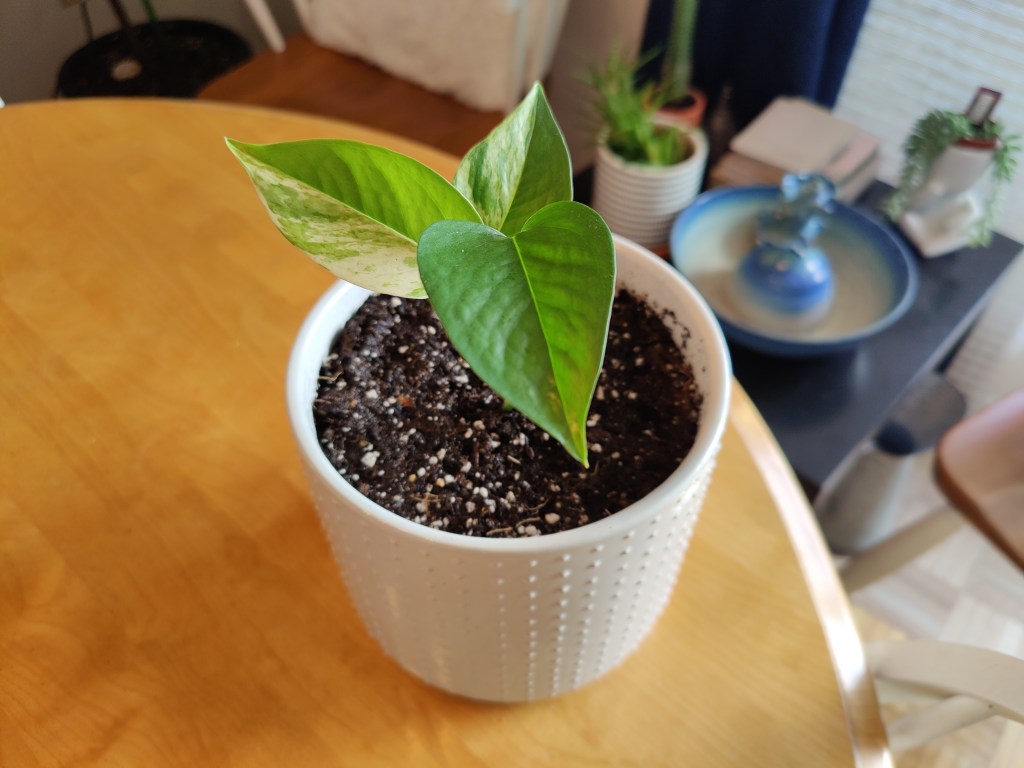
Voila! The hard part is done. I placed my new plant about three feet from my south-facing window to start. Since my pot has no drainage holes, I’ll check on it weekly and plan to water it every two weeks. If needed, I’ll make any adjustments to my new plant baby’s living conditions after a week or so.
I’ve decided to name this plant Snoop Dogg, as per my sister’s recommendation. If you’ve had experience with transitioning pothos from water to soil, I’d love to hear your thoughts in the comments!
- perlite is a lightweight material that allows for extra aeration, which in turn helps your plant grow strong and healthy ↩︎

Leave a comment