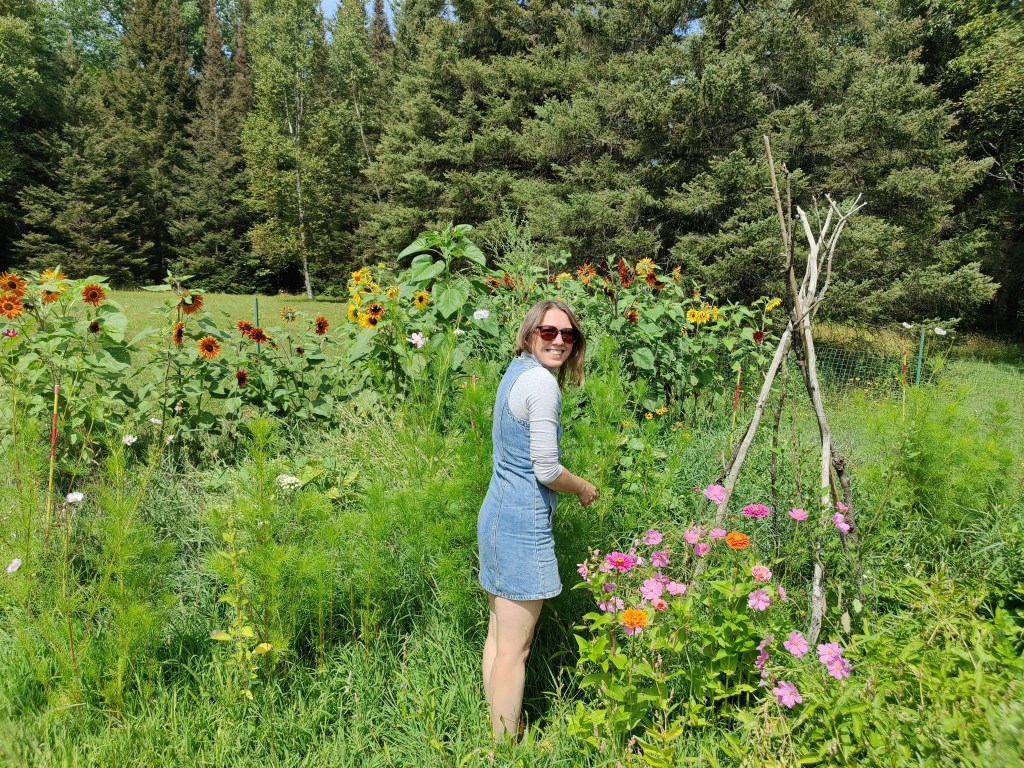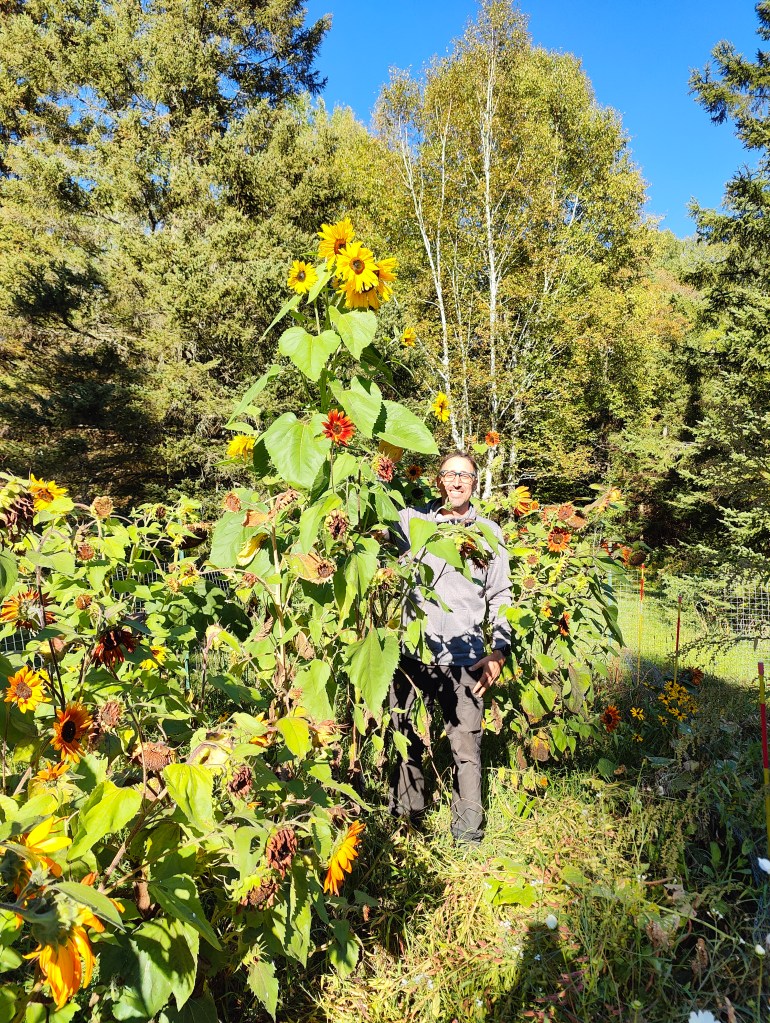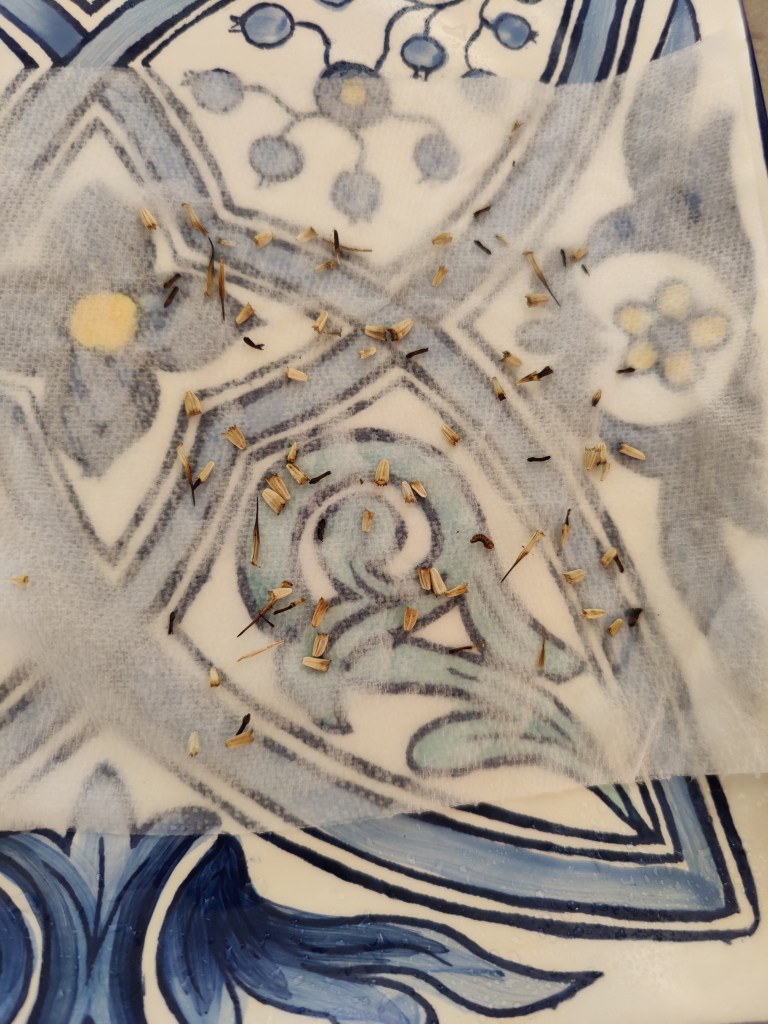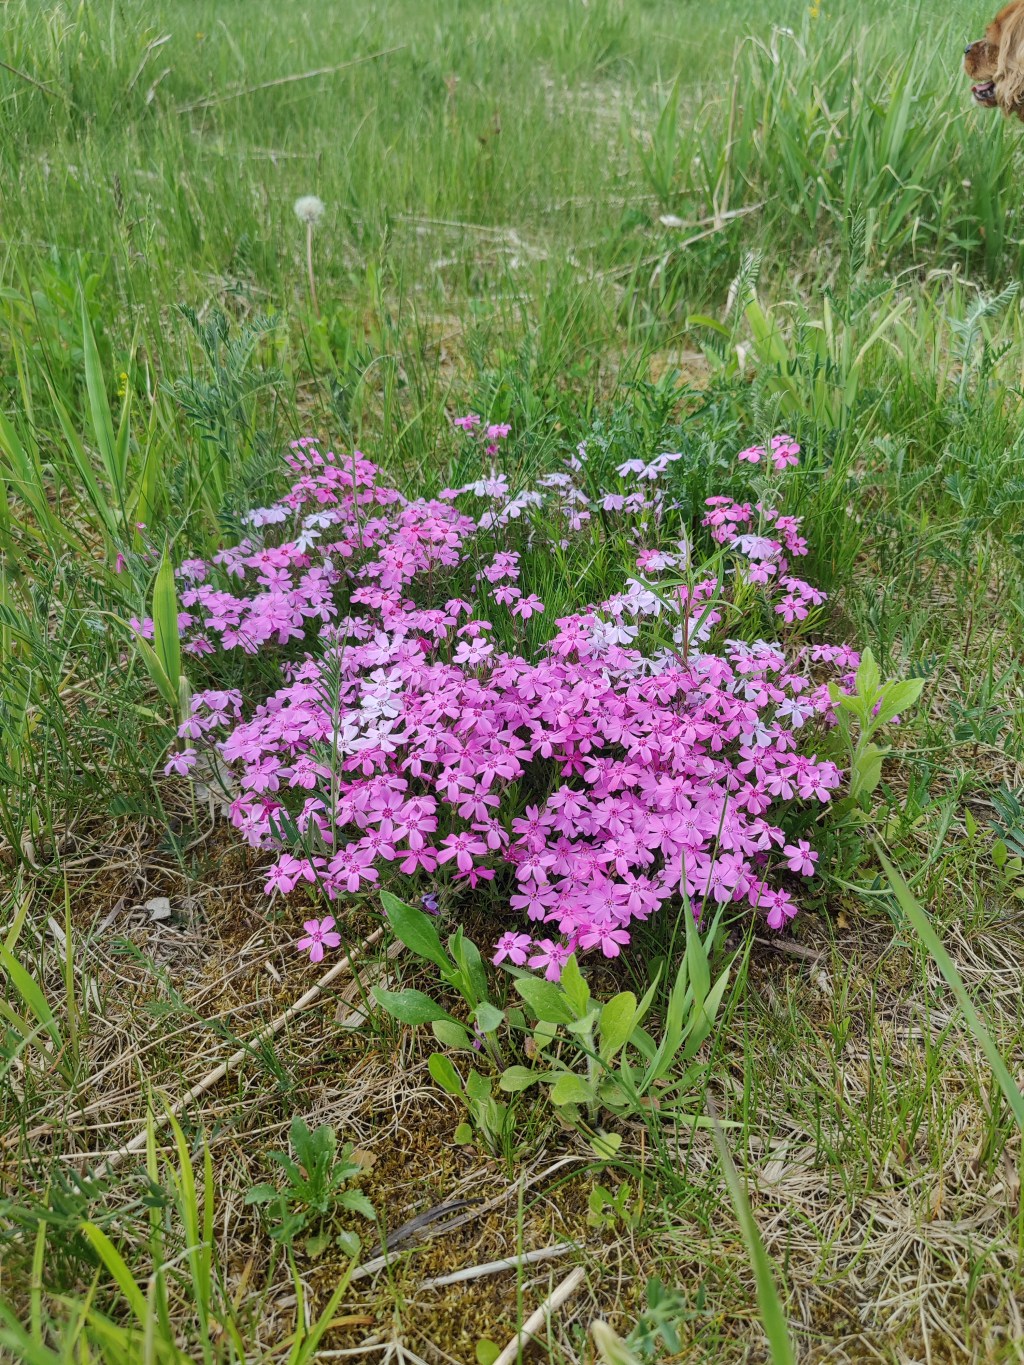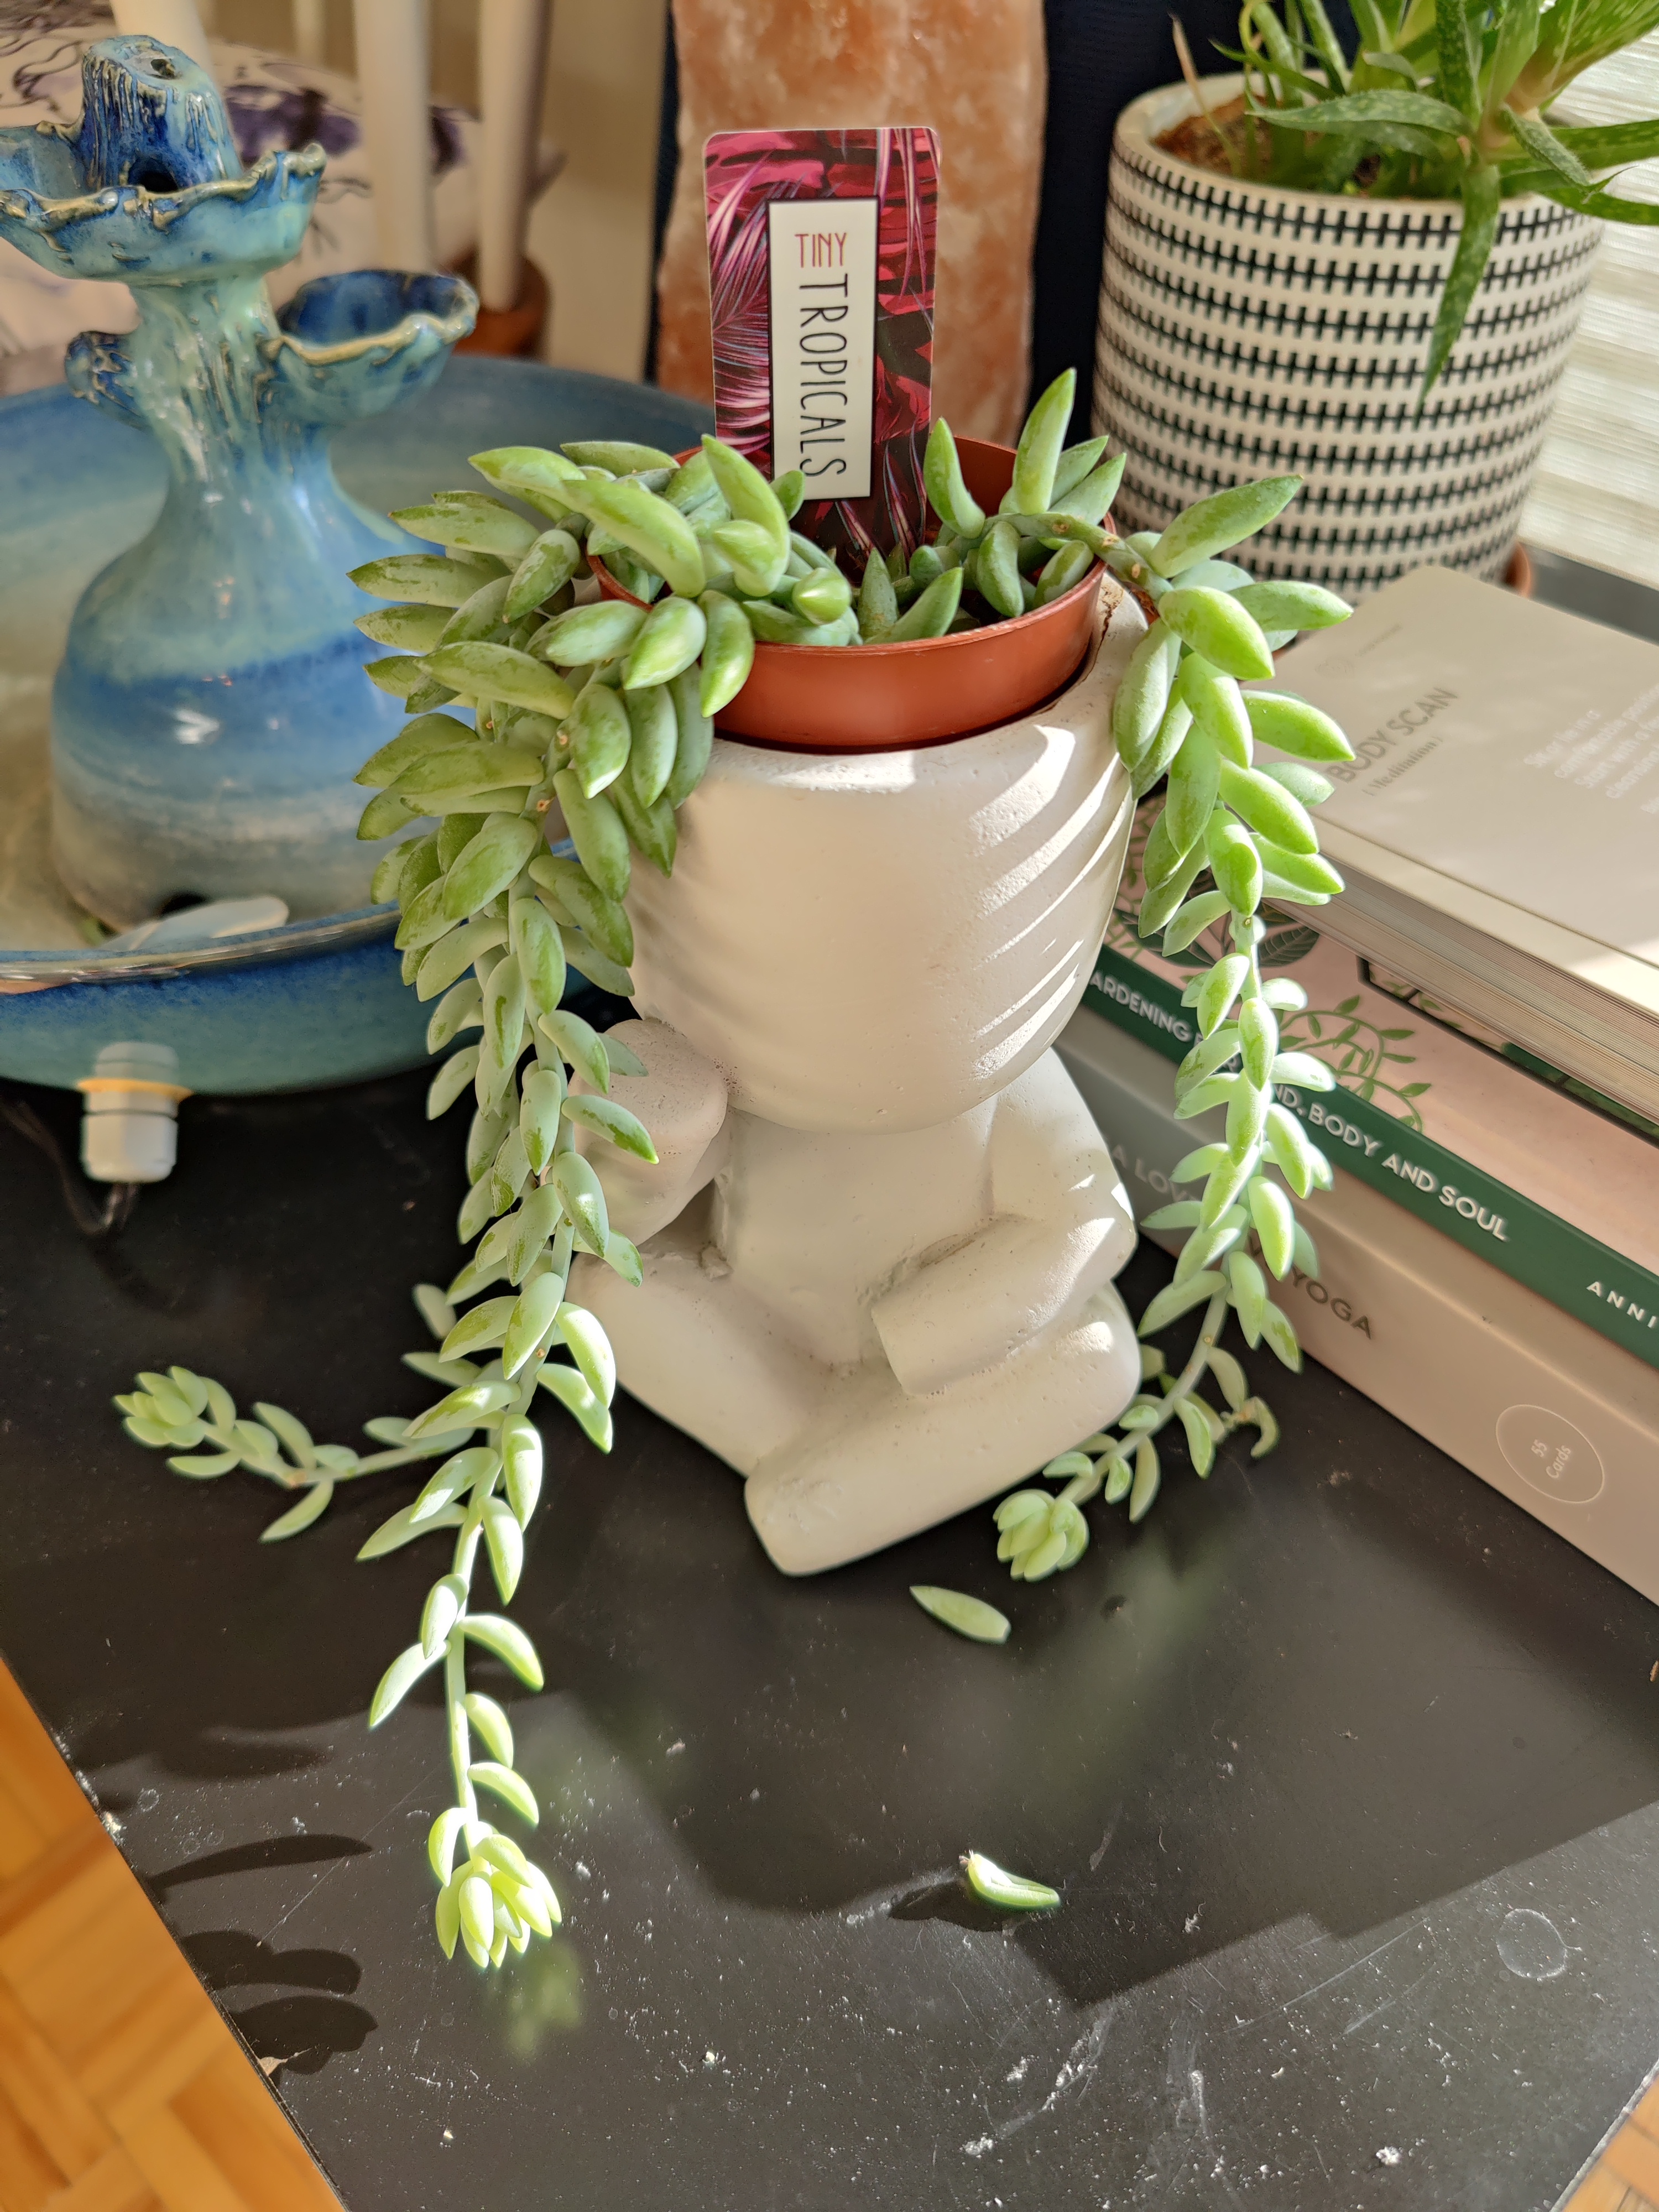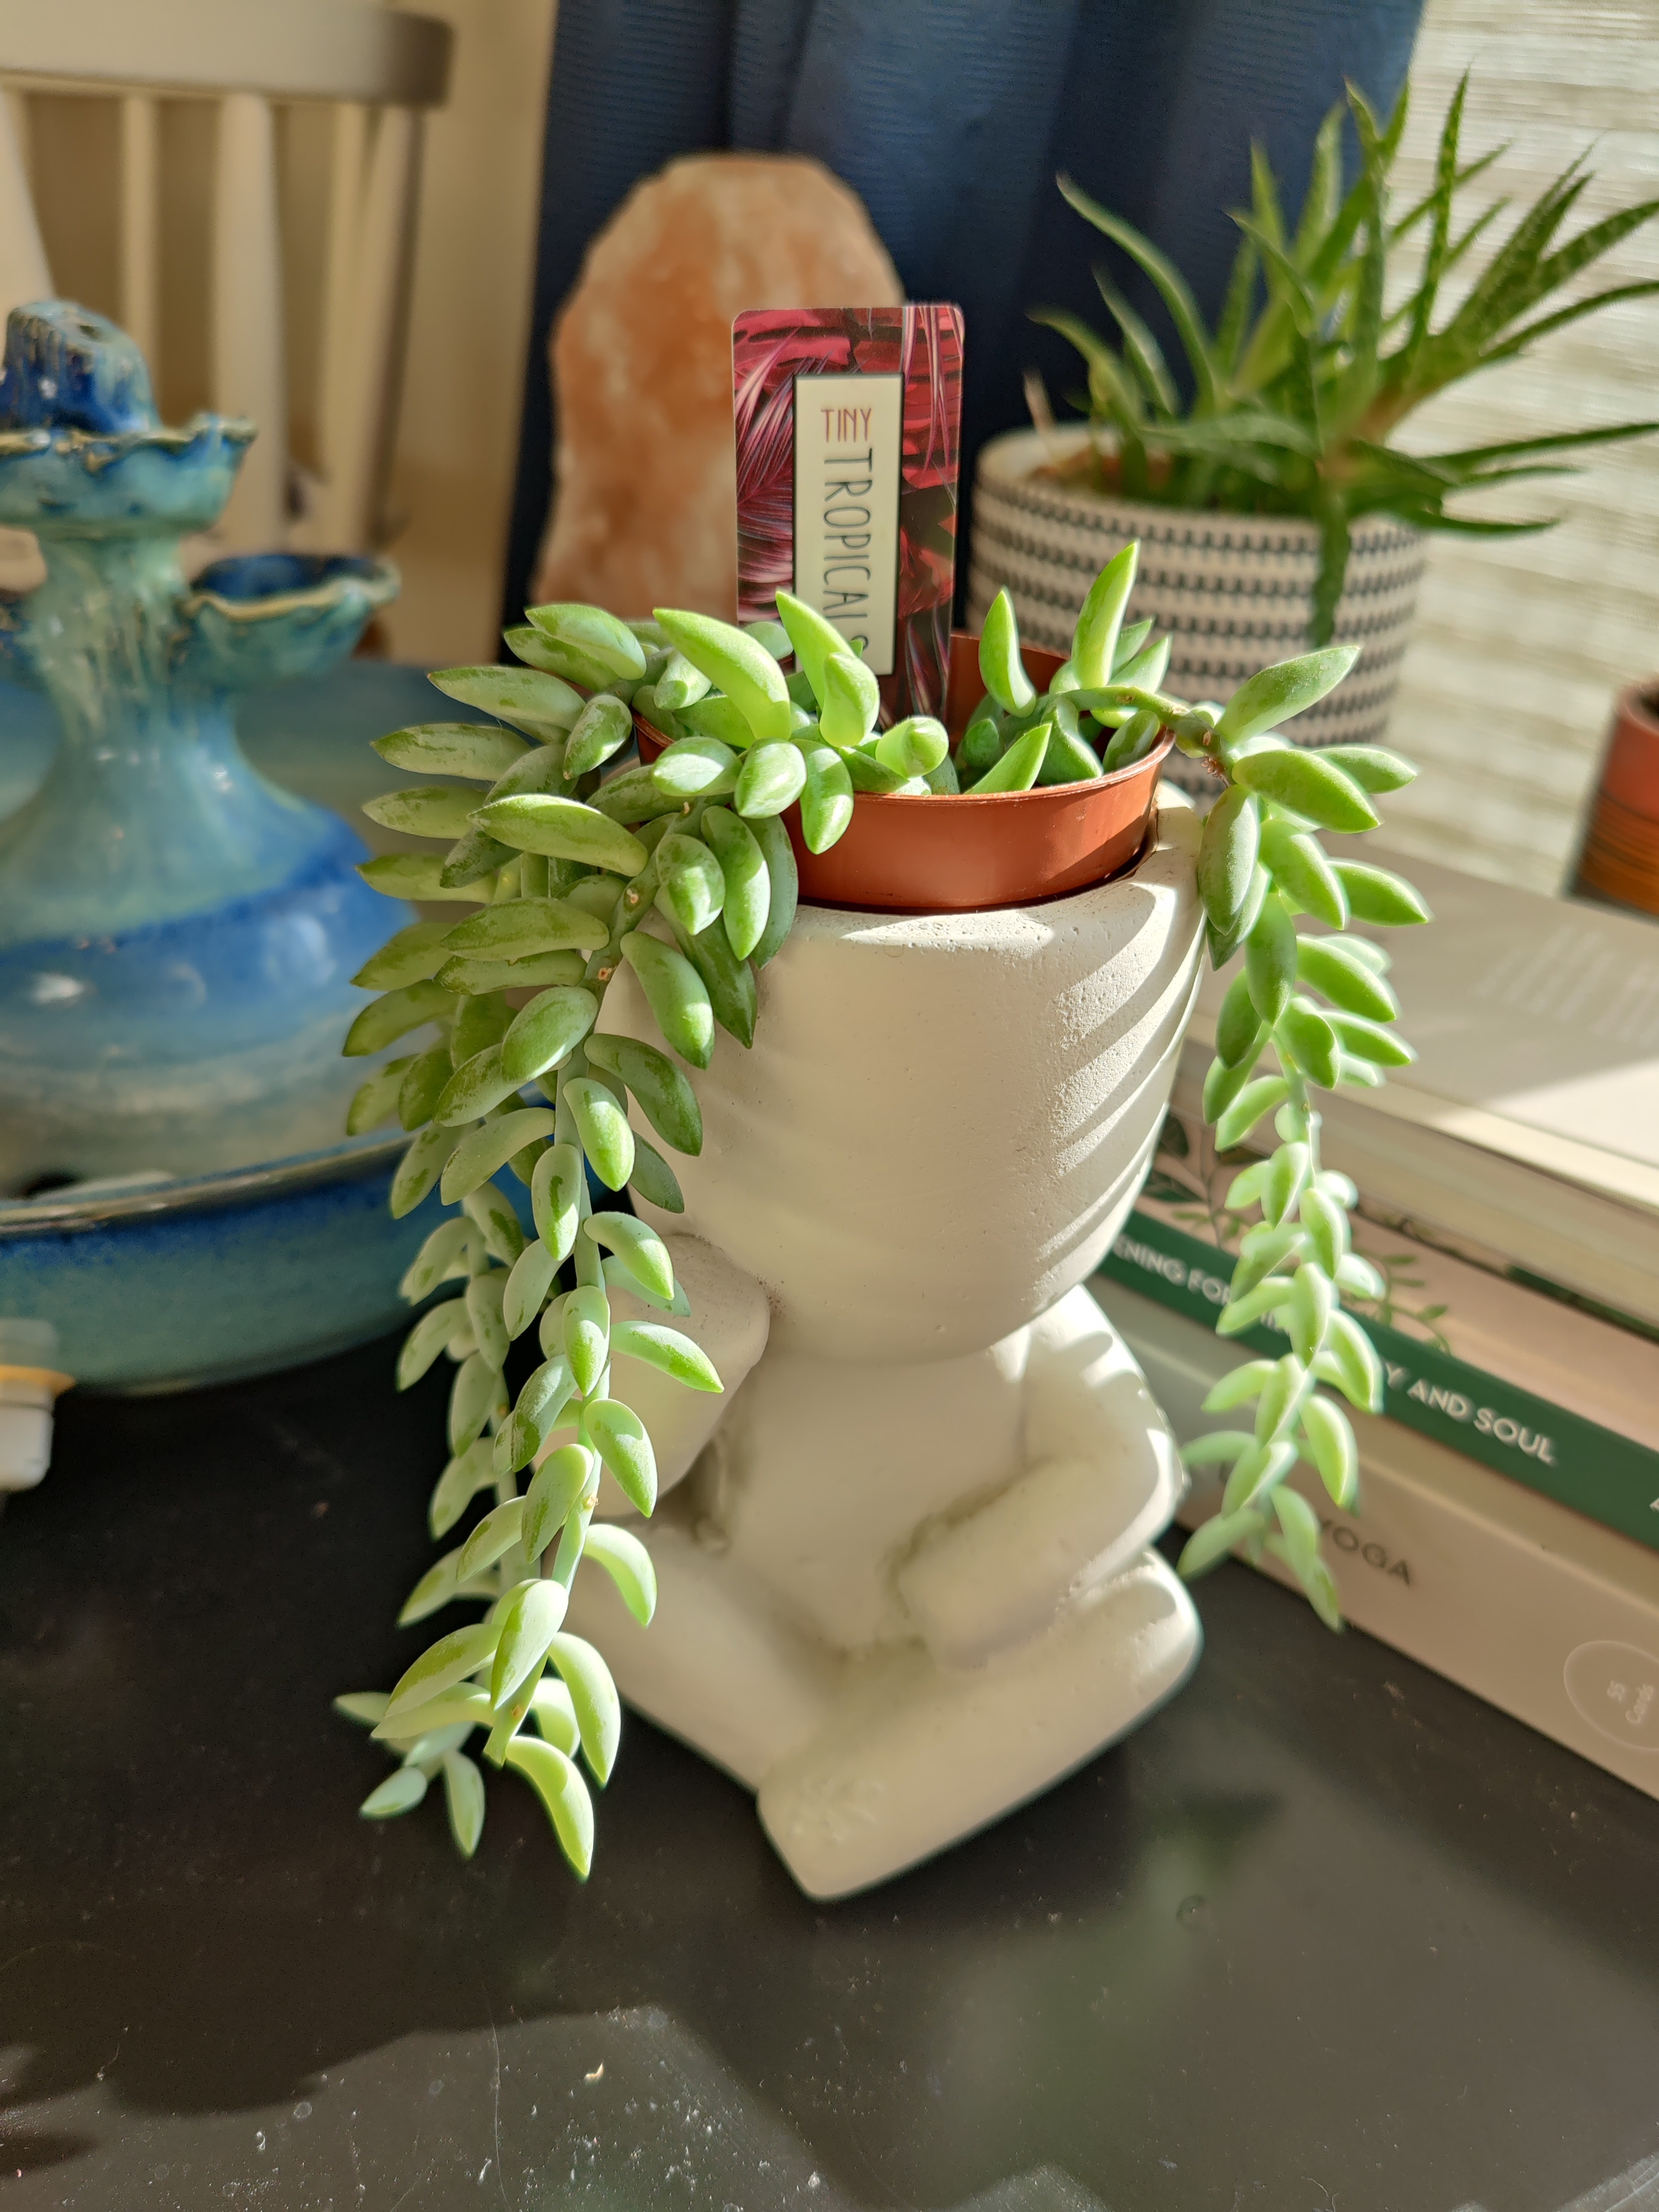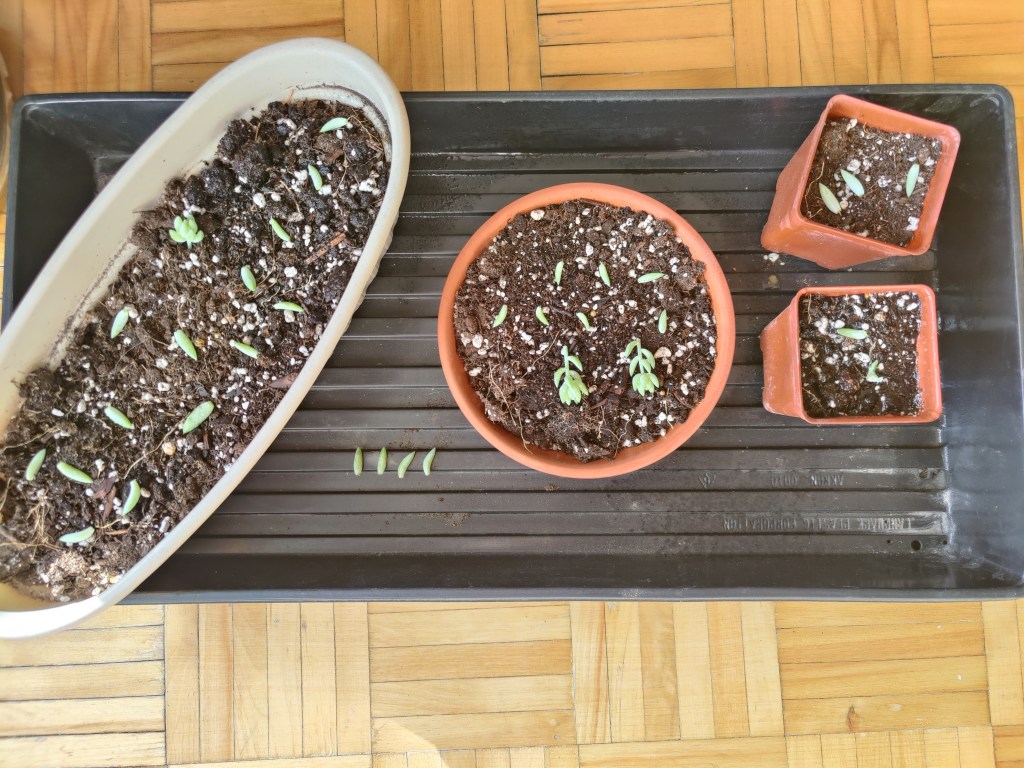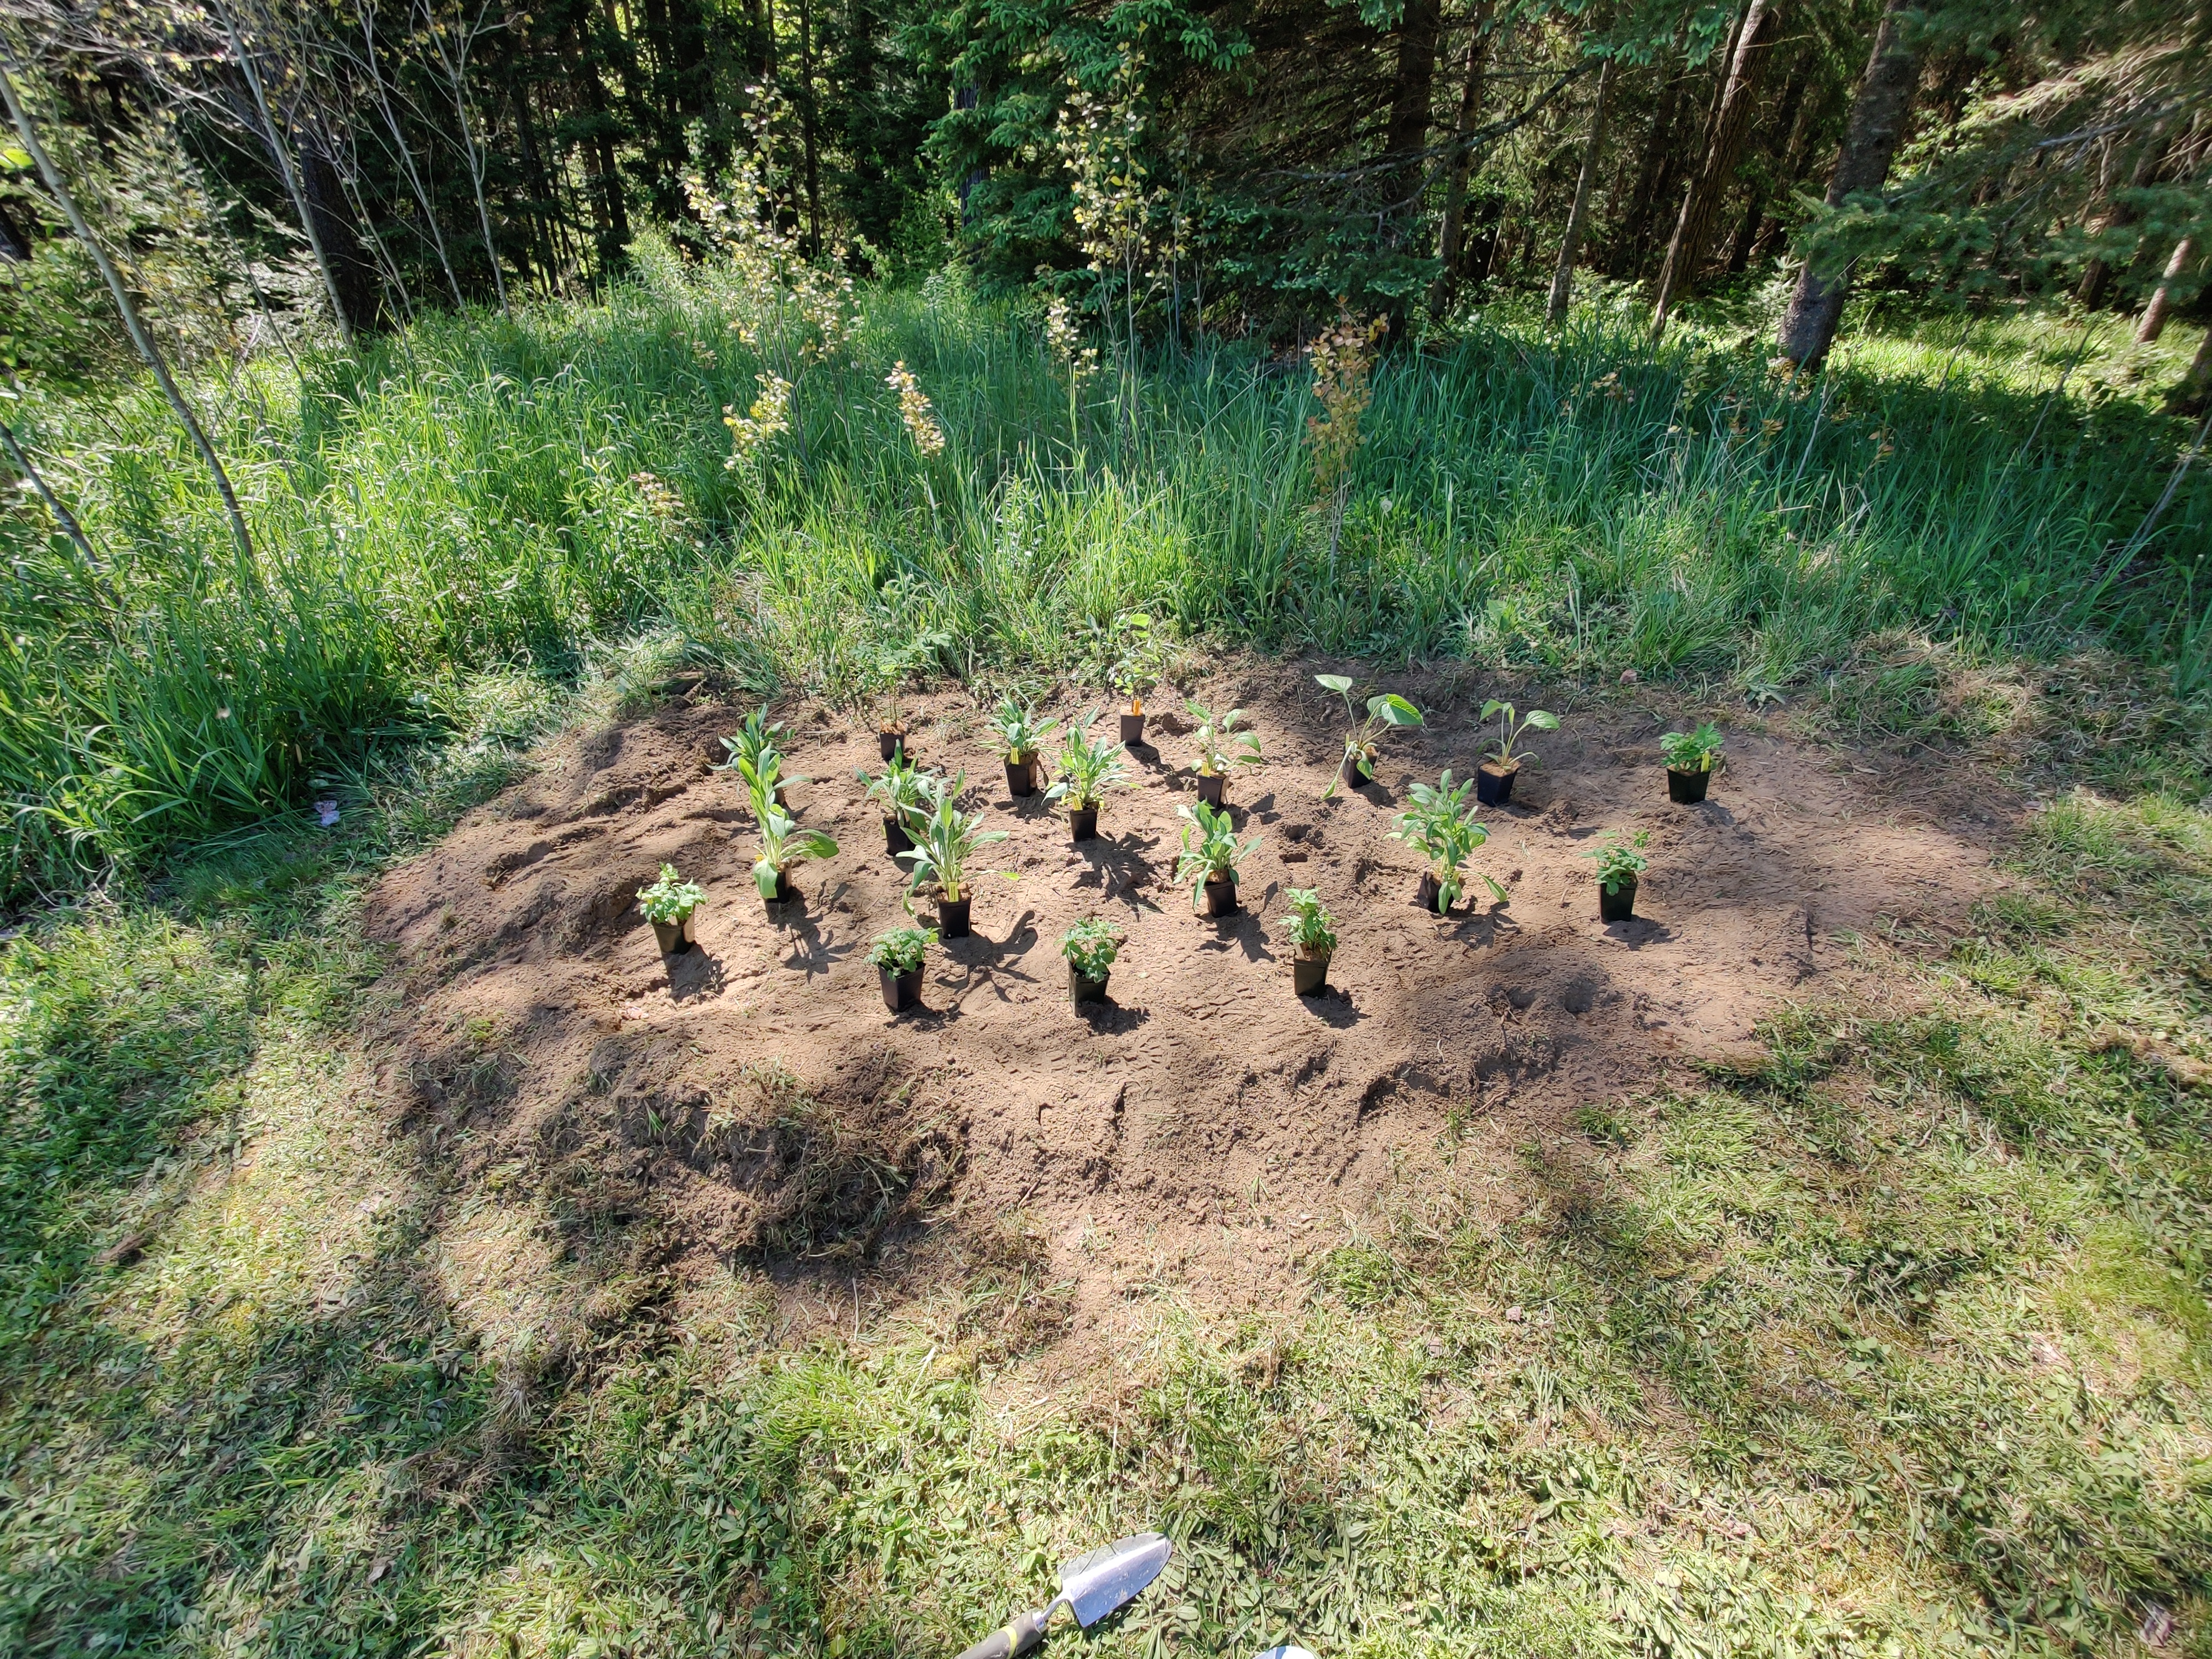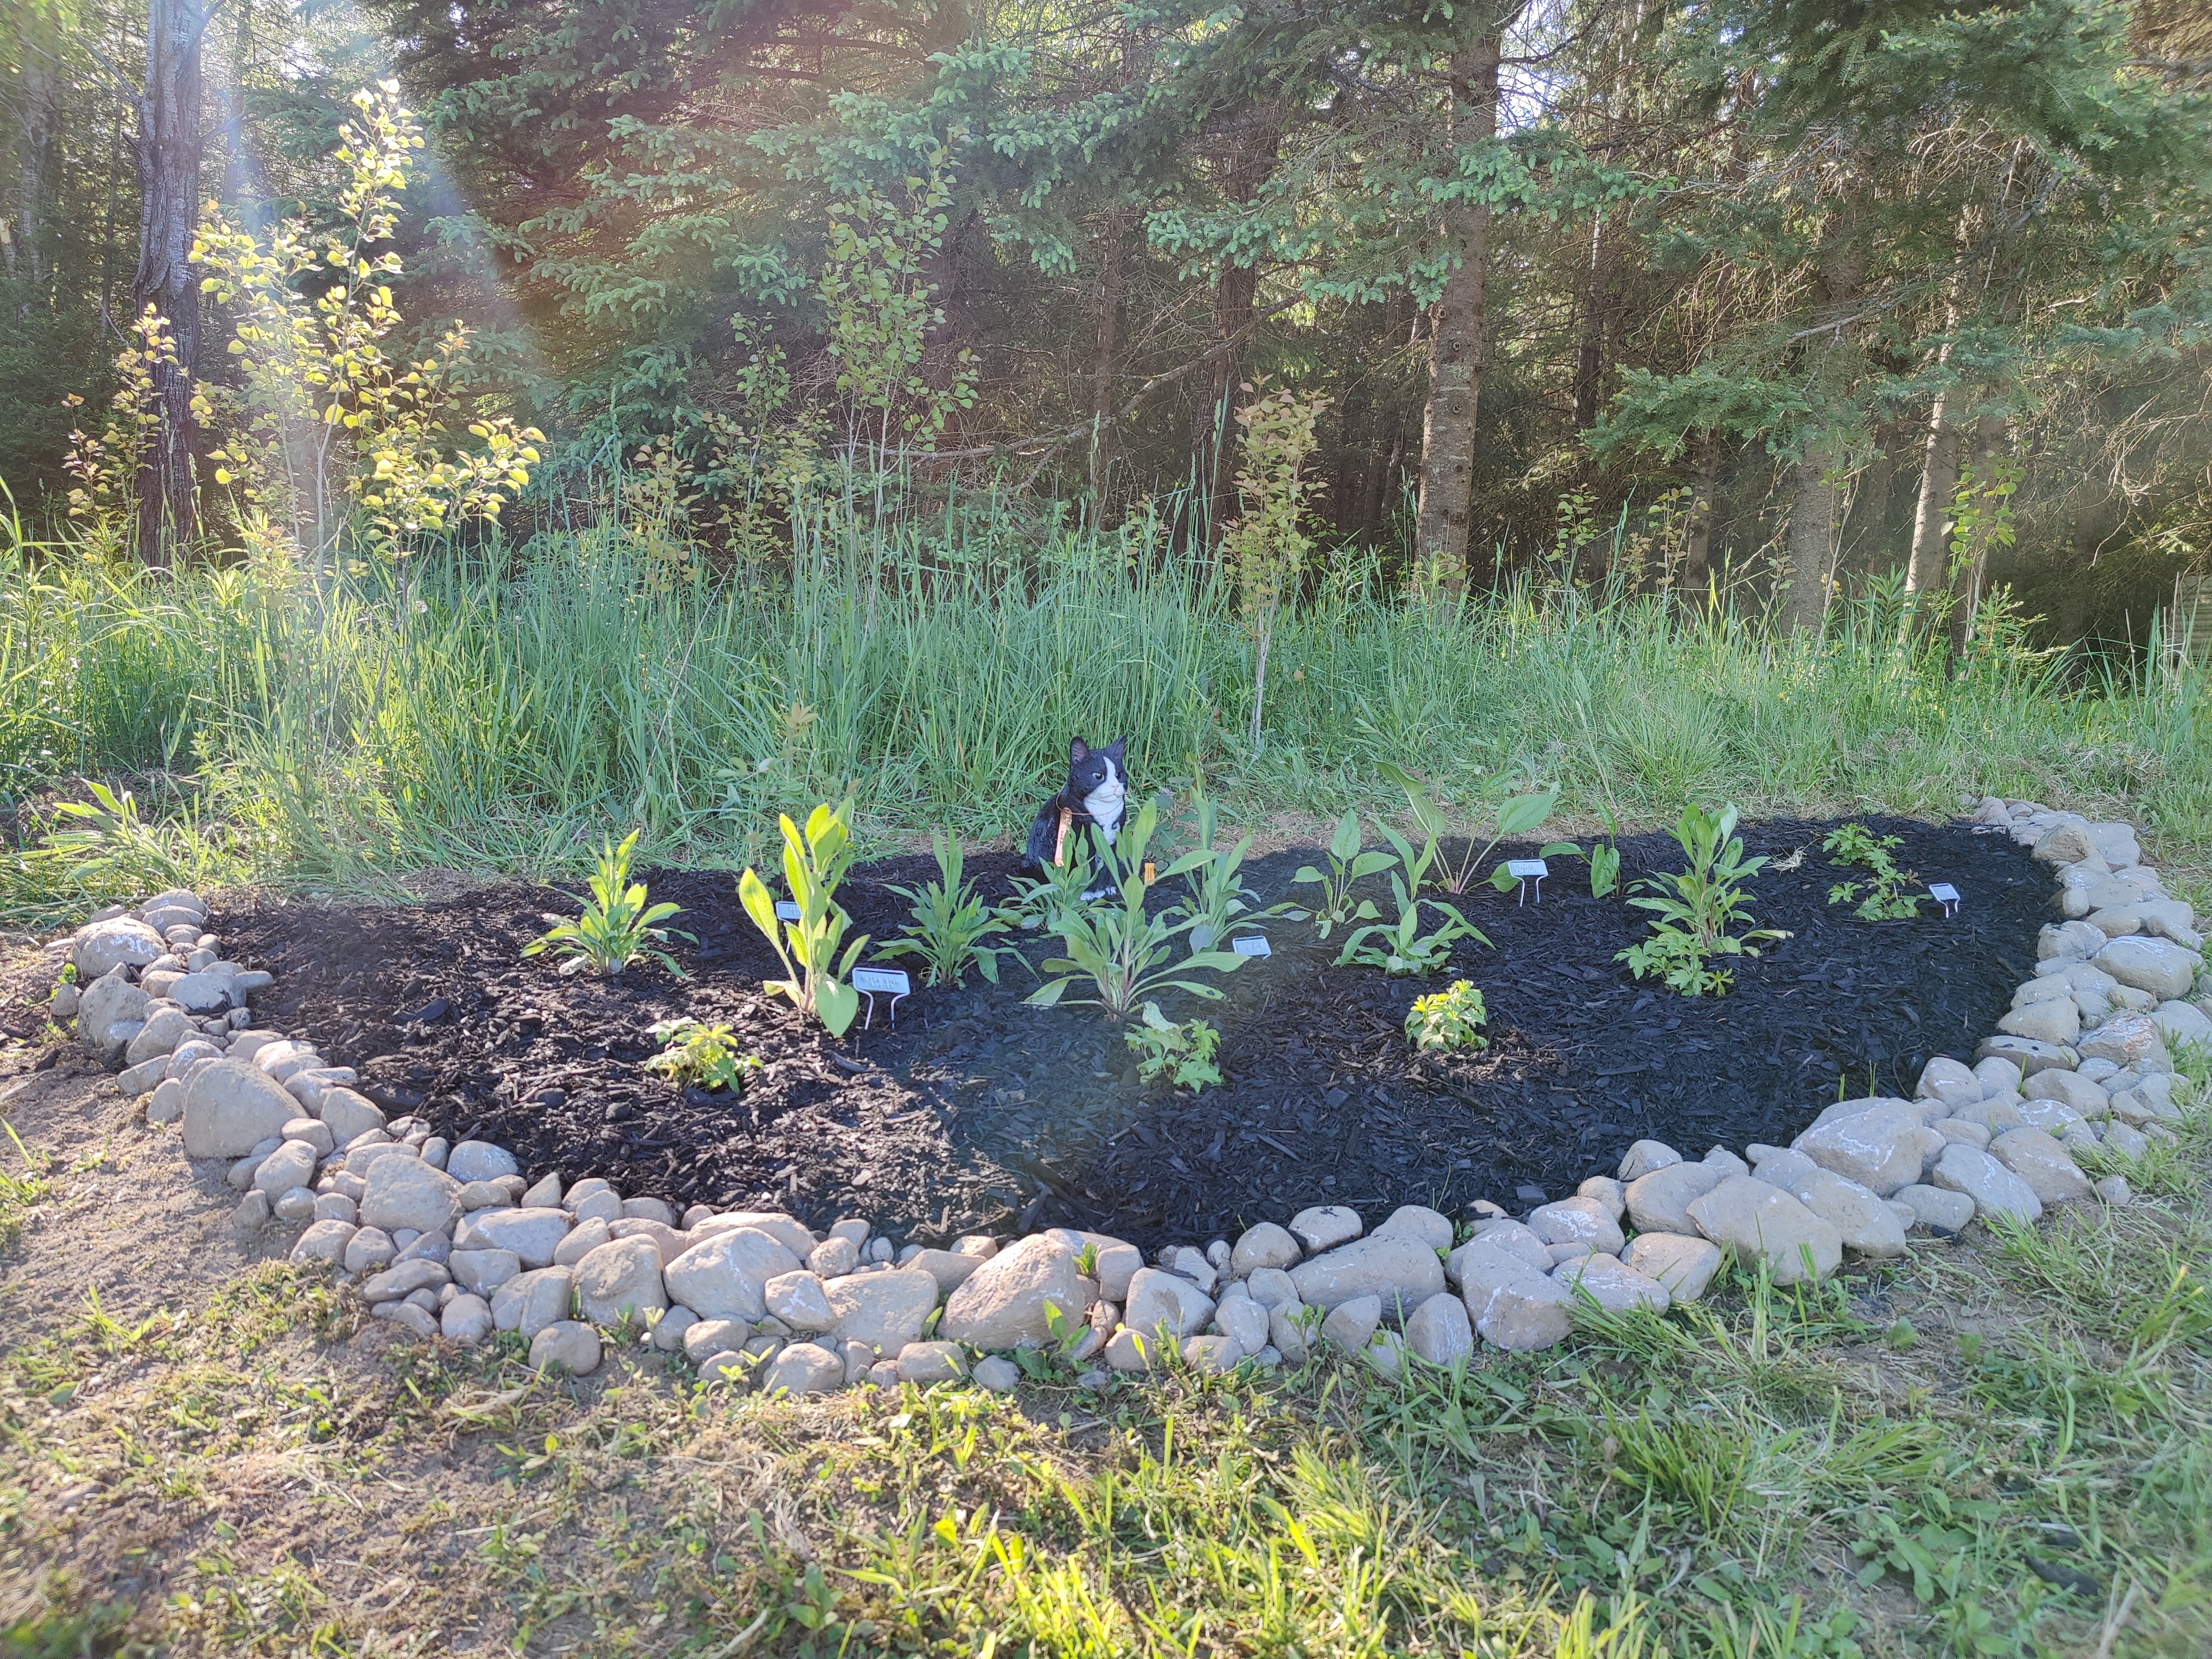
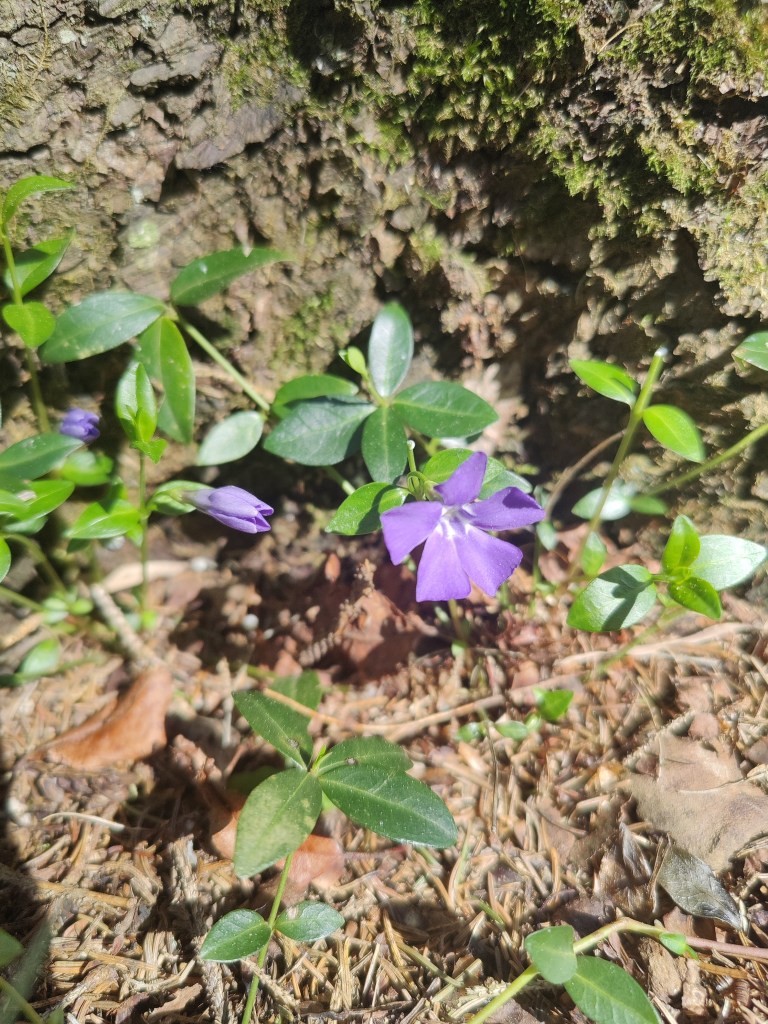
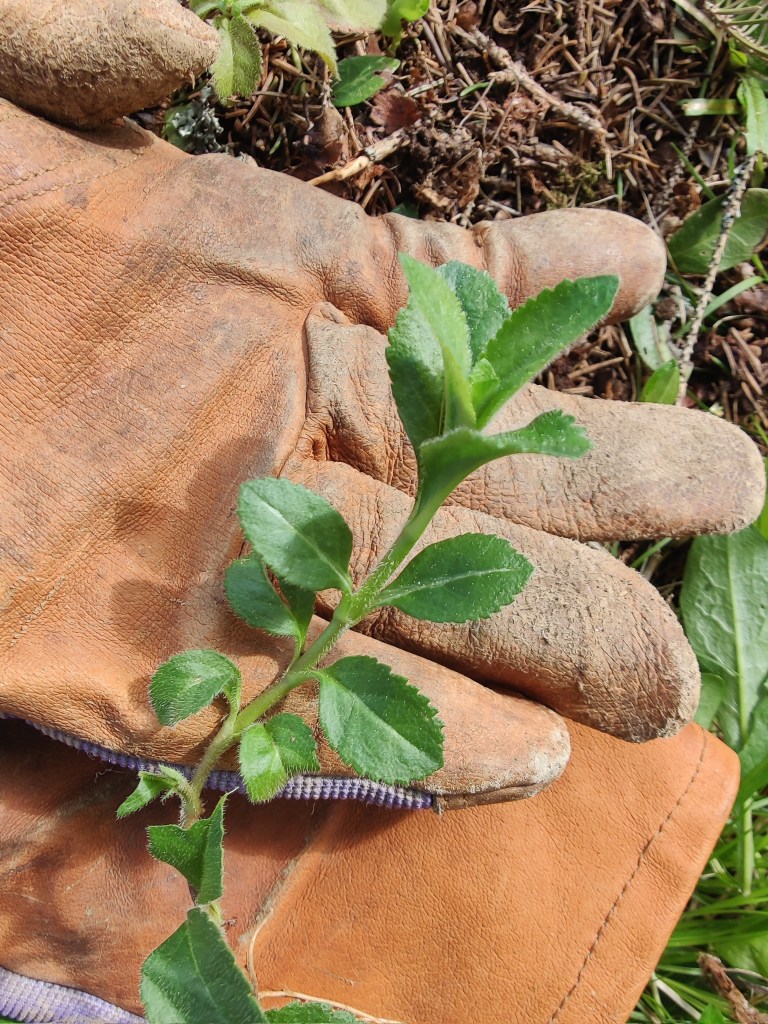
The other night we hired an additional set of hands to help with our yardwork. It was a blessing because it gave me time to pull the invasive plants cropping up across my yard. I’m talking about invasive groundcovers in my area, like speedwell and periwinkle, which can be pretty in pots but are a threat to biodiversity when they run rampant.
Many common garden groundcovers in Ontario can be deceptive. Plants like periwinkle and speedwell are still widely sold at major retailers for their pretty purple and blue blossoms, but if left unchecked, they form dense, suffocating mats that aggressively push out native plants — such as the delicate Canada mayflower scattered around my yard. If I can literally nip this in the bud early enough, I can avoid creating an ecological dead zone in my area.
The danger of invasive plants goes deeper than aesthetics. They disrupt an ancient evolutionary partnership between plants and insects. I recently saw a video that explained the issue by sorting pollinators into two groups: generalists and specialists.
The video explained generalists, like honeybees, as adaptable. They aren’t picky eaters and will readily harvest nectar from native wildflowers and invasive weeds alike.
However, the video went on to explain the importance of evolutionary specialists (that is, the native pollinators). In my region, these include many of Ontario’s wild solitary bees, bee flies, and hoverflies. Over millennia, they co-evolved with specific native plants. Their life cycles, times of emergence, and even their mouthparts are precisely synchronized with the local flora. The problem is that specialists cannot switch to invasive plants if their native hosts disappear, and as a result, so too can they (yikes).
This brings me back to my struggling Canada mayflower. The native Canada mayflower relies entirely on these specialists. Because its spring blossoms are shallow and open, it depends on small solitary mining bees and hoverflies for pollination.
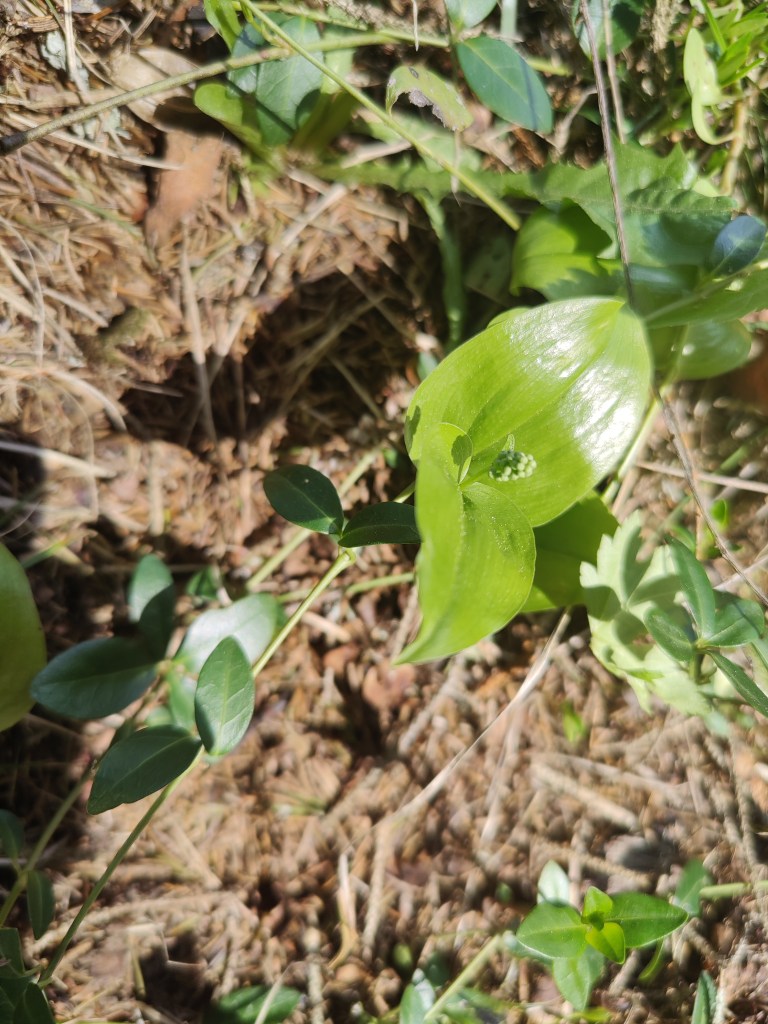
While Canada mayflower itself is still relatively stable in Ontario, its specialist insect partners are facing steep wild population declines due to habitat loss and pesticide use. When invasive plants displace native flowers, these specialist pollinators starve, halting the reproductive cycle of the forest understory, thereby eliminating the precise food sources local wildlife needs to survive.
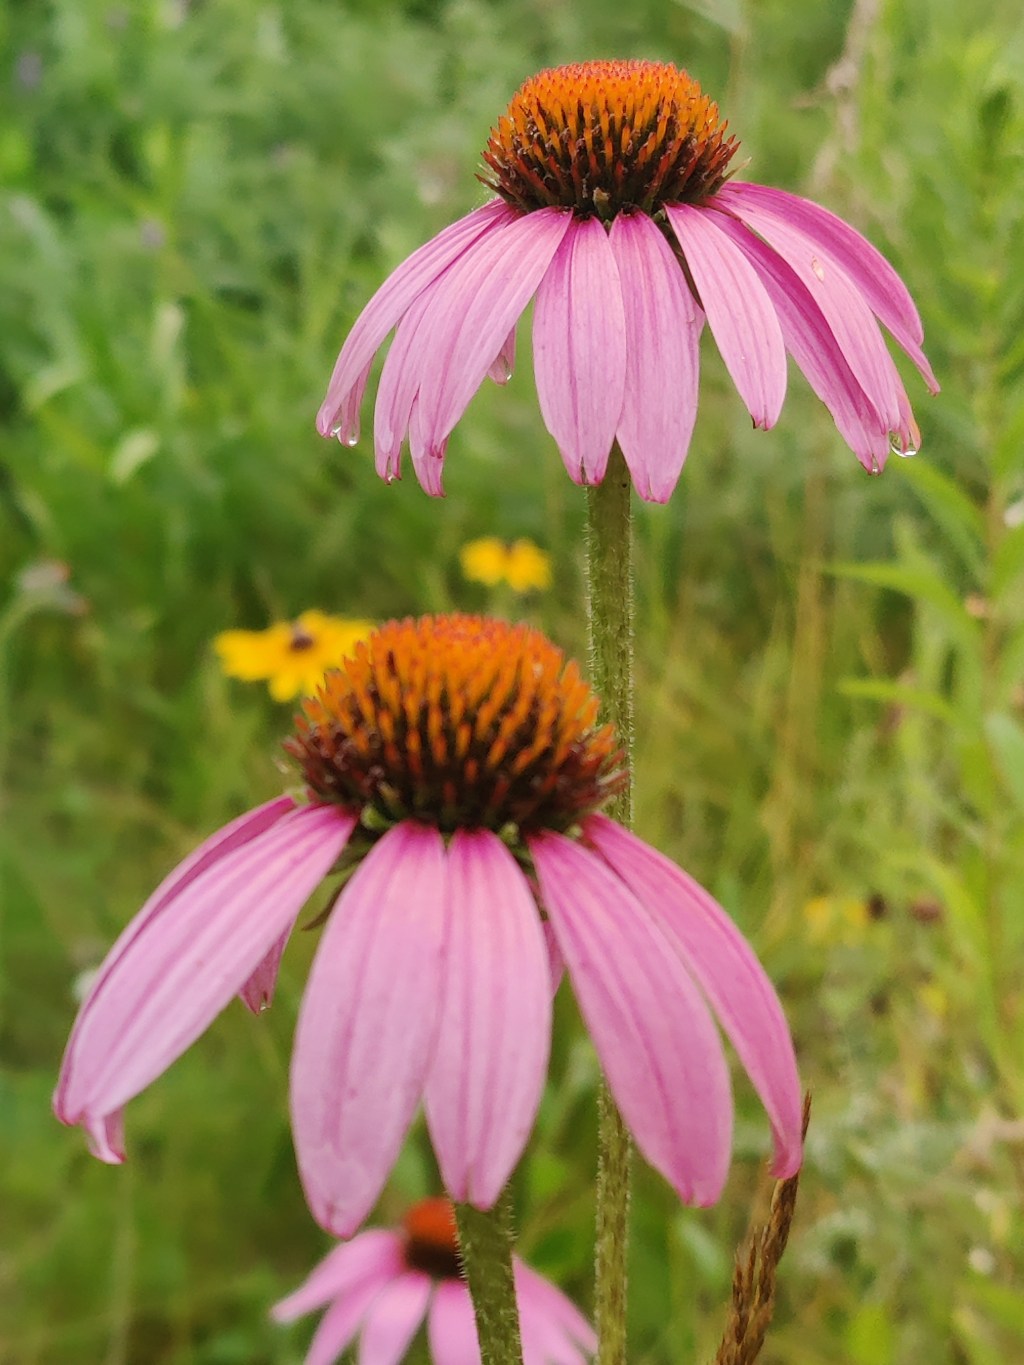
The good news! My area has great alternatives
What’s great is that gardeners can support local specialist pollinators by replacing invasive groundcovers with native species that thrive in their area. The list can get long, but here are just a few alternatives:
| Native Groundcover | Foliage Type | Pollinator Benefit | Best For |
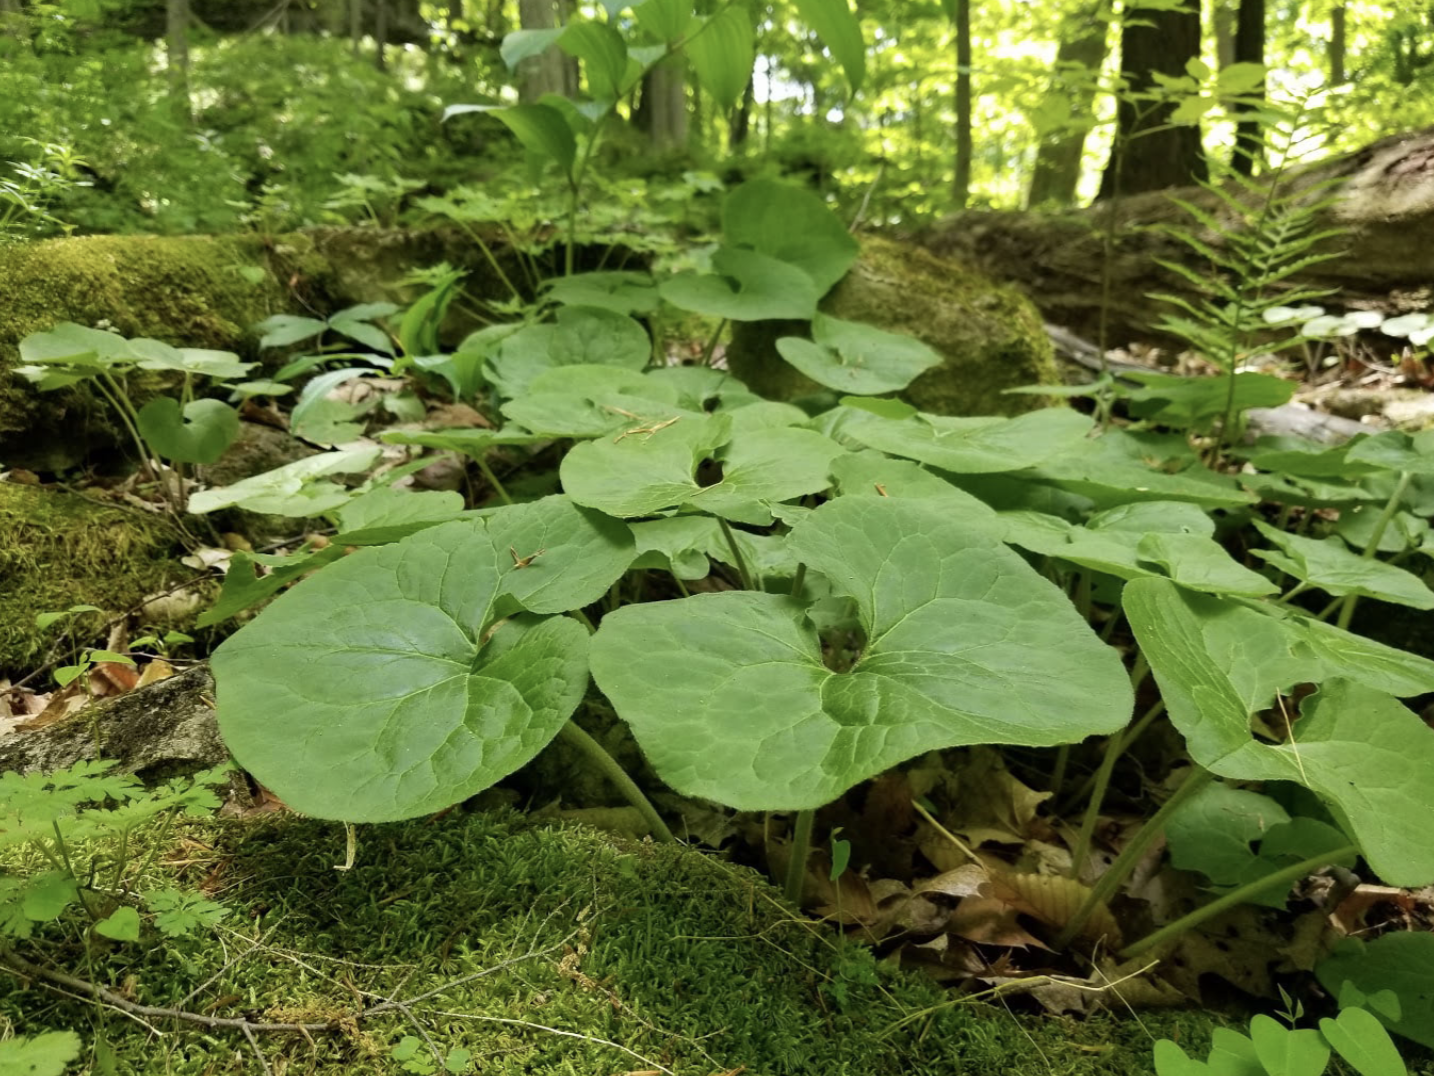
| Wild Ginger | Deciduous (Large, velvety leaves) | Early spring food source for native beetles and carrion flies. | Deep, moist shade under trees. |
| Wild Strawberry | Deciduous (Vibrant red autumn foliage) | Magnet for tiny solitary bees; vital host for butterfly larvae. | Dappled shade to partial sun. |
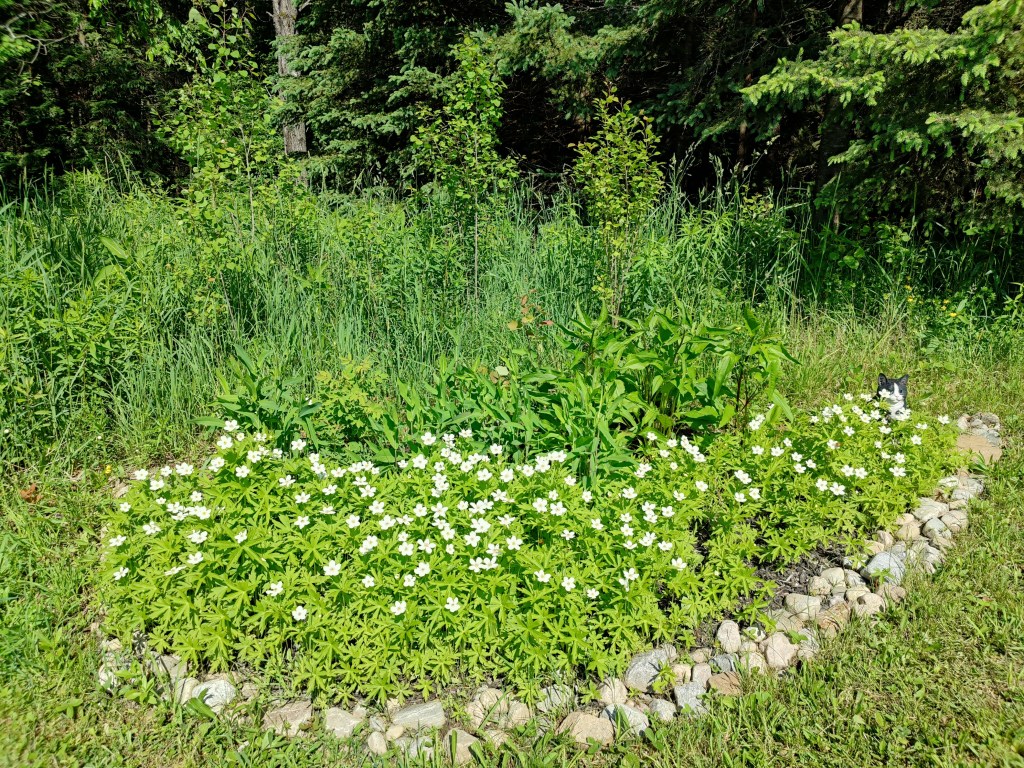
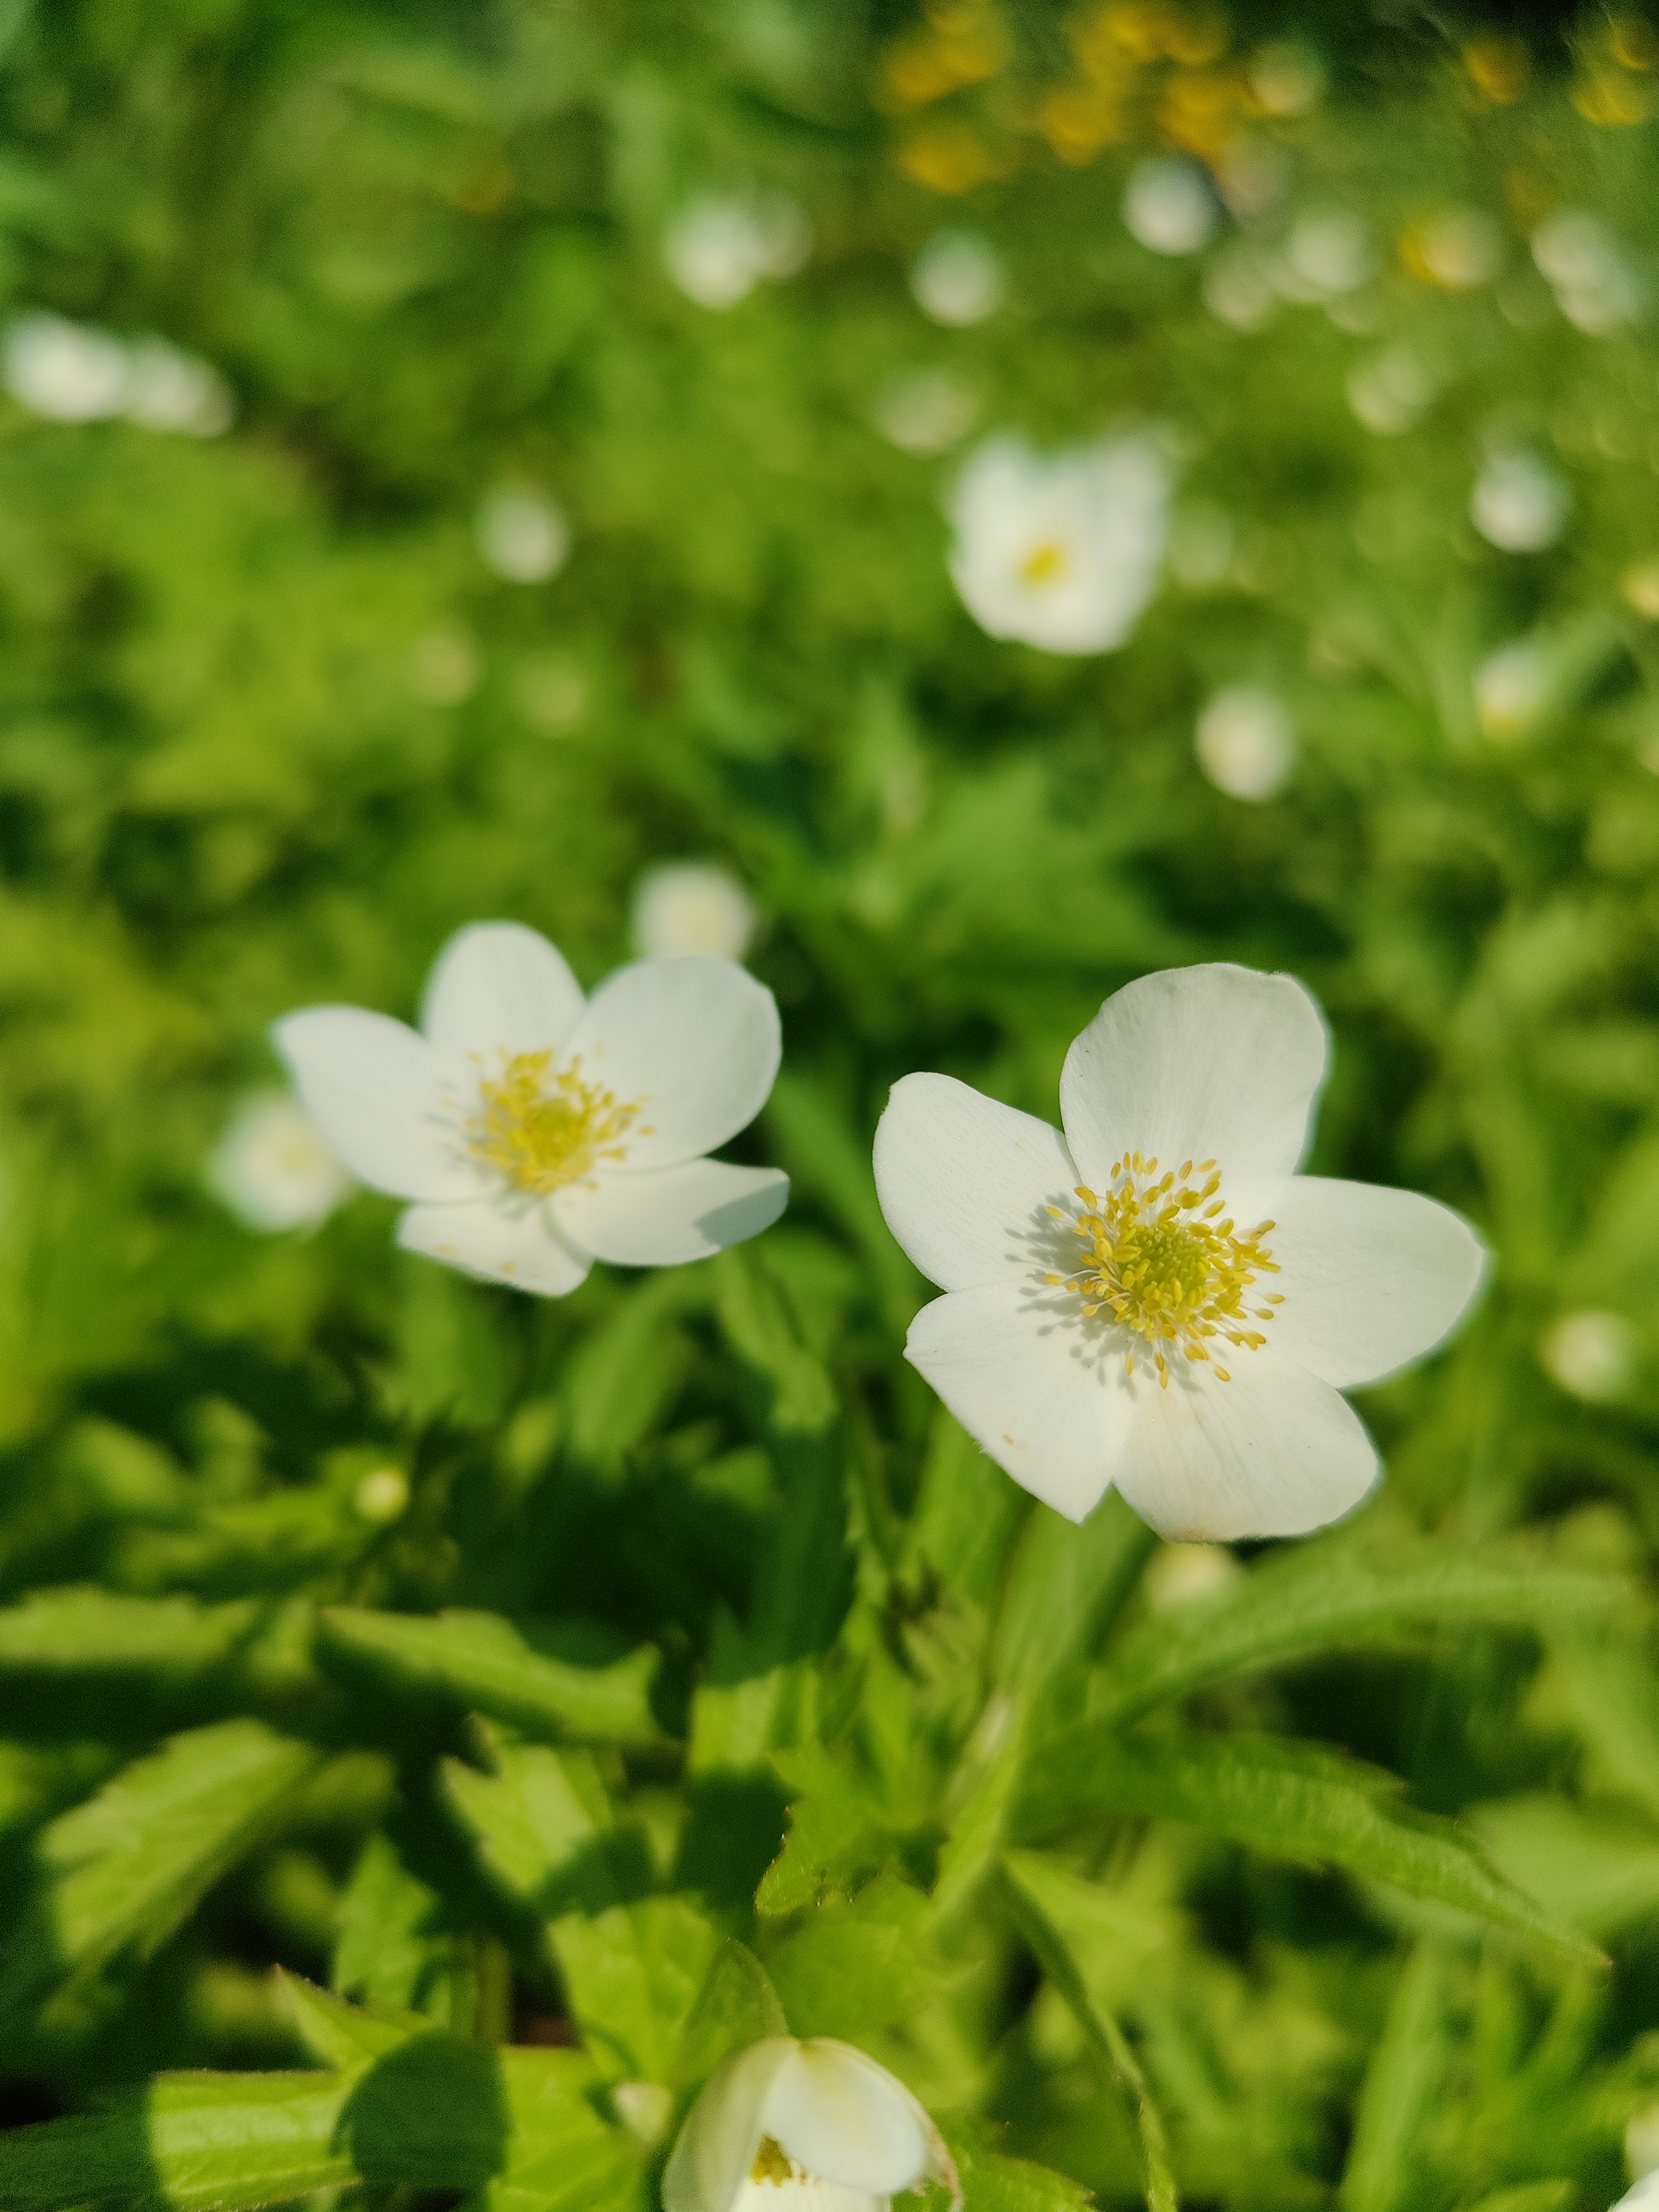
| Canada Anemone | Dark green, deeply lobed and sharply toothed leaves(forms low mats) | pure white cup-shaped flowers for specialist hoverflies, sweat bees and miner bees. | Part shade to full sun, an aggressive groundcover alternative; great for stabilizing soil |
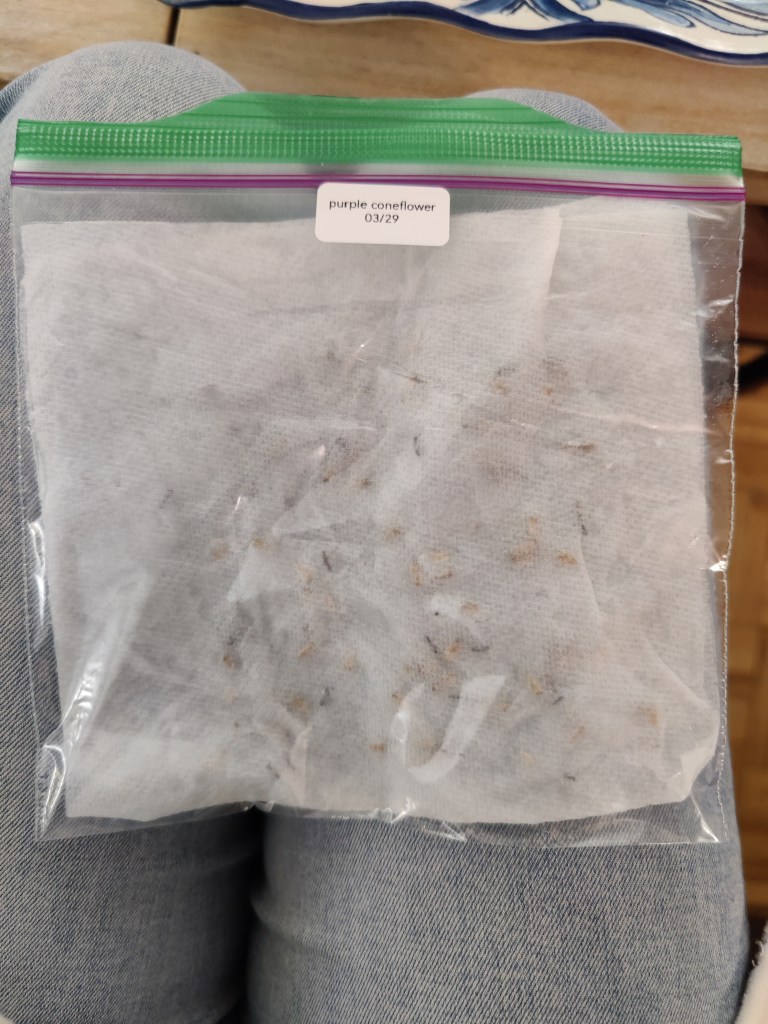
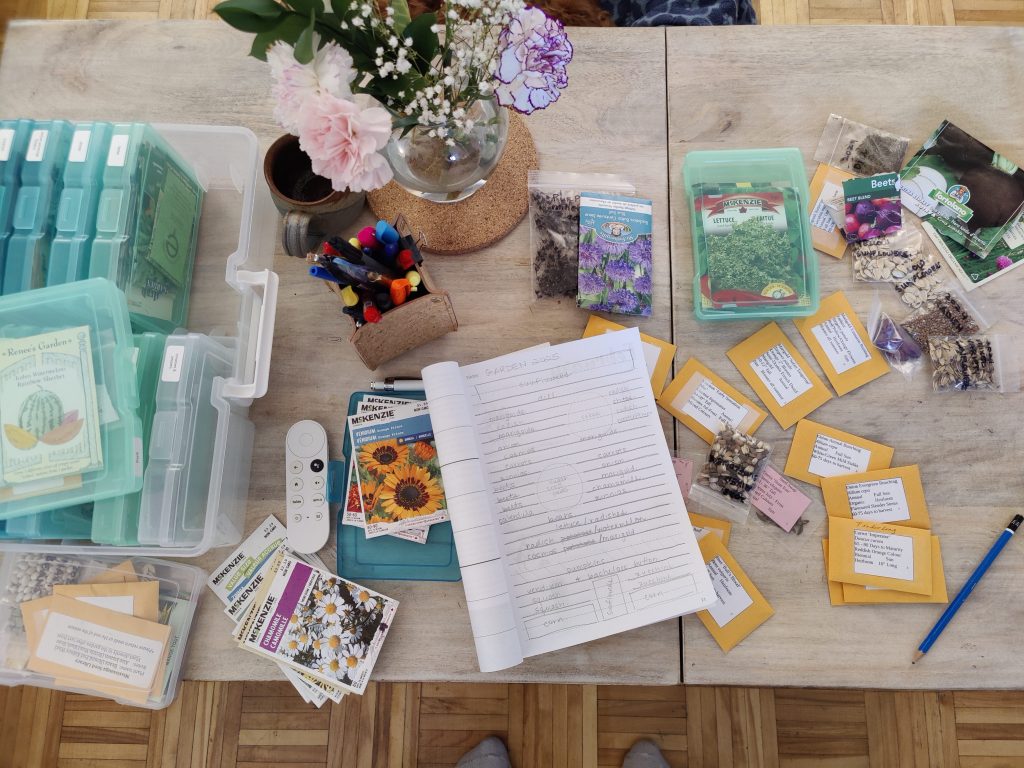
While I try to plant a variety of plants to help both the specialists and generalists and serve my own gardening purposes, I continue to research which regional native plants work best for my garden.
By choosing native plants for your area, gardeners aren’t just landscaping—they are preserving the fragile local food web that keeps Ontario’s ecosystems (and us) alive.
If you’re interested in adding a few extra native plants to your yard, check out the following resources to learn what grows best in your region: