When asked by a colleague to share a cutting of one of my houseplants with her, it dawned on me that I should write a post on plant propagation. Plant propagation is an exciting and rewarding way to grow your green thumb. It offers an opportunity to expand your plant collection, share greenery with friends, and better understand the life cycles of your favourite plants. In this post, we’ll explore what propagation is and dive into one of the easiest and most popular methods: water propagation.
What Is Propagation?
Propagation is the process of creating new plants from existing ones. It’s a good way to multiply your plant collection for free! Propagation can be done in several ways, depending on the plant species and its natural growth habits. The most common methods include:
- Seeds: Growing new plants from seeds, often the result of pollination.
- Cuttings: Taking a piece of a plant (such as a stem, leaf, or root) and encouraging it to grow into a new plant.
- Division: Splitting a mature plant into smaller sections, each with its own roots.
- Layering: Encouraging roots to grow on a branch or stem while it’s still attached to the parent plant.
- Grafting and Budding: Joining parts of two plants to create one new plant, often used in fruit trees and roses.
Among these methods, stem cuttings are particularly popular for houseplants, and water propagation is one of the easiest ways to get started.
What Is Water Propagation?
Water propagation is a technique that involves rooting plant cuttings in water. It’s an approachable method for beginners because it’s simple, requires minimal tools, and allows you to watch the roots grow in real-time. Many popular houseplants, such as pothos, philodendrons, and spider plants, thrive in water propagation.
How to Propagate Plants in Water
Ready to give it a try? Here’s a step-by-step guide to water propagation:
Materials Needed:
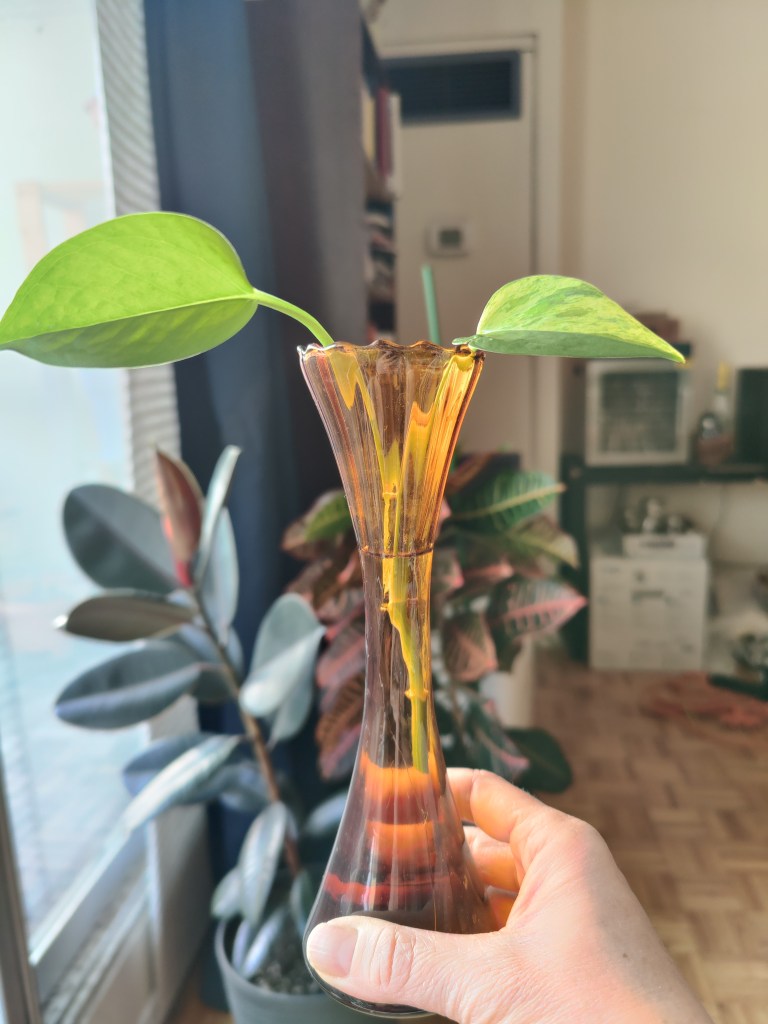
- A healthy houseplant (I am using a pothos plant)
- Clean scissors or pruning shears
- A glass or jar of water
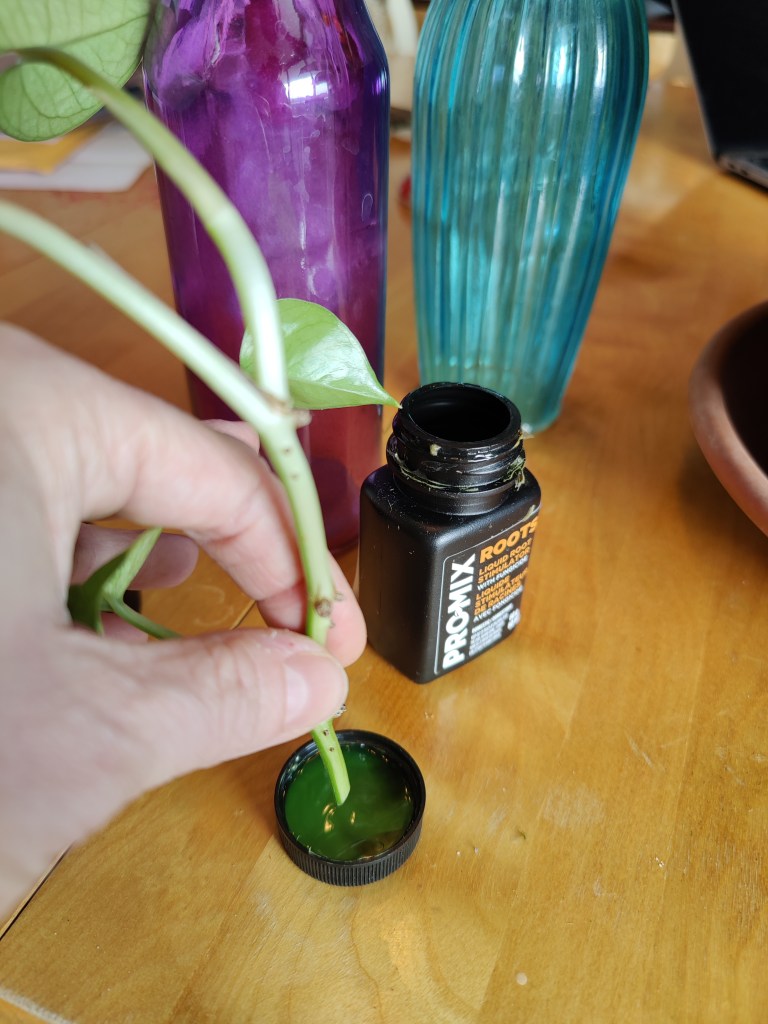
- Optional: rooting hormone (not essential)
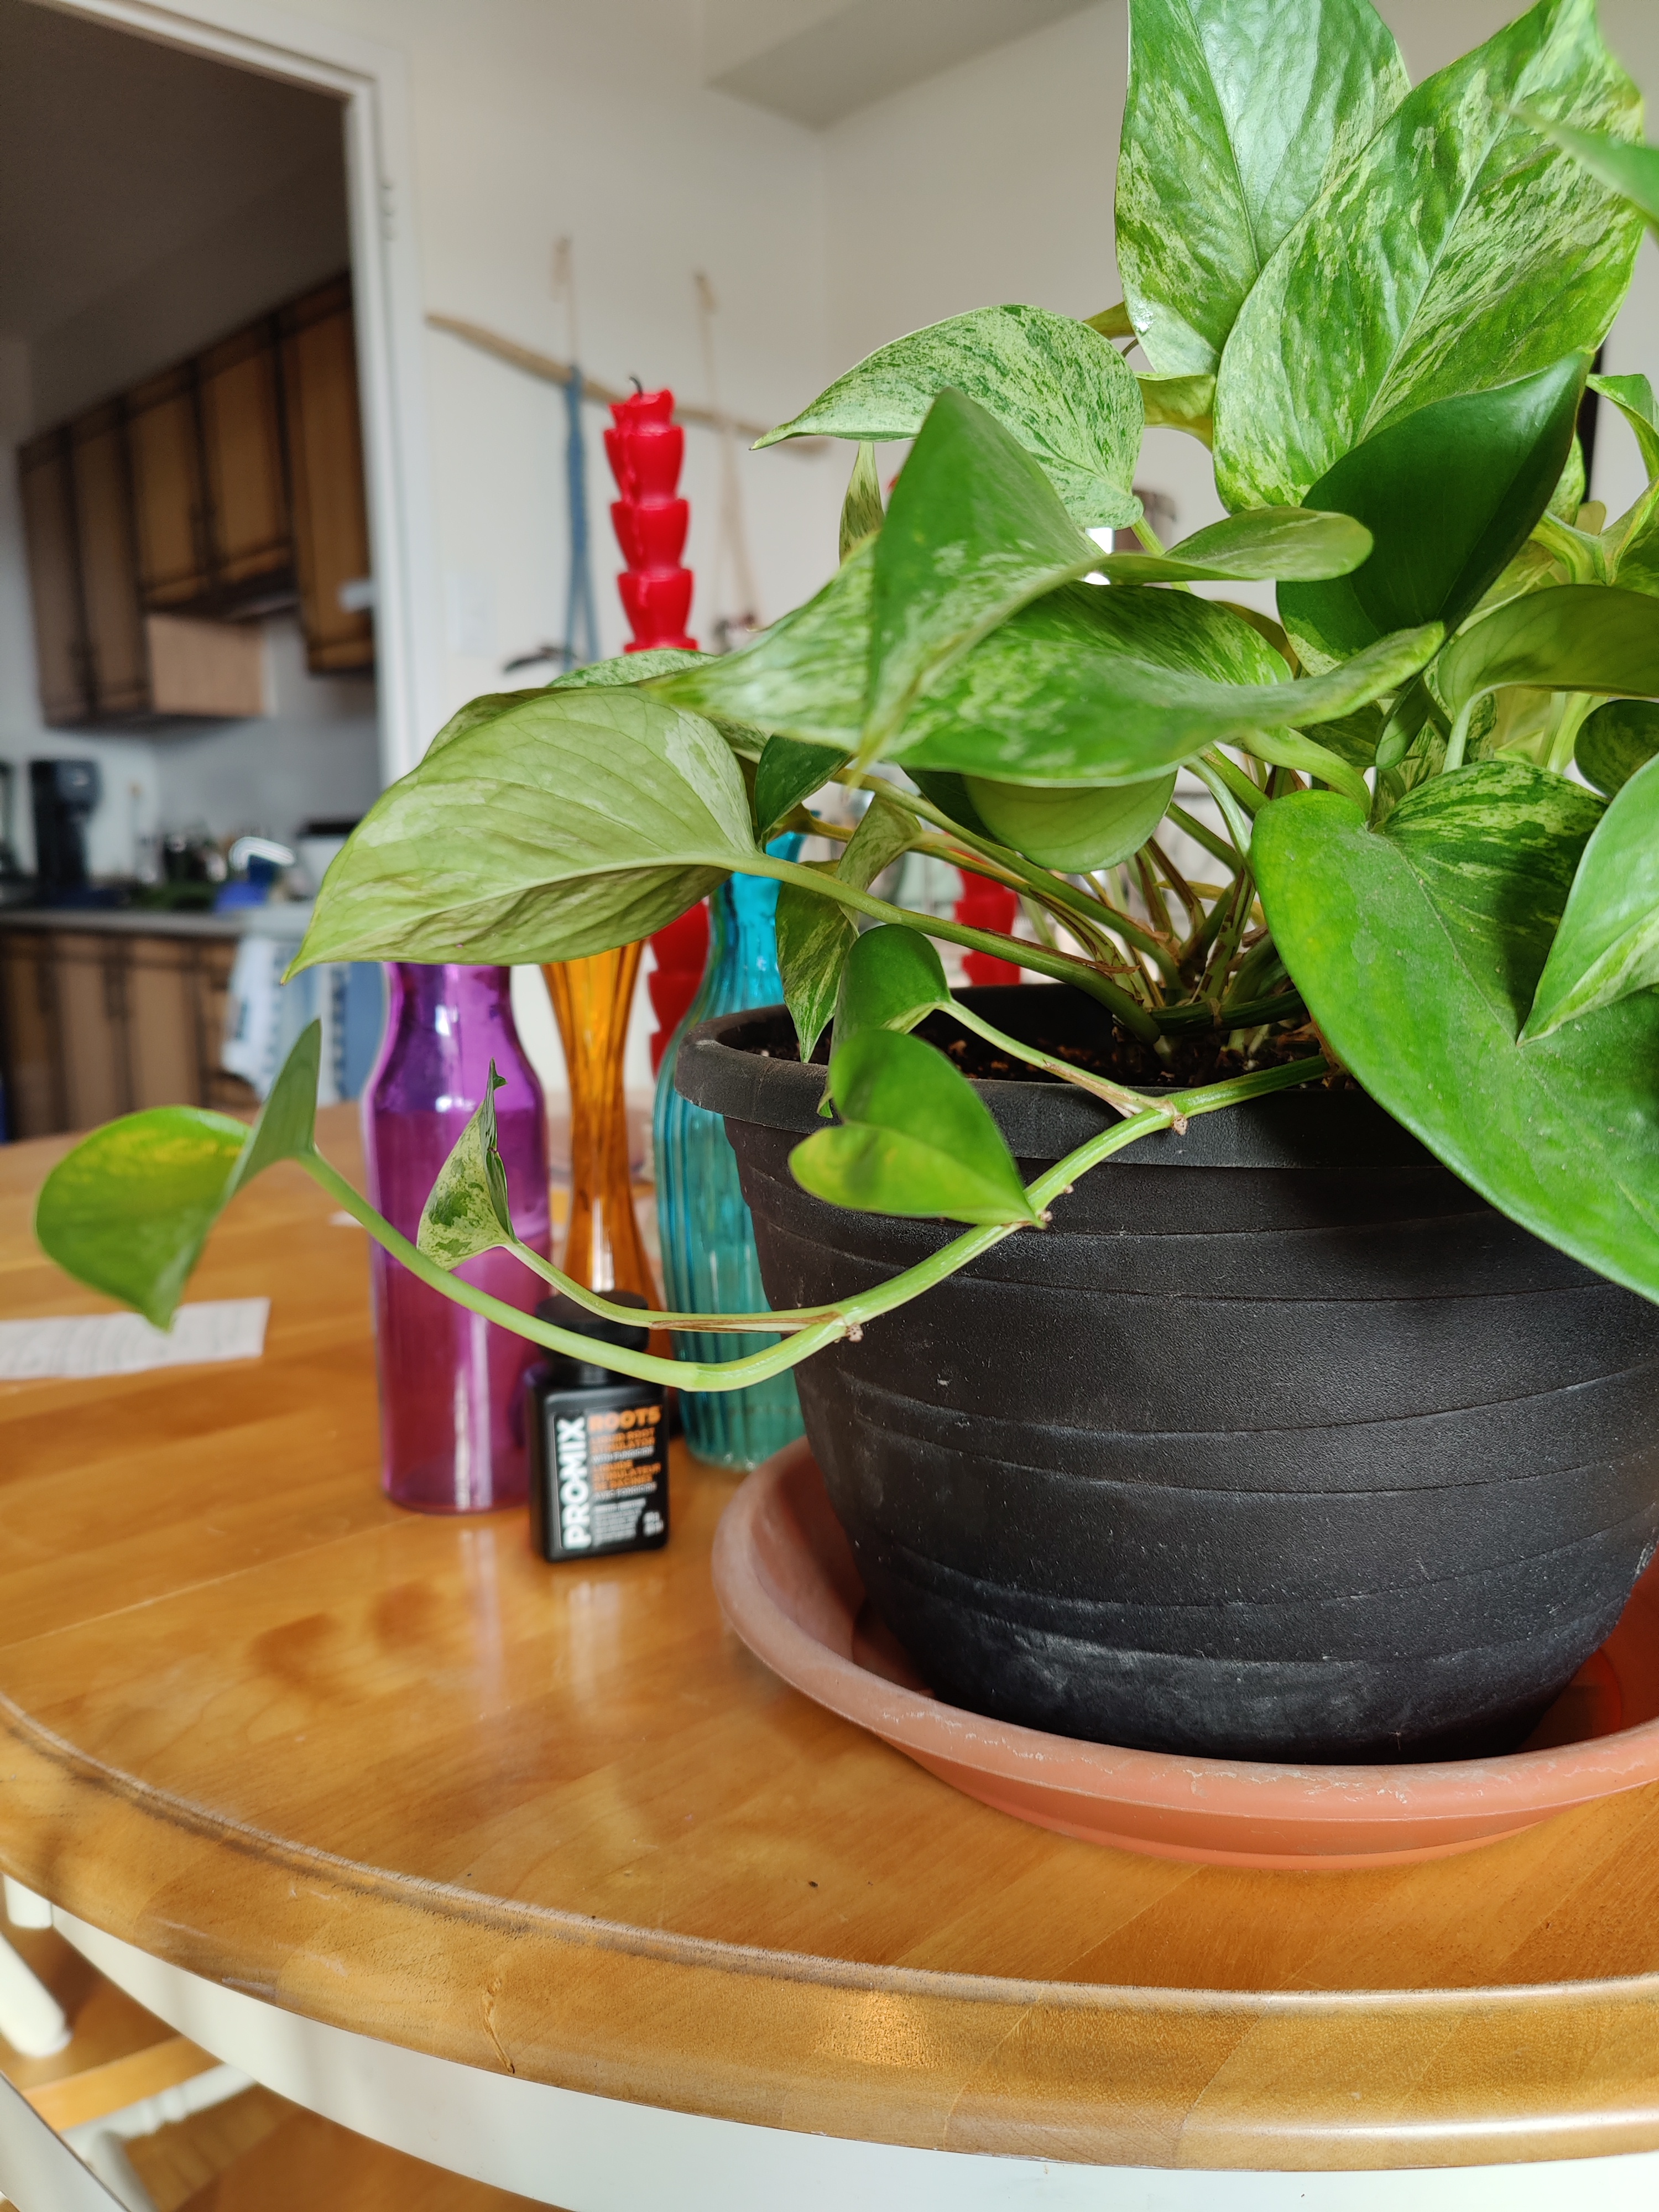
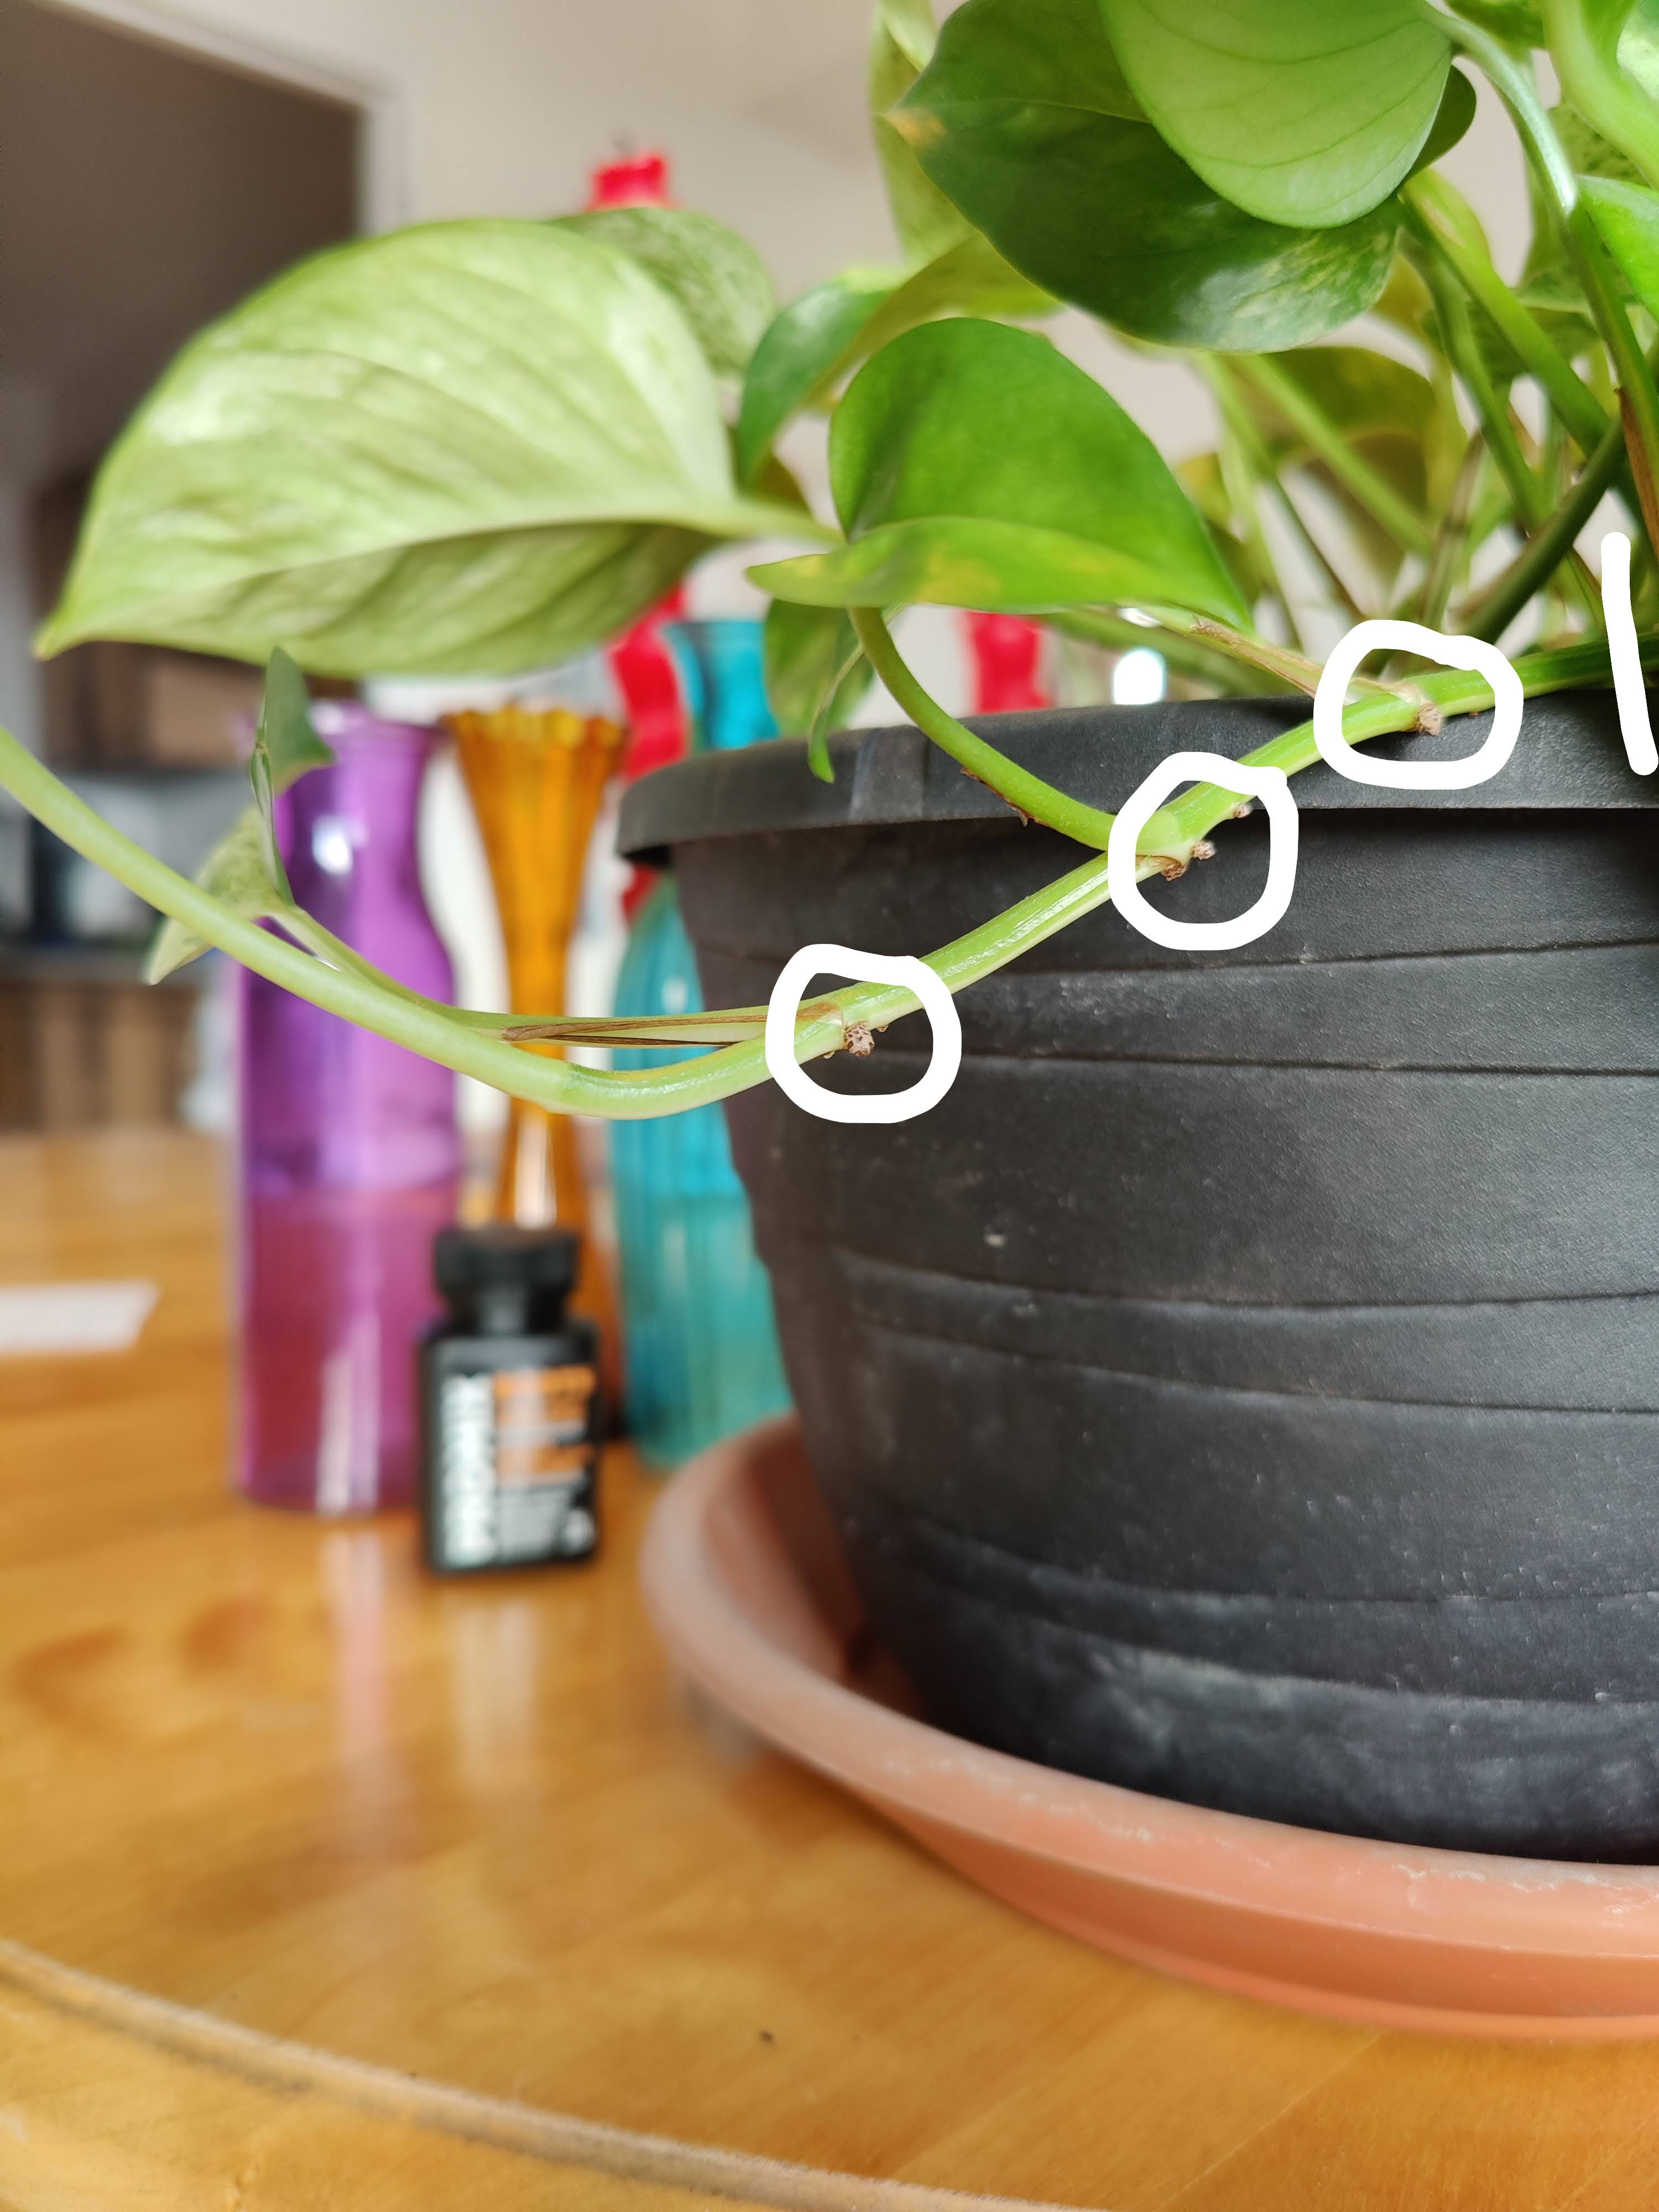
- Select a Healthy Vine: Look for a vine with several healthy leaves and visible nodes (the small bumps along the vine where leaves and roots grow).
- Cut the Stem: Use clean scissors to cut a 4–6 inch section of the vine. Ensure the cutting has at least 2–3 nodes (the more nodes, the better the chances of propagation).
- Prepare the Cutting: Remove the leaves from the bottom 1–2 nodes. These nodes should be submerged in water for roots to grow. Optional: Dip the cut end into rooting hormone to encourage root growth.
- Place in Water: Place the cutting in a jar or glass of clean, room-temperature water. Ensure the nodes are fully submerged, but leaves remain above water to prevent rotting. Use a clear container to monitor root development.
- Provide Ideal Conditions: Put the jar in a bright, indirect light location. Avoid direct sunlight, which can damage the cutting. Change the water every 3–5 days to keep it fresh and oxygenated.
- Wait for Roots: Roots should start to appear within 1–2 weeks. Wait until the roots are at least 2–3 inches long before planting the cutting in soil (usually takes 4–6 weeks).
Transferring to Soil
Once the roots are well-developed, your new plant is ready to be potted. Choose a pot with drainage holes and fill it with well-draining soil. Plant the rooted cutting gently, water it, and place it in a bright spot to continue growing.
Plants That Thrive in Water Propagation
While many plants can be propagated in water, here are some common favorites:
- Pothos
- Philodendrons
- Spider plants
- Monstera
- Tradescantia
- Begonias
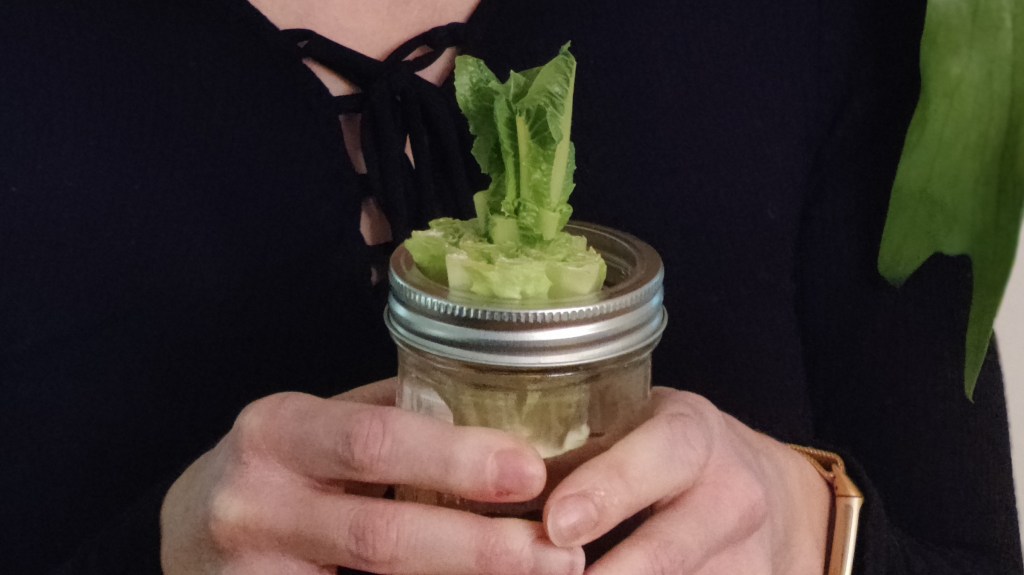
I have also had success propagating pineapple tops and lettuce.
Final Thoughts
Water propagation is a fun, rewarding way to grow your plant collection and connect with nature. Watching roots form and new growth emerge is a magical process that deepens your appreciation for the resilience and beauty of plants. So grab your scissors and a glass of water, and start propagating today! Your plants—and your future self—will thank you.

Leave a comment