Tag: Gardening

  • 2025 Garden Reflections

    2025 Garden Reflections

    Happy New Year! As 2026 begins, I’ve been reflecting on the lessons learned in the garden over the past twelve months. 2025 was a year of trial and error—a mix of record-breaking harvests and some honest realizations about the limitations of my soil.

    The big boy. Black Spanish radish of 2025.

    The Successes: Veggies and Blooms

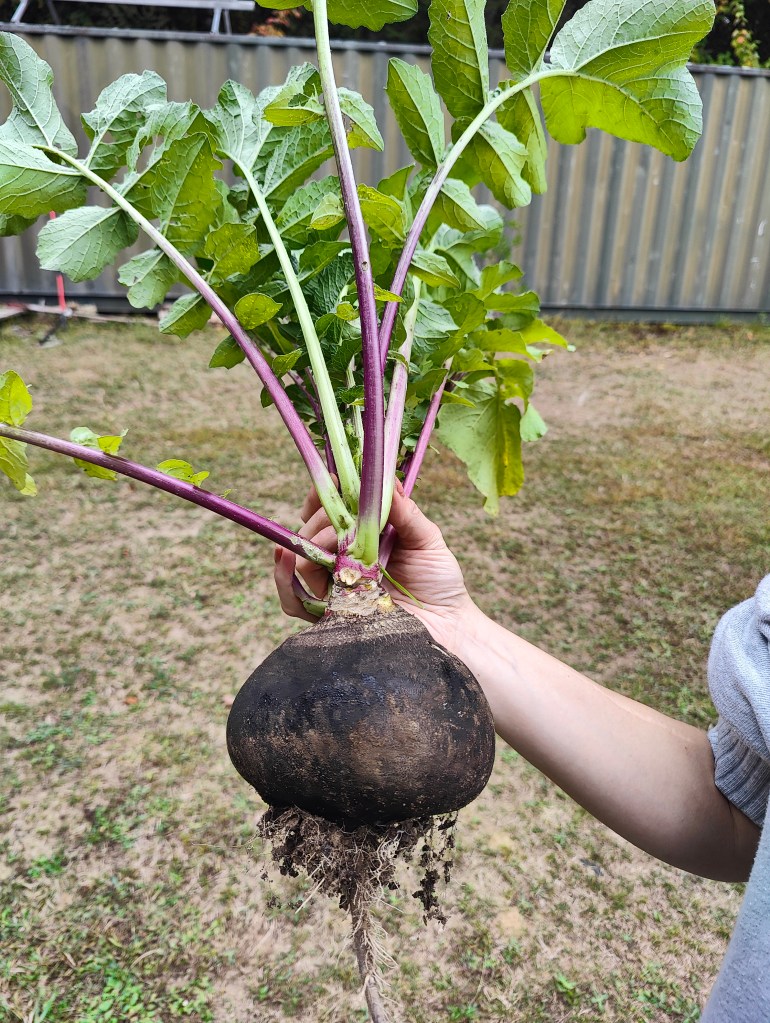
    The standout achievement of the year was the Black Spanish radish. Never grown before, this season produced the largest specimen in my gardening history, and all thanks to neglect. I found that big boy among the weeds. It’s always rewarding when a staple crop exceeds expectations, especially one as hardy and versatile as the radish.

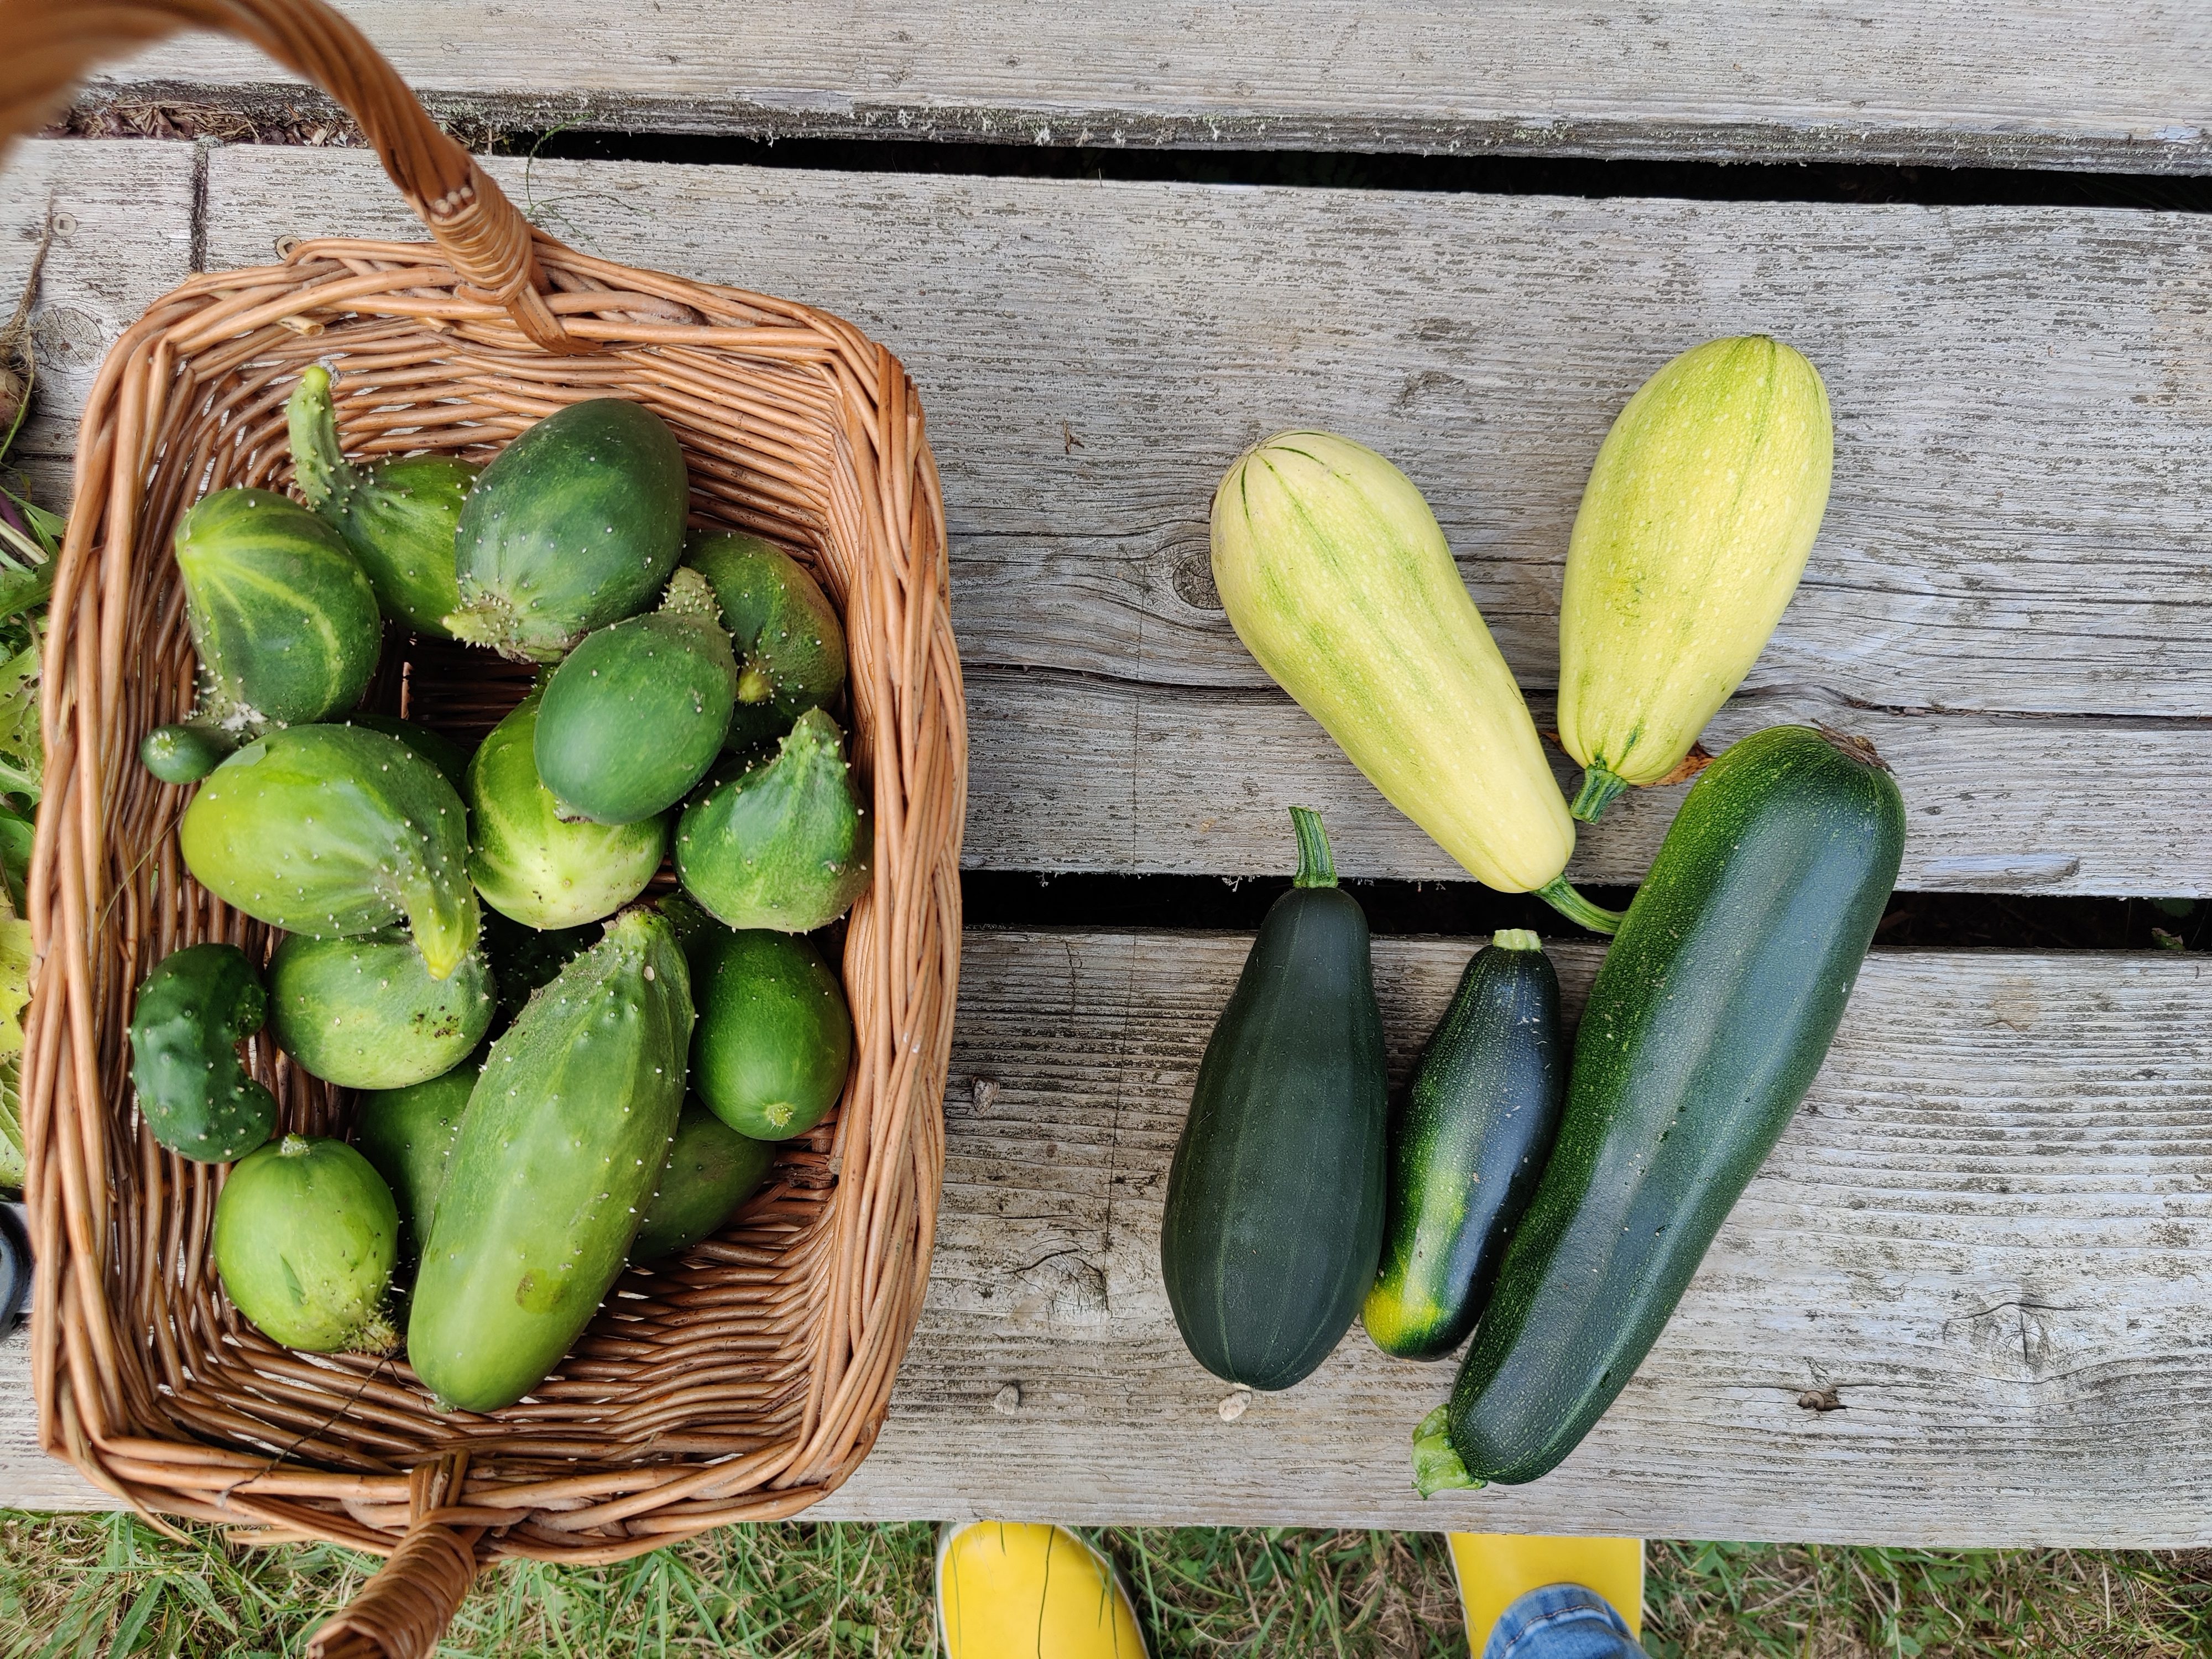
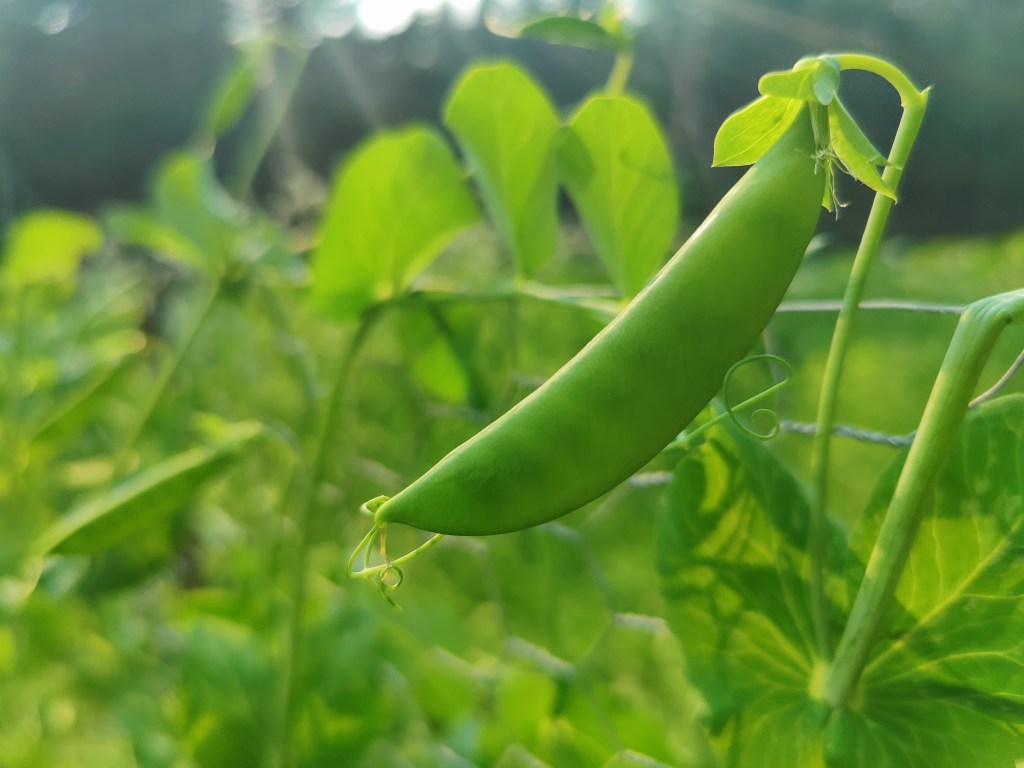
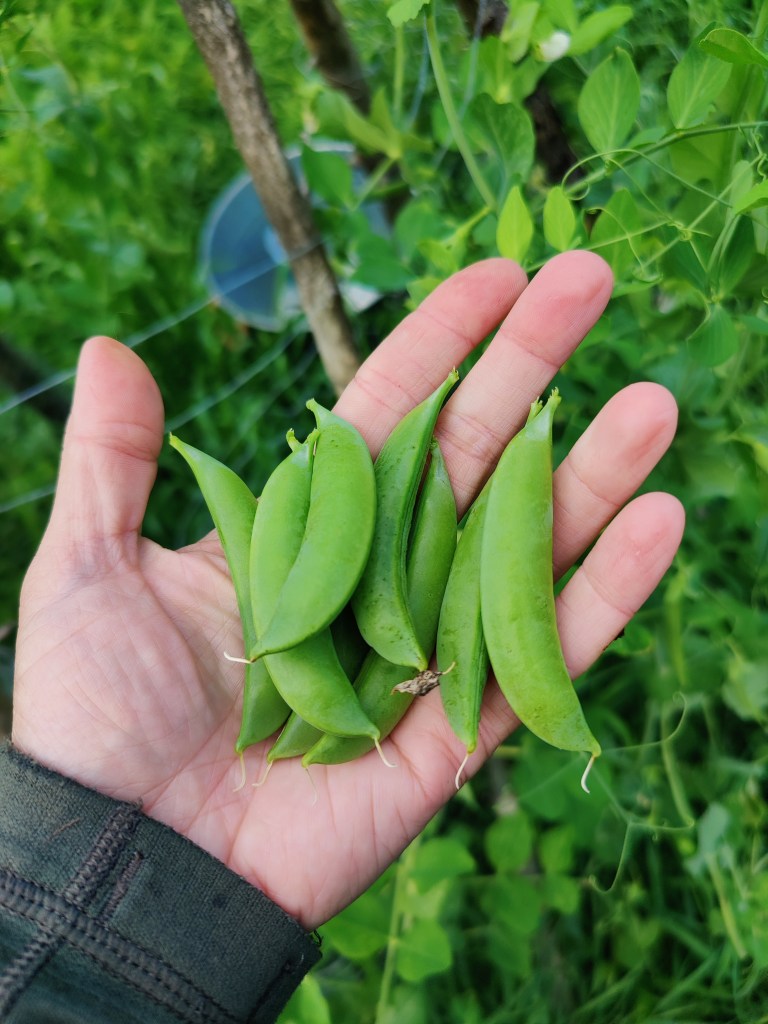
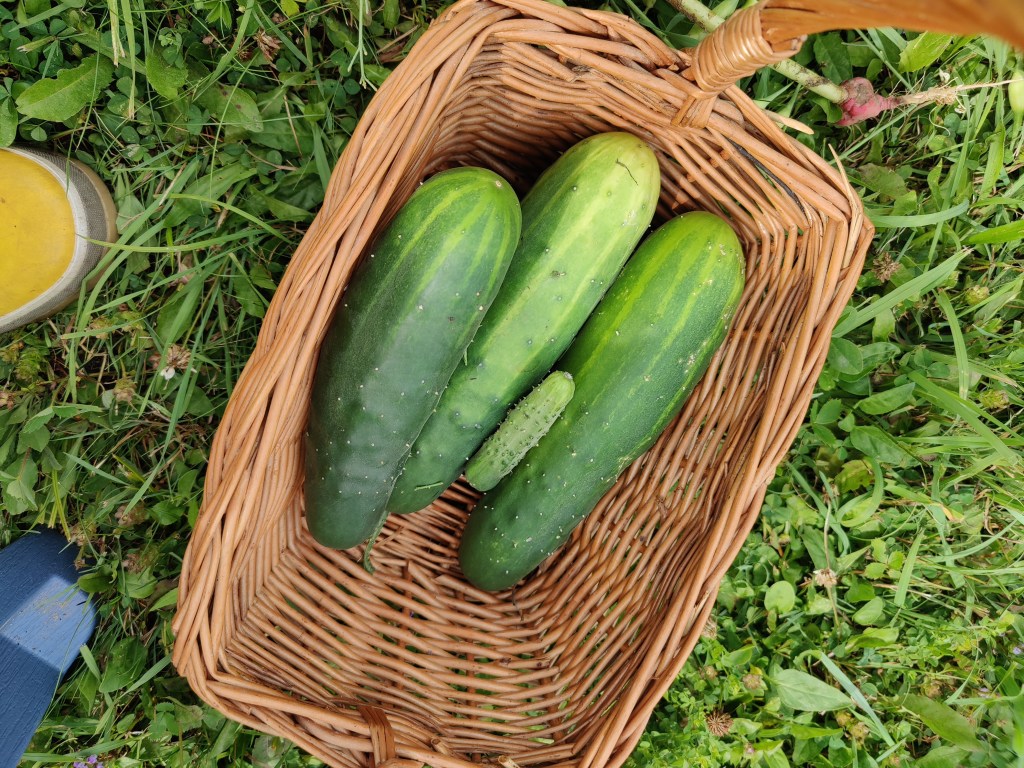
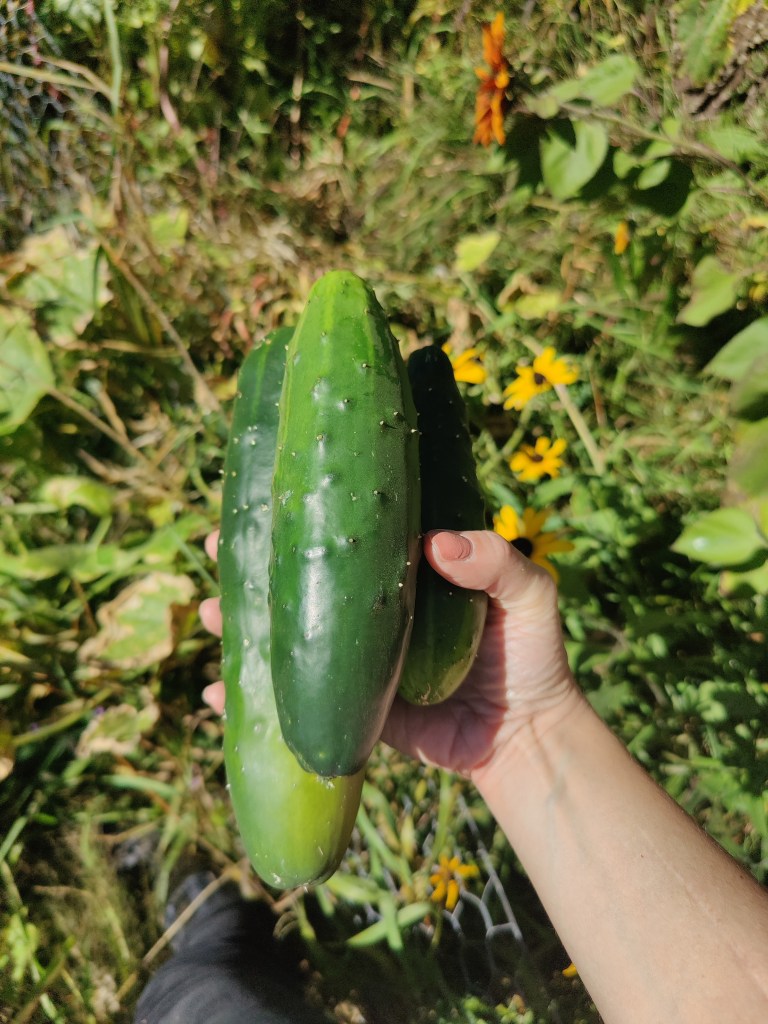
    Next, I think about the cucumber and sugar snap pea harvest. Snap peas are my favorite vegetable to grow, and this year’s yield did not disappoint. Truthfully, I thought the cucumber seeds didn’t germinate, but I was happy to find several ripe cukes hidden among the overgrown French Breakfast radishes in June.

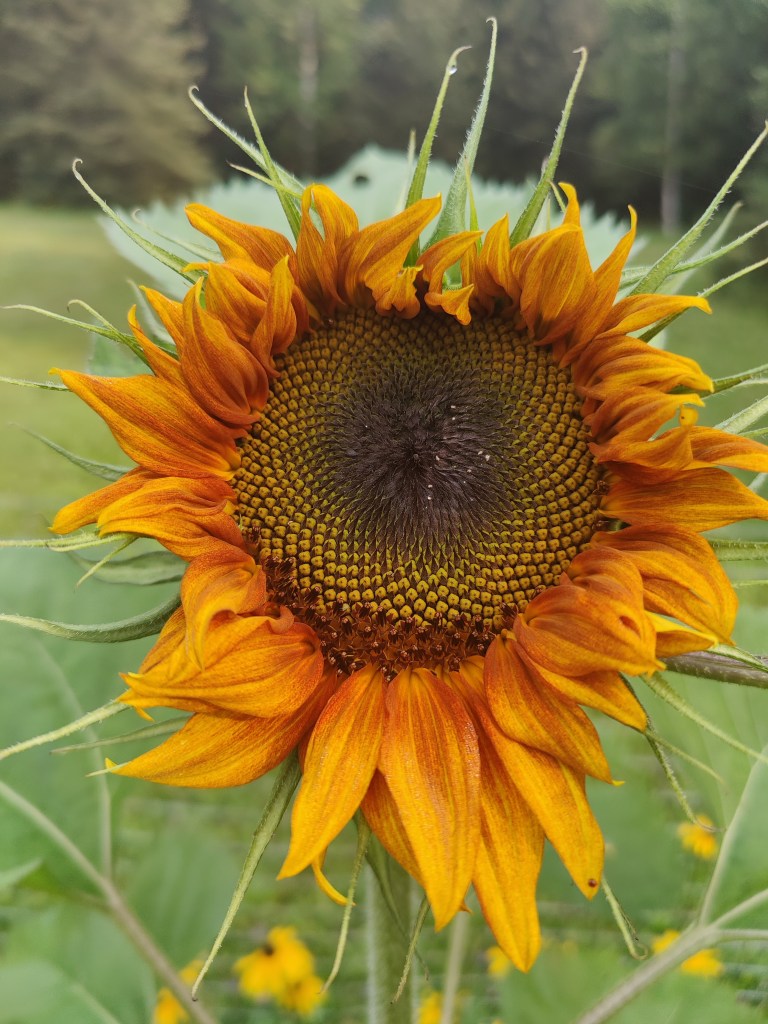
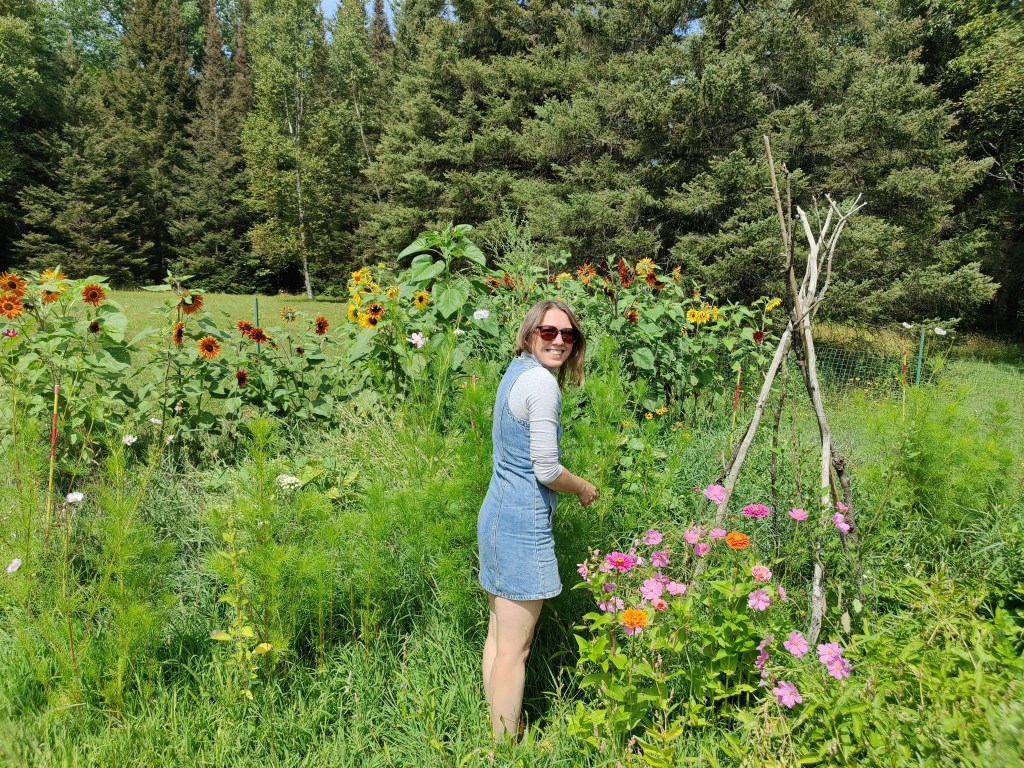
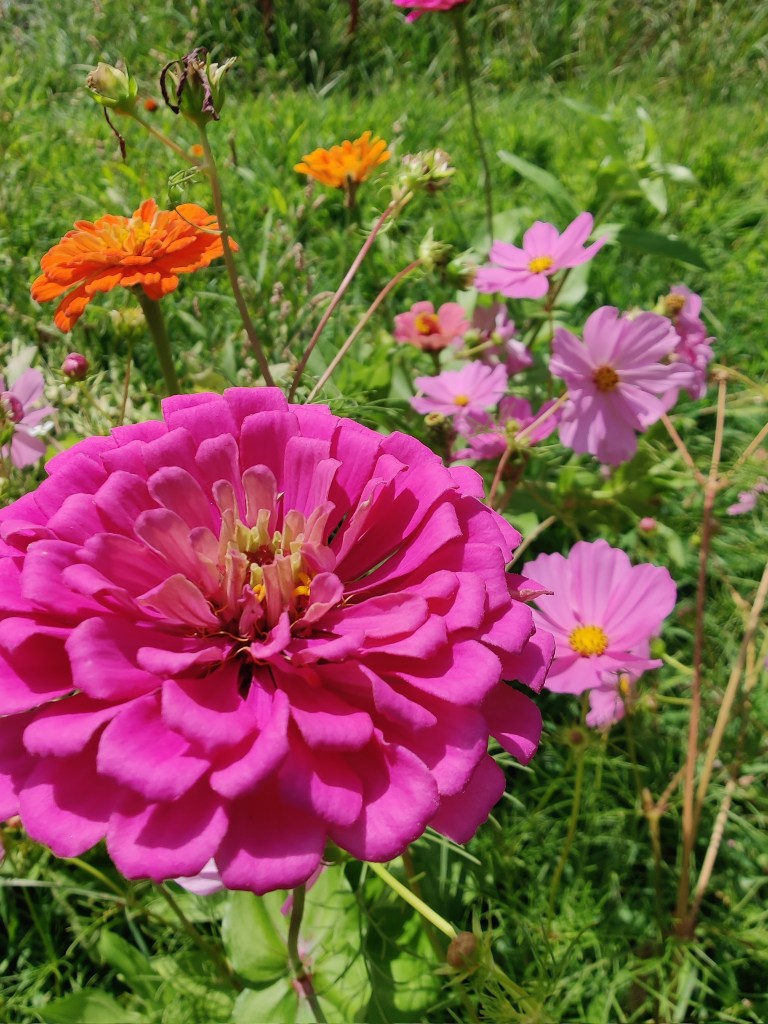
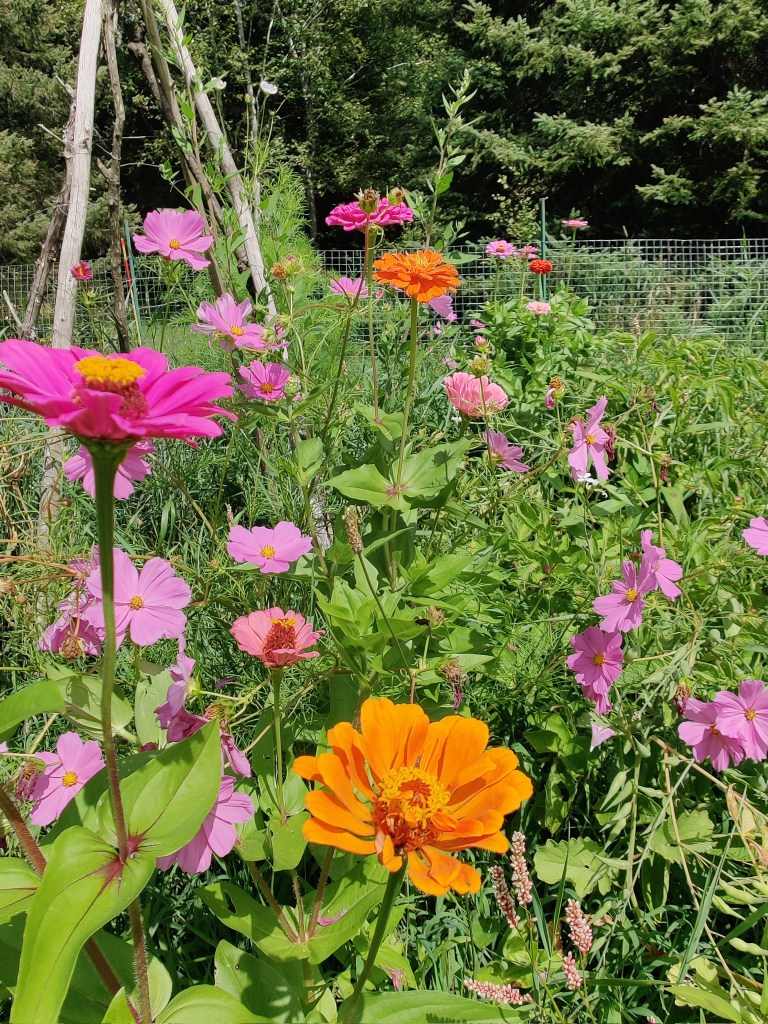
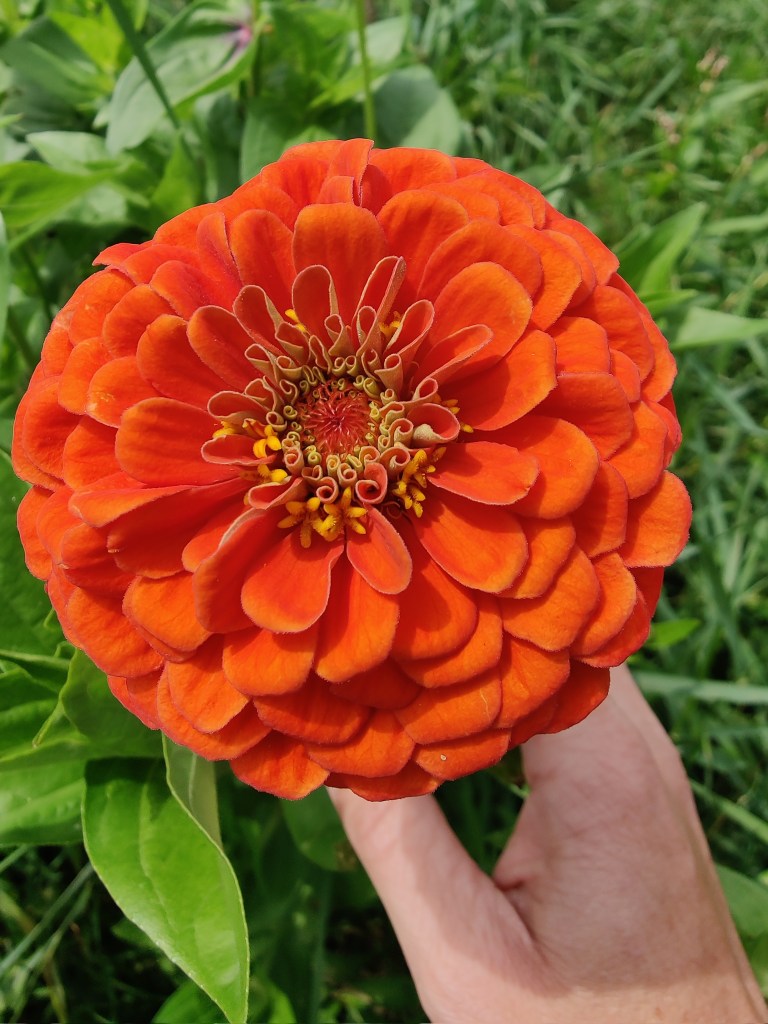
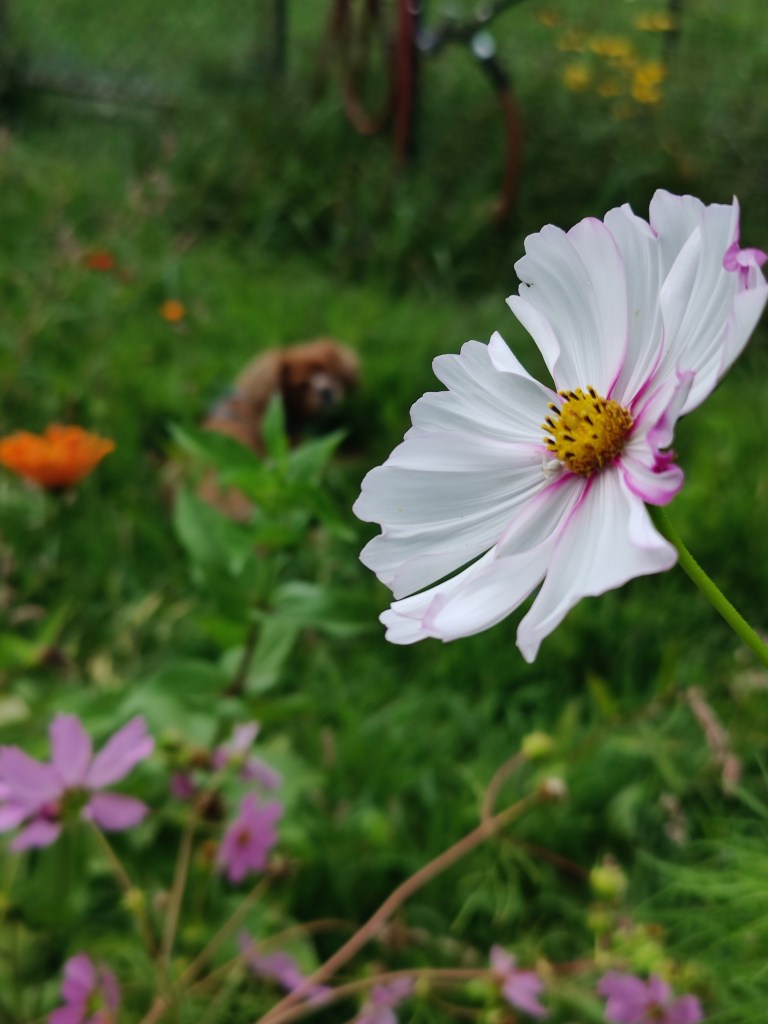
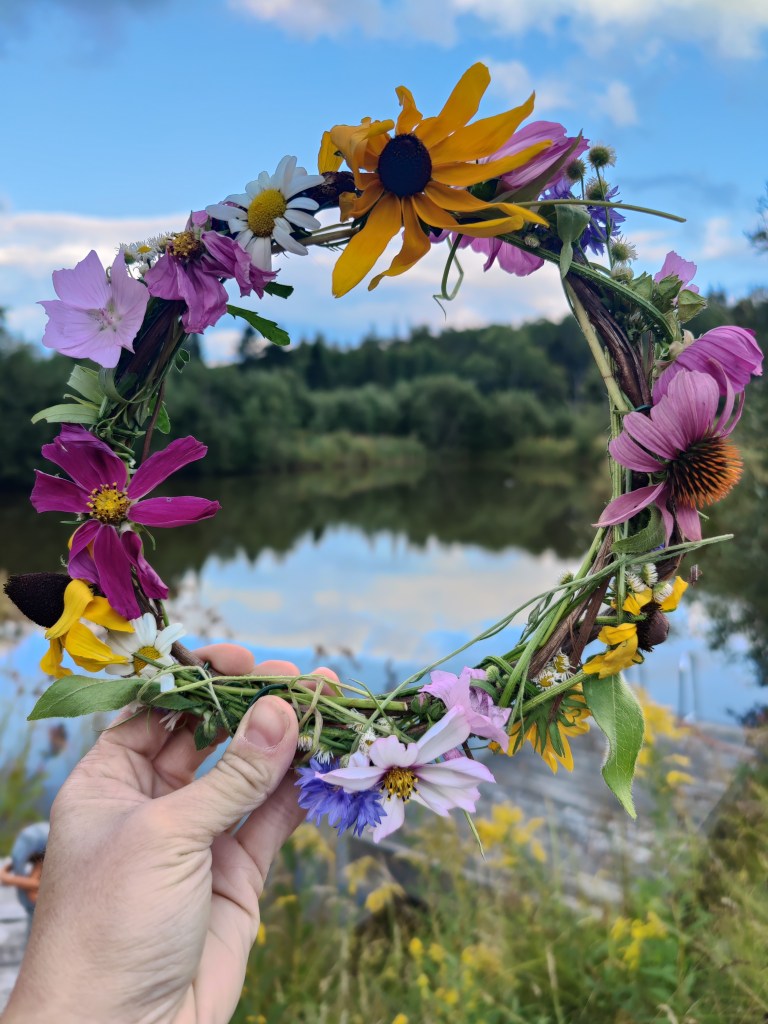
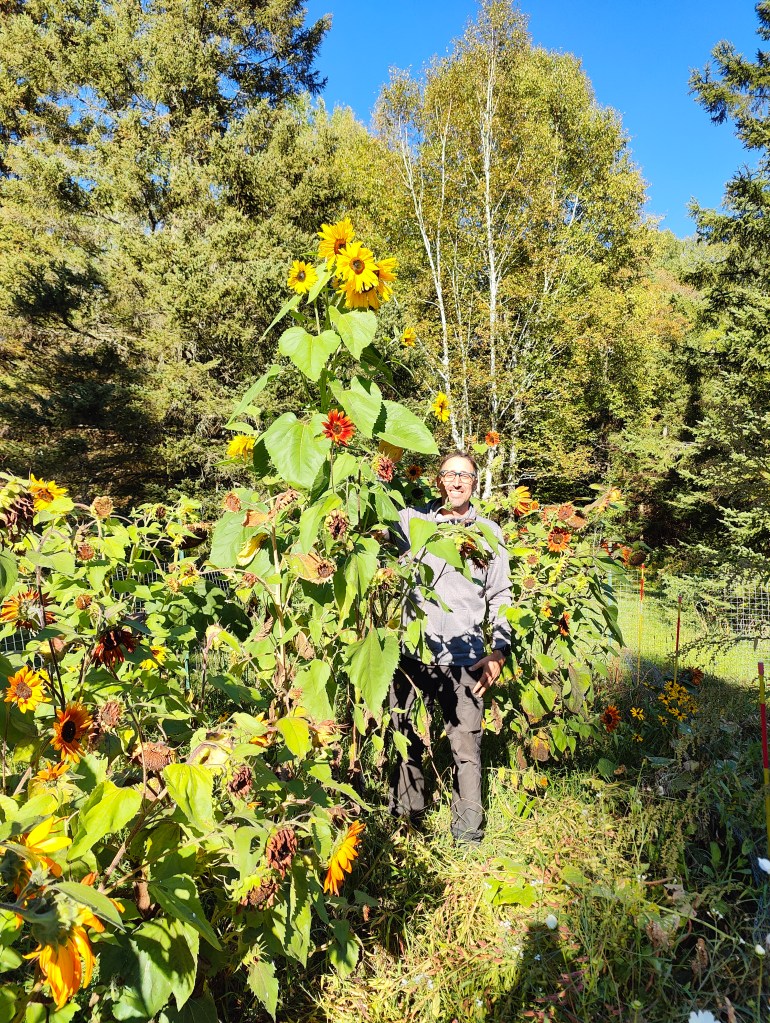
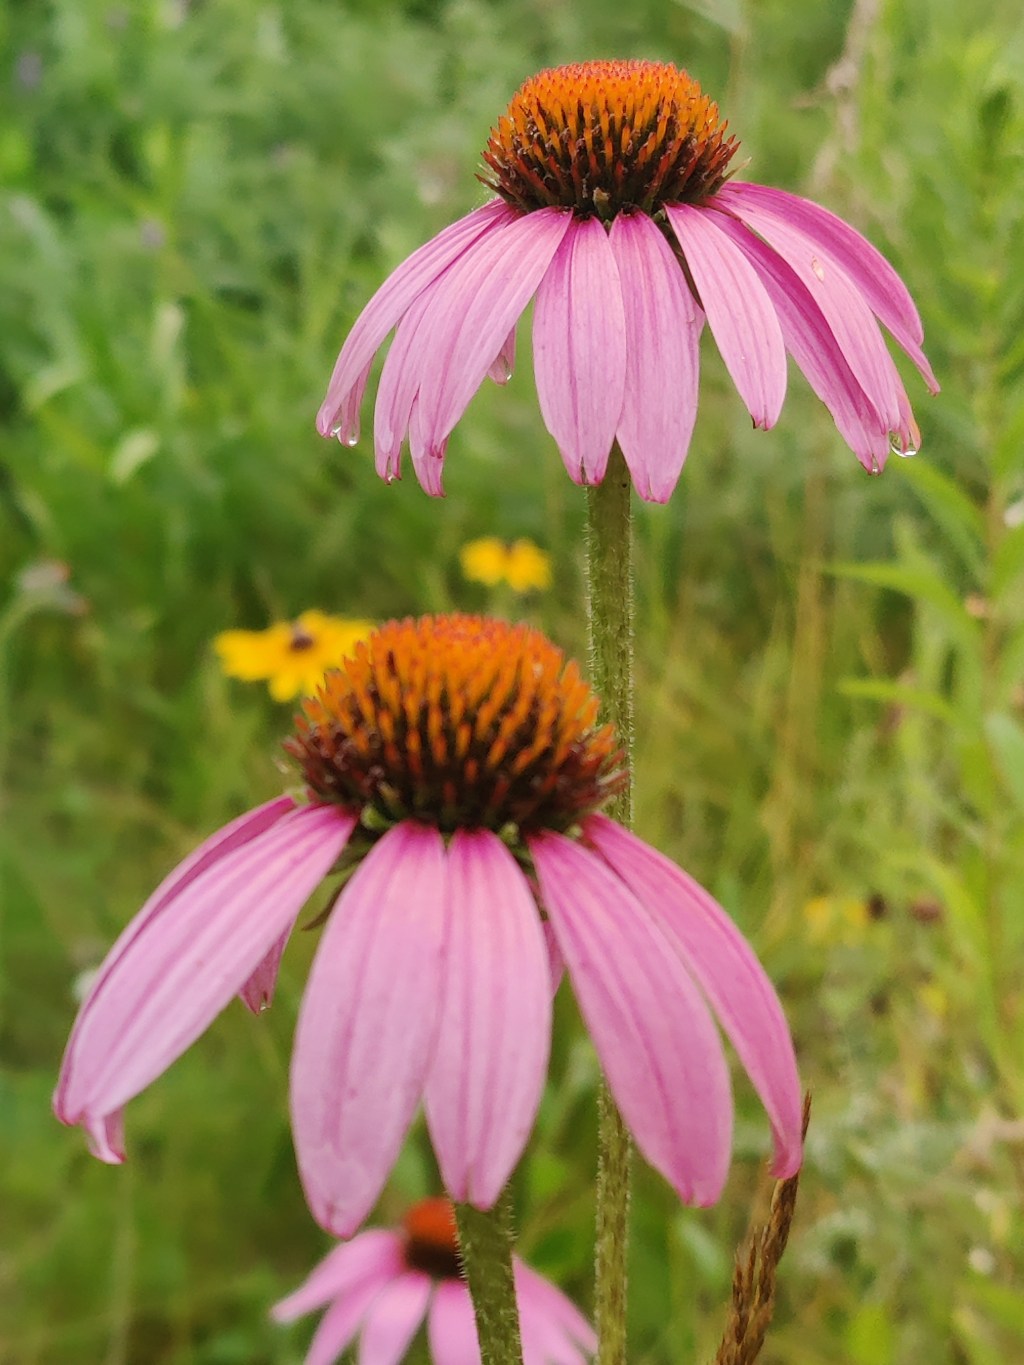
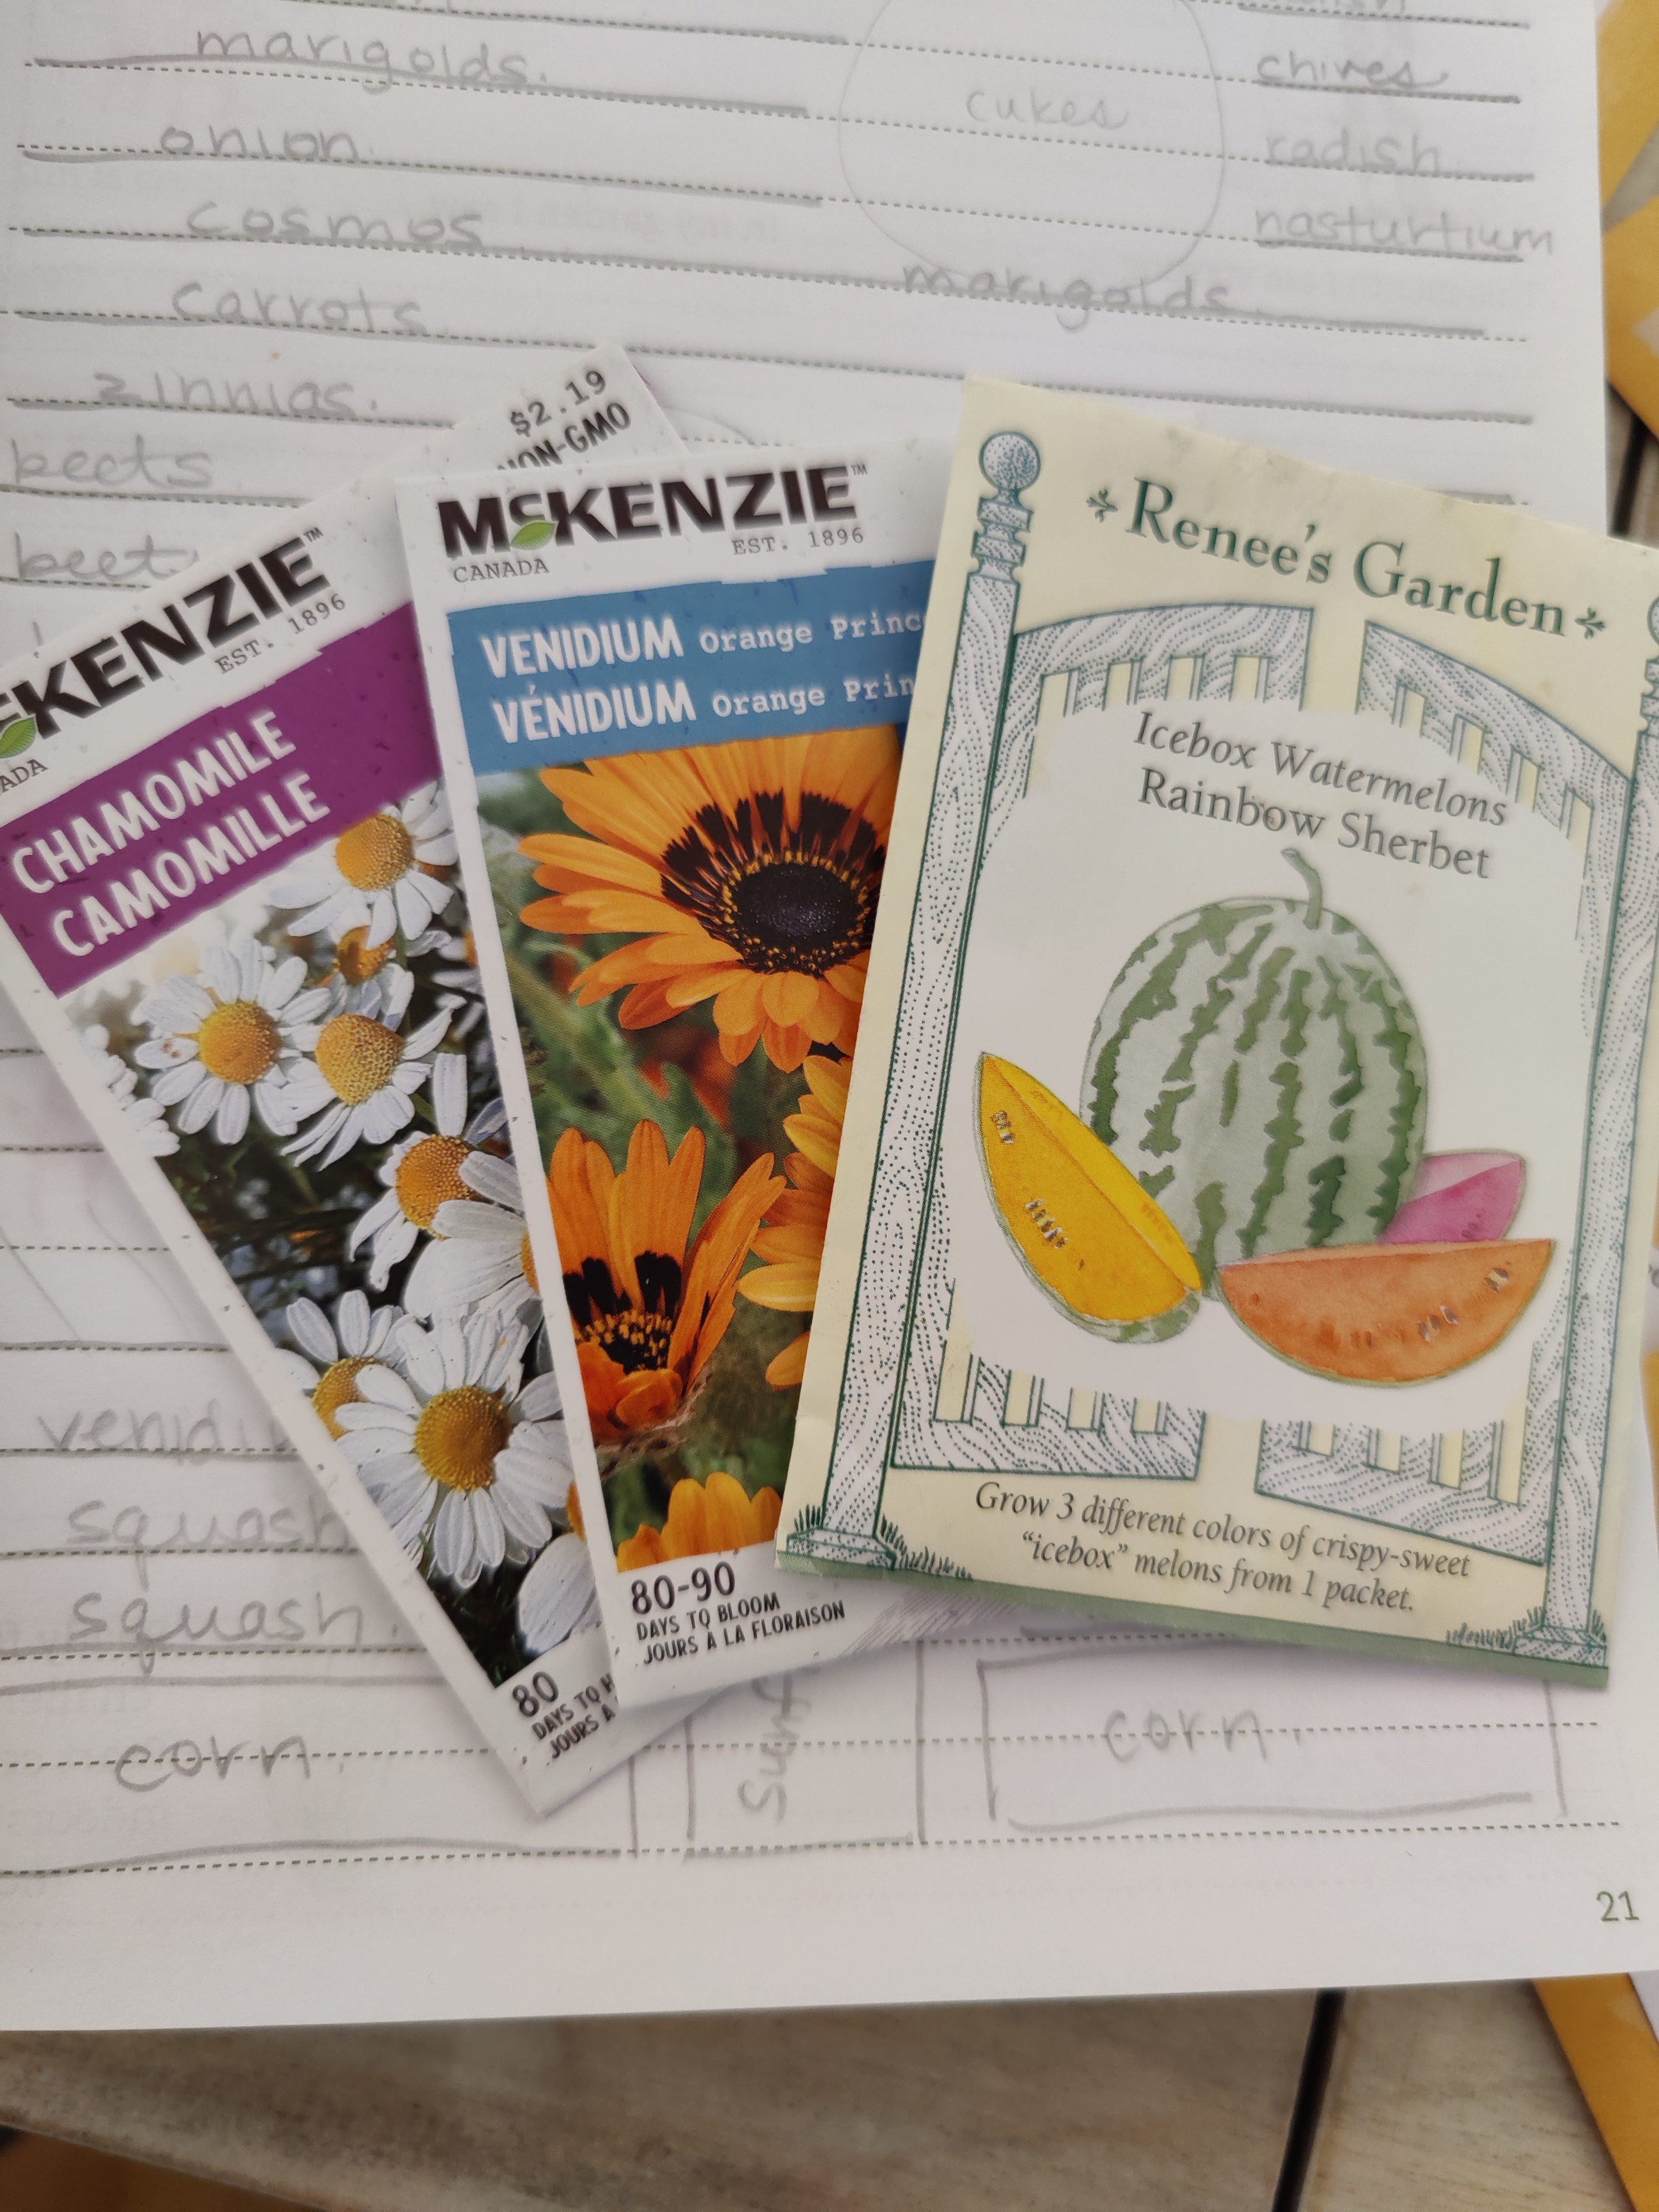
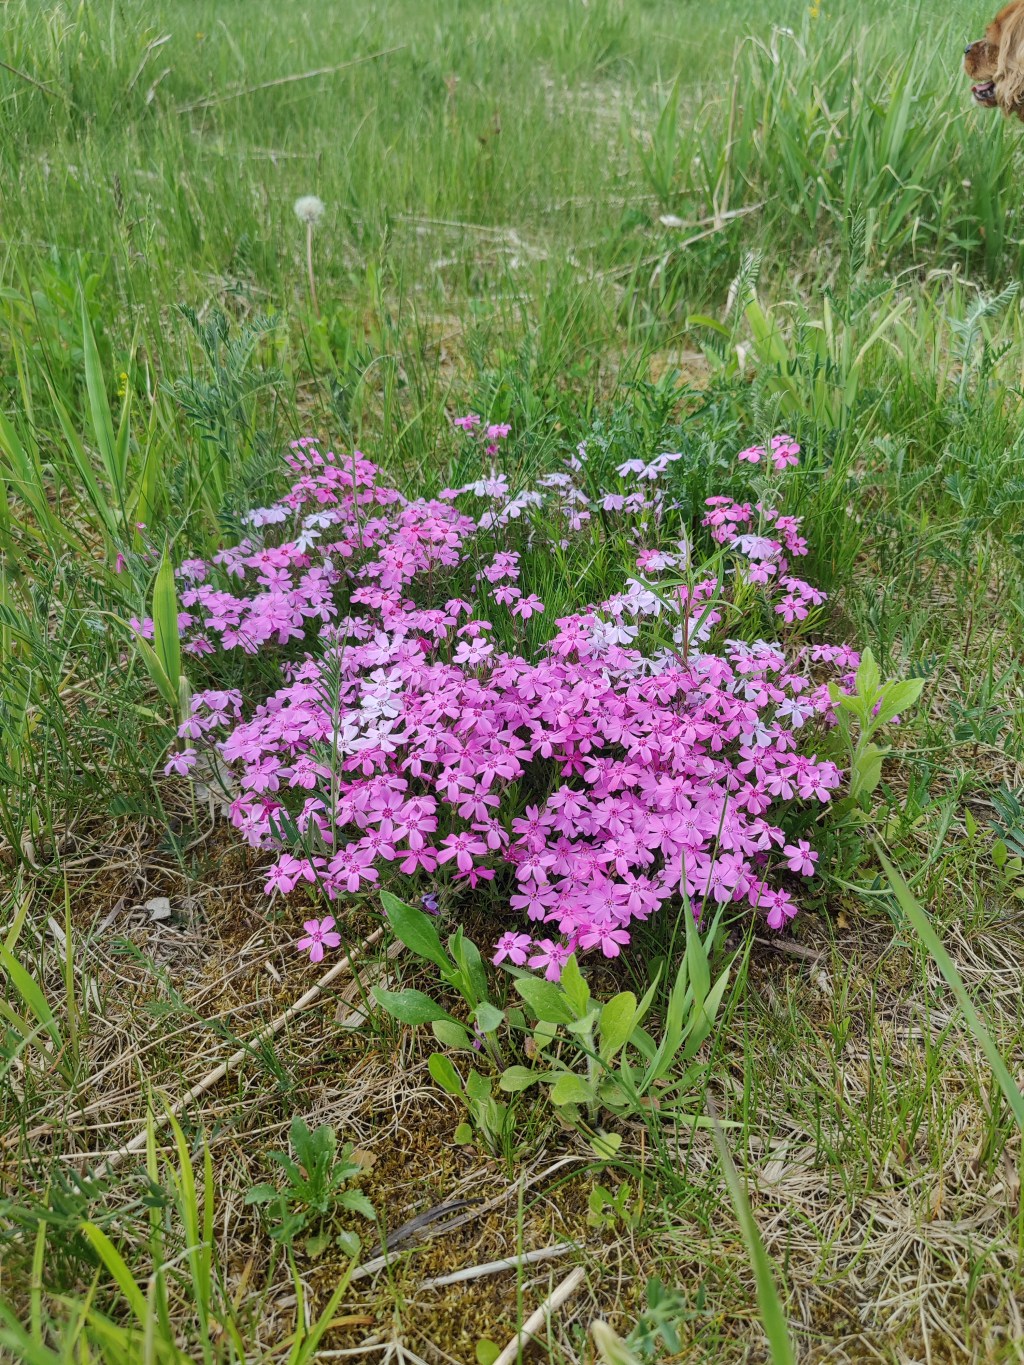
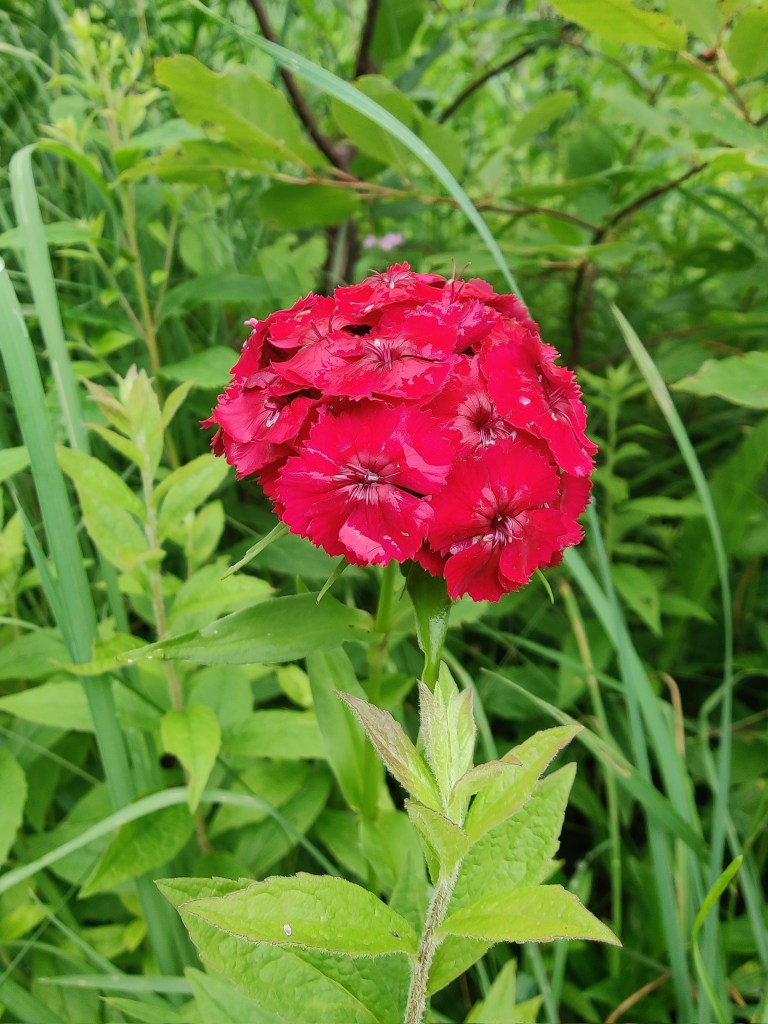
    Alongside the vegetables, the cut flower garden was a consistent bright spot. The blooms grew successfully throughout their window, providing a steady supply for harvesting throughout the summer. After a few seasons of experimenting with different varieties, it felt like the floral side of the garden finally hit its stride.

    The Challenges: Timing and Lift Off

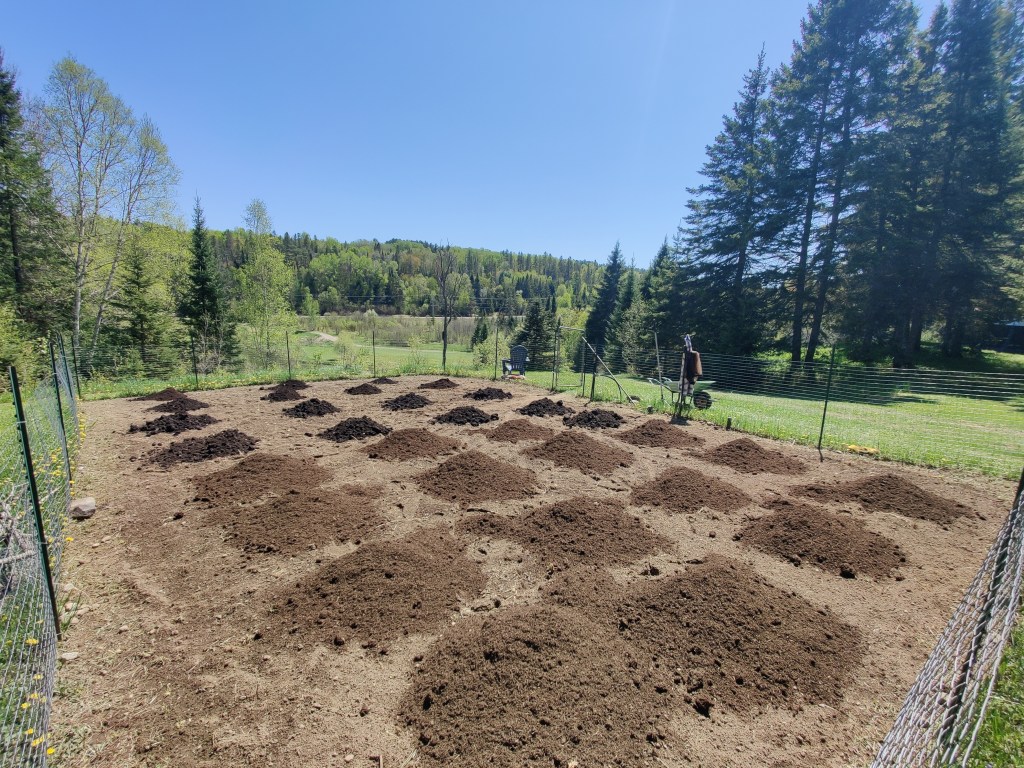
    Of course, the season wasn’t without its setbacks. The most significant lesson came down to soil preparation.

    While 2024 led to an awesome harvest in the garden, in 2025 I applied my compost and manure too late—essentially right before planting. This didn’t allow enough time for the nutrients to integrate or the soil chemistry to stabilize before the seeds went in. It was a reminder that in gardening, the “when” is often just as important as the “what.”

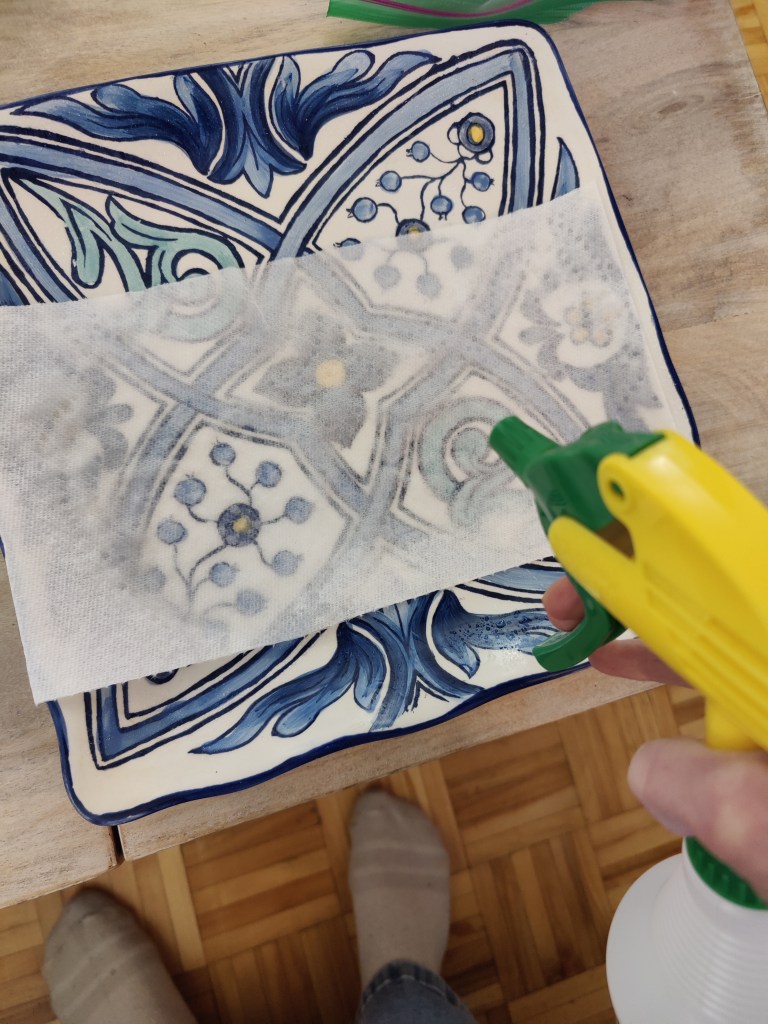
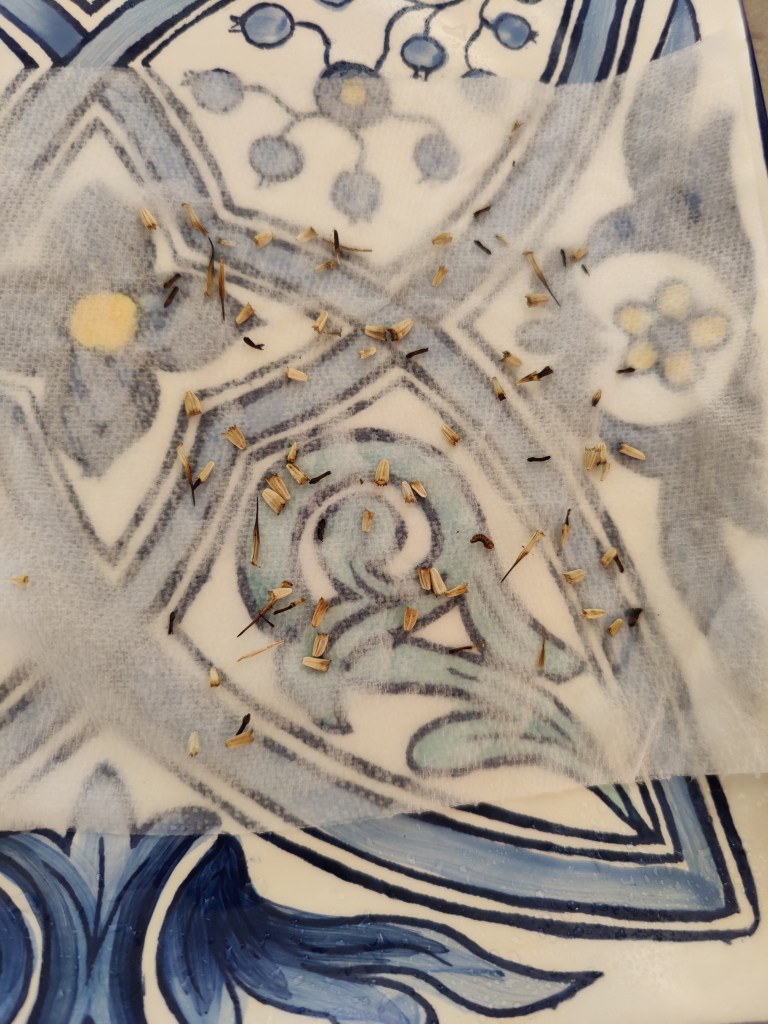
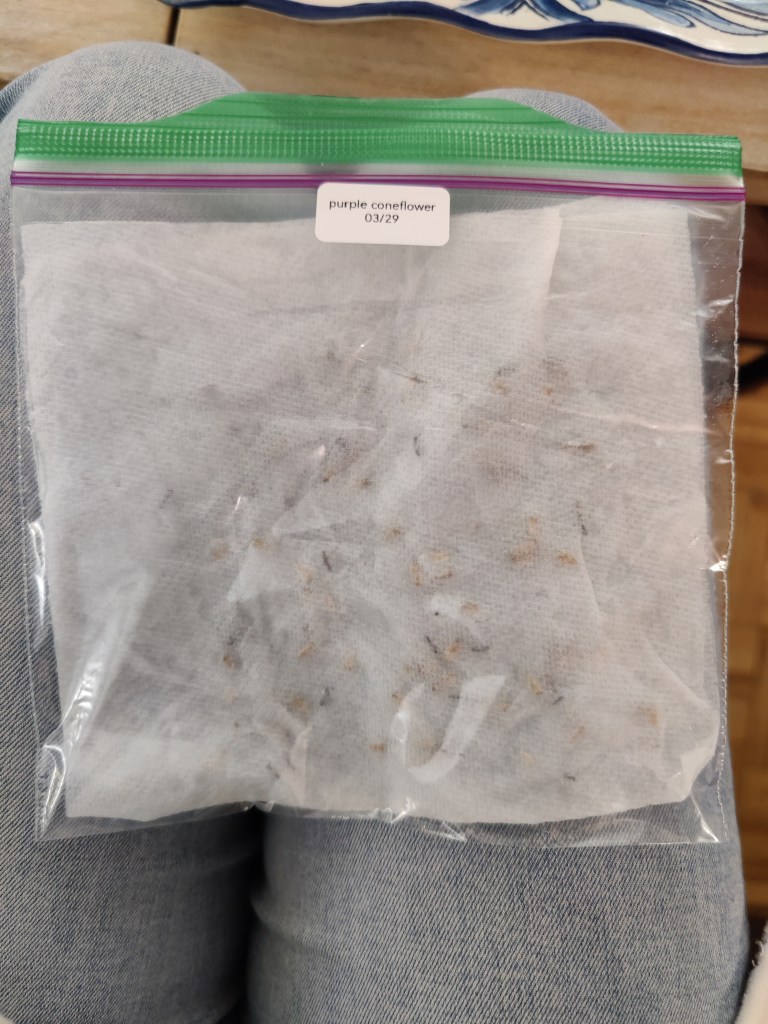
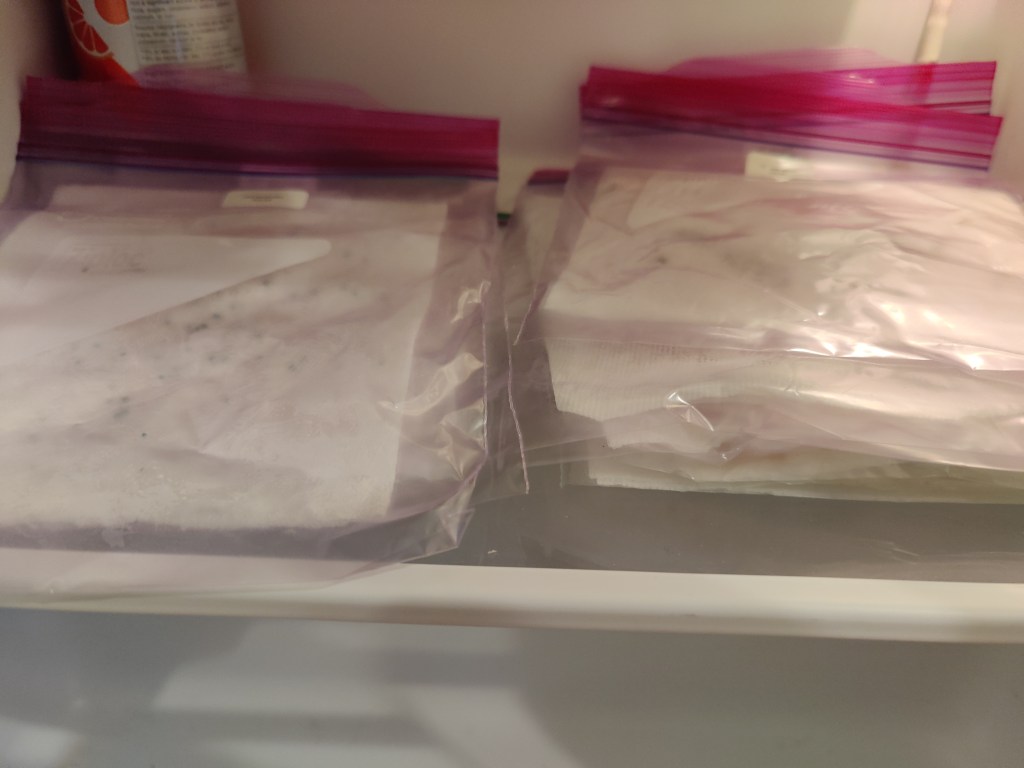
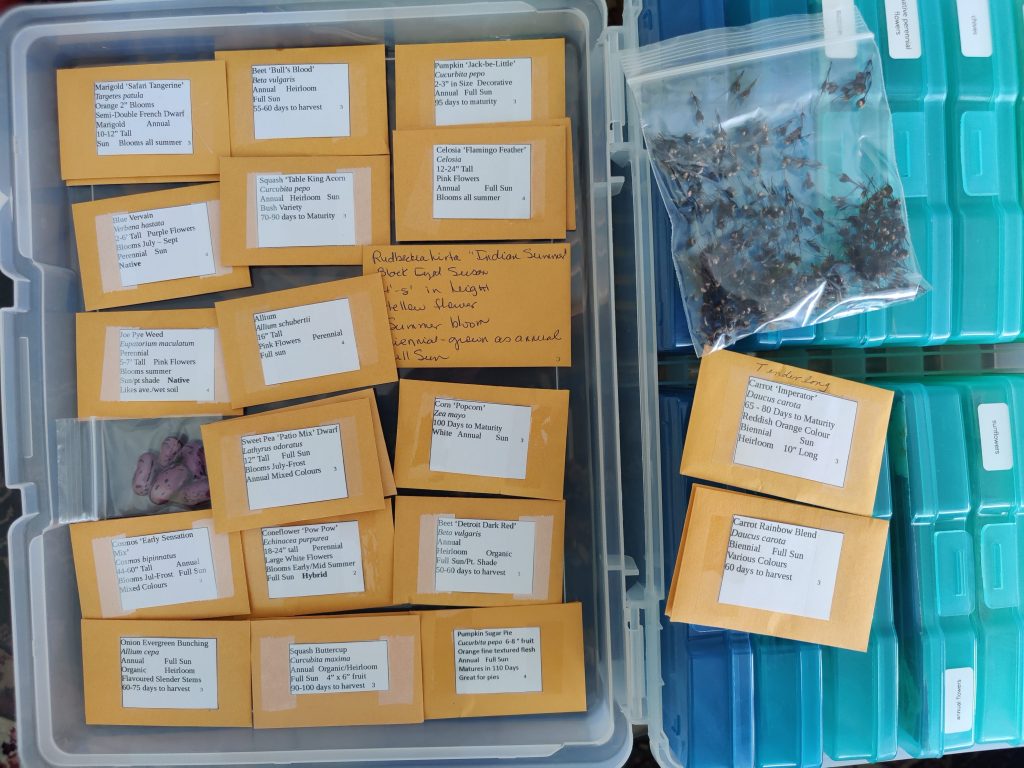
    This timing issue, combined with my heavy clay soil, led to a disappointing result for my cold-stratified perennial seeds. While the stratification process itself went well, these perennials failed to flourish once they hit the ground. The dense, compacted nature of the clay was simply too much for the young roots to overcome.

    Additional soil and compost applied in May. Too late.

    Looking Ahead

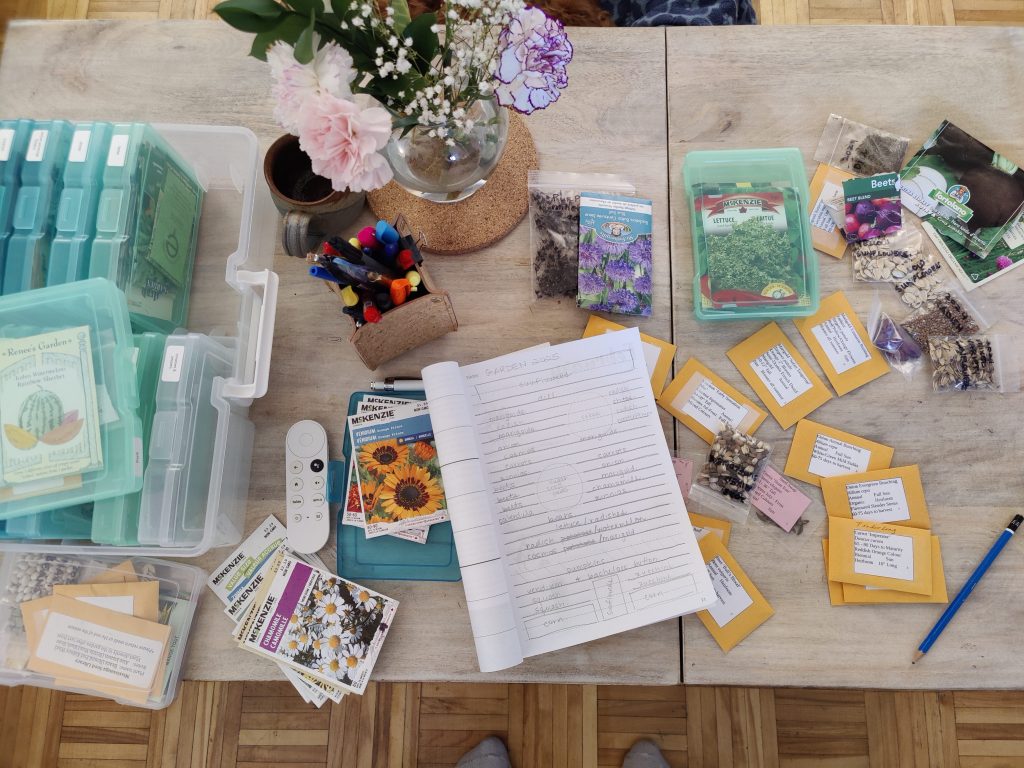
    While it’s frustrating to see hard work—especially the effort of cold stratification—not pay off, it provides a clear roadmap for 2026. The garden is currently hibernating, but the plans for a better 2026 are already in motion.

    And for those of you wondering if I did get any beets to grow, not yet. I’m hoping that 2026 will be declared the “year of the beet”. Thank you for continuing to follow along. Wish me luck this year!

  • How to Cold Stratify Seeds

    How to Cold Stratify Seeds

    If you are planning to grow native plants from seed you may need to use a method known as cold stratification to encourage germination.

    What is Cold Stratification?

    Cold stratification simulates the natural conditions many perennial plants experience in winter. It is a necessary step for many native species that require prolonged exposure to cold and moisture before a plant will start to grow. To achieve this cold dormancy, you can sow your seeds in the winter (known as winter sowing) or, if you are behind schedule like me, you can cold stratify the artificial way—using your fridge.

    Cold stratification is most often used for perennial wildflowers, trees, shrubs and grasses native to regions with cold winters. Species such as milkweed, purple coneflower, black-eyed Susan, wild bergamot, and serviceberry are common examples that benefit from this method.

    What you’ll need to cold stratify your seeds

    To stratify seeds at home, you will need a small amount of moist medium—such as vermiculite, sand or a damp paper towel—a sealable plastic bag or container, and a refrigerator set between one and five degrees Celsius.

    The paper towel method

    Step 1: Dampen your paper towel

    Using a spray bottle, mist your paper towel with water. By this I mean dampen your paper towel to the point where the medium is wet but not wringing out water when squeezed.

    This is where I have failed in the past. Too little water, the seeds will not germinate. Too much water can lead to mouldy seeds which also won’t germinate.

    In many cases, larger seeds can be soaked in water for 12 to 24 hours prior to stratification.

    Step 2: Fold your seeds into the paper towel

    Spread out your seeds on one half of the damp paper towel. Fold the other half over to envelope the seeds.

    Step 3: Bag, Label and Chill

    Take your folded paper towel and tuck it into a resealable plastic bag. Using a marker, label the bag with the species, date and, if known, how long you intend to chill the seeds. Store the bags in the refrigerator.

    The duration of cold stratification depends on the species. Most require 30 to 90 days. Some native trees and shrubs may need up to 120 days. During this period, it is important to monitor the seeds regularly. If sprouting occurs, seeds should be planted promptly in pots or directly in the garden, depending on local conditions.

    Cold stratification is a valuable tool for supporting biodiversity and growing hardy, resilient plants from seed. While it requires planning and patience, the method can improve germination rates and help you successfully grow a wider range of native species. Happy sowing!

  • Sneak Peek into my Garden Planning Process

    Sneak Peek into my Garden Planning Process

    It’s that time of year again! I am planning out my off-grid vegetable and flower garden, and 2025 is shaping up to be my most ambitious season yet. With over 20 rows of plants to organize, I’ve been carefully mapping out my garden layout, selecting my plant varieties, and considering improvements to soil health and irrigation. Here’s a glimpse into my garden planning process for the upcoming season.

    Step 1: Reviewing Last Year’s Successes and Challenges

    Before planning new layouts and plant choices, I have been reflecting on the previous season. My 2024 garden was my most successful yet, but there’s always room for improvement. I have been referring back to my notes and assessing which crops thrived, which struggled, and where I need to adjust planting locations to maintain soil health and minimize disease risks.

    Companion planting also played a big role last year, so I have taken notes on what worked best. For instance, to improve my cucumber harvest I’ve planned to place this temperamental vegetable among favourite companions such as radishes, nasturtium, marigolds and dill to give them a jump start. Avoiding placement beside potatoes, which compete for the same nutrients in the soil and other cucurbits, like squash and melons – which can lead to unappetizing harvests from cross pollination, is something I have considered carefully this year.

    Left: Some stunted cucumbers from my 2024 vegetable garden.

    Step 2: Sketching the Garden Layout

    With over 20 rows to manage, spacing and organization are crucial. Yesterday I created a rough sketch of my garden, designating clear sections for root crops, vining plants, and interspersing them with companion flowers, like marigolds, which attract pollinators and act as an all-natural pest control. My motto? Who needs harmful pesticides and sprays when you’ve got marigolds. All you need is pen, paper and a solid plan to complete this exercise.

    Step 3: Choosing Seeds and Plants

    Seed selection is one of my favourite parts of planning! Thanks to last year’s seed saving coupled, supplemented by seed exchanging and purchasing, I am ready to plan. I focus on hardy, high-yield vegetable varieties suited for my climate (Canadian Hardiness Zone 4), along with annual flowers that attract beneficial insects, deter pests and add beauty to my space. This year, I’m planning to grow:

    • Vegetables: A mix of radishes, peas, beans, diverse squash varieties, carrots, beets, corn and onion.
    • Flowers: Sunflowers, marigolds, zinnias, and nasturtiums to support pollinators and deter pests.

    I plan to experiment growing plants I’ve never sowed from seeds too! I am particularly excited to try growing watermelon, chamomile, bachelor’s button and venidium (which is an annual flower). And although I haven’t been successful in the past, maybe this year I’ll get a beet to germinate.

    Step 4: Enhancing Soil and Irrigation

    Since I’ve been gradually improving my garden infrastructure, I’m expanding my composting system and working on better water retention strategies. In 2025, I plan to:

    • Incorporate more organic matter into the soil, including compost and aged manure.
    • Use mulch to retain moisture and suppress weeds in my larger planting rows.

    Looking Ahead to a Bountiful Season

    Garden planning is an ongoing process, but laying the groundwork early helps set the stage for success. With thoughtful preparation, careful plant selection, and continued improvements, I’m excited to see how my 2025 garden unfolds. Whether it’s amending the soil, testing new plant varieties, or simply enjoying the beauty of my flowers and vegetables, each year brings fresh lessons and rewards.

    Are you planning your own garden for 2025? I’d love to hear what you’re growing this season!

  • An Ode to my Flowering Croton

    An Ode to my Flowering Croton

    I purchased a croton as a birthday gift to myself in March 2020. The exciting news is that today, exactly 5 years later, my croton is flowering. A cause for celebration, as I’ve read that this particular plant rarely flowers when grown indoors as a tropical houseplant.

    To celebrate the life of my 5-year old croton and this rare occasion, I’ve tapped into my inner poet to write a piece about the budding life (pun intended) of this dear houseplant.

    And yes, to your delight or dismay, it has come to the point of this gardening journal we’re I’m personifying my plants. Good luck readers.


    An Ode to My Croton

    My dearest croton, bold and bright,
    gold and red streaks, what a true delight.
    Your painted leaves, nimble and free,
    With fiery moves that I love to see.

    As you grow each vein so true,
    You are a tapestry in sunlit hue.
    You stand with pride, night and day,
    At times, dressed oh so tacky on display.

    And when you bloom—its rare and sweet,
    A lovely gift, if but a moment’s treat.
    How you’ve grown, with colours so deep,
    An aging soul, in my heart you’ll keep.


    Now, the real question is: Can I do anything with these little flowers? I welcome your insights and ideas in the comments.

  • Progress on My Water Propagation Experiment

    Progress on My Water Propagation Experiment

    It’s been a month (and a half, oops!) since I started propagating my pothos cutting in water, and I’m happy to share some exciting progress! The roots developed beautifully, showing strong, healthy growth of about 5 inches. I kept the cutting in a well-lit spot with indirect sunlight and changed the water every few days to prevent stagnation.

    Normally, I would suggest transplanting the cutting to soil when root growth is about 1 to 2 inches long. I found that the rooting compound I applied to the base of the cutting stimulated its growth. So much so, that a new leaf made an entrance a few weeks into the experiment.

    For those just starting with water propagation, my biggest tip is patience—some roots take longer to appear, but as long as the stem remains firm and the leaves stay green, the cutting is alive and growing.


    For me, it was time to finally transplant this plant baby into its permanent home. Here are the steps to take:

    Step 1: Collect all of your tools and supplies

    My supplies included:

    • a small pot containing room temperature soil mixed with perlite1
      (I recommend selecting a pot with drainage holes at the base as it promises healthier growth and adequate drainage; yet, this pot is what I have available right now)
    • a spade or other tool to dig a hole for your cutting
      (a spoon or your own hands also will work)
    • glass of water
    • the pothos cutting

    Step 2: Water your soil before transplanting

    To give the plant a helping hand, generously water the soil so that it is damp to touch.

    Hot tip: Grab a handful of soil—it should feel damp, hold its shape, and not release excess water when squeezed.

    Step 3: Dig a hole and gently tuck in your cutting

    Using my miniature spade, I dug a hole that was big enough for the roots to fit comfortably. Imagine you are tucking your plant into a cozy bed.

    As the roots were quite lengthy, I had to dig deep, and I found myself adding extra soil to the surface of my pot. Using my fingers, I pressed down around the base of the plant to reduce the number of air pockets in the soil. This action stimulates healthy growth.

    Step 4: Water again generously

    Again, water the soil generously to set the plant in place. I used the remaining water from my propagation vase plus a quarter cup of water from a nearby spray bottle.

    Step 5: Place your plant in a well-lit area

    Voila! The hard part is done. I placed my new plant about three feet from my south-facing window to start. Since my pot has no drainage holes, I’ll check on it weekly and plan to water it every two weeks. If needed, I’ll make any adjustments to my new plant baby’s living conditions after a week or so.


    I’ve decided to name this plant Snoop Dogg, as per my sister’s recommendation. If you’ve had experience with transitioning pothos from water to soil, I’d love to hear your thoughts in the comments!


    1. perlite is a lightweight material that allows for extra aeration, which in turn helps your plant grow strong and healthy ↩︎
  • A Snowy Journey to a Warm Gathering: Reflections on a Successful Seedy Saturday

    A Snowy Journey to a Warm Gathering: Reflections on a Successful Seedy Saturday

    I’m back fellow fans of gardening! (Absence makes the heart grow fonder, right?). And I’m here to report on the details of a very successful Seedy Saturday event in Fonthill, Ontario.

    Yesterday, I attended this milestone event—the 10th annual Seedy Saturday hosted by the Master Gardeners of Niagara. The drive there was a bit tricky due to winter conditions, but any concerns quickly faded upon arriving at the venue. The atmosphere was warm, not just in temperature, but in spirit.

    Despite the weather, the turnout was remarkable. Organizers reported that at least 300 people had already passed through the doors by mid-morning, a testament to the dedication and enthusiasm of the gardening community. The energy in the room was infectious, as passionate gardeners, seasoned growers, and eager beginners gathered to swap seeds, share knowledge, and celebrate the promise of the growing season ahead.

    Mark your calendars! Next year’s Master Gardeners of Niagara Seedy Saturday will be held on February 14th, 2026.

    One of the standout features of the event was the seed swap, a cornerstone of any good Seedy Saturday. Tables overflowed with packets of heirloom tomatoes, heritage beans, native wildflowers, and everything in between. For those who didn’t bring seeds to trade, packets were available for just 25 cents each—an unbeatable price for anyone looking to expand their garden. At this remarkable price, I walked away with just under 30 packets of new seeds. The exchange of seeds also meant the exchange of stories: where the seeds came from, how they thrived in different conditions, and the best tricks for growing success.

    Beyond the swap itself, the event buzzed with conversations about sustainable gardening, biodiversity, and the importance of preserving heirloom varieties. The Master Gardeners of Niagara, ever generous with their expertise, offered guidance on everything from cold moist stratification (hot tip: native perennials love this) to the joy of experimenting with allium seeds, ensuring that everyone left feeling more prepared for the upcoming growing season.

    Events like Seedy Saturday remind me why I love gardening—not just for the joy of nurturing plants, but for the incredible community it fosters. The camaraderie, the shared excitement over a particularly rare variety of watermelon or a new composting tip, and the sense of connection to both people and the land make these gatherings truly special.

    As I drove home, I couldn’t help but feel grateful. The winter conditions may have made for a slightly challenging trip, but the warmth of the gardening community more than made up for it. Here’s to another season of growing, sharing, and celebrating the seeds that bring us together.

  • Wildlife Spotlight: Deer

    Wildlife Spotlight: Deer

    As much as I have depicted my love-hate relationship with deer in my role as a gardener, deer do in fact play an essential role in ecosystems as both herbivores and prey.

    Deer Encourage Biodiversity and are Key to the Food Chain

    By browsing on plants, shrubs, and trees, deer influence vegetation patterns, helping shape plant communities and maintain biodiversity. Their feeding habits can promote the growth of certain plants by preventing overdominance of others, creating a dynamic balance in forest and grassland ecosystems. Additionally, deer are a crucial food source for predators such as wolves, cougars, and bears, supporting the food web.

    Nature’s Seed Dispersal Heroes

    Deer also contribute to seed dispersal; seeds can attach to their fur or pass through their digestive system, aiding plant regeneration across wide areas.

    However, when deer populations grow unchecked, they can overbrowse vegetation, leading to habitat degradation. This underscores the importance of maintaining predator-prey balance and sustainable deer population levels for a healthy ecosystem.


    Conclusion

    When populations are well-managed, deer play a vital role in fostering biodiversity, shaping plant communities, supporting predators as prey, and aiding seed dispersal, contributing to a healthy and balanced ecosystem.

    A pair of deer captured on our wildlife camera.
  • Wildlife and Gardening: Friend or Foe?

    Wildlife and Gardening: Friend or Foe?

    Wanted to share a video that I came across recently by globally renowned British artist and wildlife filmmaker, Robert E Fuller, who created a habitat for local wildlife by building a pond. Watching this video brought me so much joy and it has inspired my partner and I to follow Fuller’s lead.

    Check out Fuller’s other live nest cams.


    As a gardener, I could take two different approaches to wildlife in my garden — fight or embrace wildlife. I know that wildlife plays a vital role in gardens and the broader ecosystem, contributing to biodiversity and the health of natural cycles. That doesn’t mean we don’t shed a tear when a squirrel takes a bite out of every tomato on a healthy vine or a rabbit munching on a handful of everbearing strawberries. And although I curse the deer (shown below) who ate my apple trees, they too play a role in the broader ecosystem. More on this in tomorrow’s post.

    • Birds, bees, butterflies, and other creatures are essential pollinators, ensuring the reproduction of flowering plants and food crops.
    • Predatory insects and animals help manage pest populations, reducing the need for chemical interventions.
    • Wildlife also contributes to soil health—earthworms aerate the soil while decomposers, like fungi and insects, recycle organic matter into nutrients.

    A garden that supports wildlife becomes a mini-ecosystem, fostering interdependent relationships between plants and animals.

    By creating habitats with native plants, water sources, and shelter, gardeners can support these critical species, promoting ecological balance and resilience while enriching their outdoor spaces with life and movement.

    That said, I still may at times curse at our resident deer when she chomps on my trees.

  • Annuals, Biennials, Perennials…oh my!

    Annuals, Biennials, Perennials…oh my!

    Question: What’s the difference between an annual, a biennial and a perennial plant?

    Answer:

    The distinction between annuals, perennials and even biennial plants used to confuse me when I started gardening. So sharing a trick!

    A simple way to remember the difference between annual, biennial, and perennial plants is to think about their life spans in terms of time:

    1. Annual: “One and done.” These plants complete their entire life cycle—from seed to flower to seed—within a single growing season. This means you have to plant them every year if you want to enjoy them annually. Examples include marigolds and zinnias.
    2. Biennial: “Two to do.” These plants take two years to complete their life cycle. In the first year, they grow leaves, and in the second year, they flower, set seed, and die. An example includes Sweet William flowers.
    3. Perennial: “Forever friend.” These plants live for three or more years, coming back every growing season. Some may bloom every year, while others bloom periodically. Examples include coneflowers and hostas.

    By linking the terms to their time frames, you (and I) can easily keep their differences straight!

    This Sweet William bloom was planted as part of our wildflower mix, and although it is technically a perennial, it can be grown as a biennial. I unknowingly found that when we sowed these seeds, it did take two years for these beauties to flower.
  • 2025 Herb of the Year!

    2025 Herb of the Year!

    In honour of lunar new year I am celebrating by highlighting Richters announcement — herb of the year. Richters, located in Goodwood, Ontario, has been growing and selling herbs since 1969, and their first catalogue dedicated to herbs came out in 1970. Herbs are their passion.

    So what have they proclaimed as herb of the year?

    Drumroll please.

    Richter’s 2025 Herb of the Year:
    Chamomile

    Why is chamomile so special?

    First and foremost, because of it’s calming medicinal properties of course! Not only does this crowd favourite have a unique combination of soothing properties, it is versatile and holds historical significance.

    Calming and Medicinal Properties

    • Relaxation: Chamomile is renowned for its calming effects, often used to promote relaxation, reduce anxiety, and improve sleep. Drinking chamomile tea is a popular ritual for winding down.
    • Anti-inflammatory and Digestive Aid: It’s rich in antioxidants like apigenin, which help reduce inflammation, soothe stomach issues, and support digestion. Richters states in this year’s catalog that that this herb has been treasured for centuries for this very reason.
    • Natural Remedy: Chamomile has been used for centuries to treat skin irritations, minor wounds, and menstrual cramps due to its mild analgesic and antibacterial properties.

    It’s Easy to Grow and Harvest

    • Low Maintenance: Chamomile thrives in a variety of conditions and is often considered an ideal herb for beginner gardeners.
    • Self-Seeding: It’s self-seeding, meaning it often comes back year after year without much effort.

    2025 will be my First Time Planting Chamomile

    I am going to take my first stab at growing it this spring to:

    1. Serve as a companion plant (meaning it will act as a natural pest deterrent and support the growth of nearby plants) and/or
    2. To harvest any flower petals, in good standing, for chamomile tea. Chamomile tea is its most well-known use, made by steeping the dried flowers. It’s caffeine-free and widely loved.

    Thanks Richters for announcing this herb of the year, and to all those who celebrate, Happy Lunar New Year!

    p.s. don’t be fooled by the featured image, I have not taken a photo of chamomile yet…that’s basil. 😉